Chocolate Chip Cookies with Oatmeal and Flour: The Complete Guide
Quick Answer: The Master Oatmeal-Flour Formula
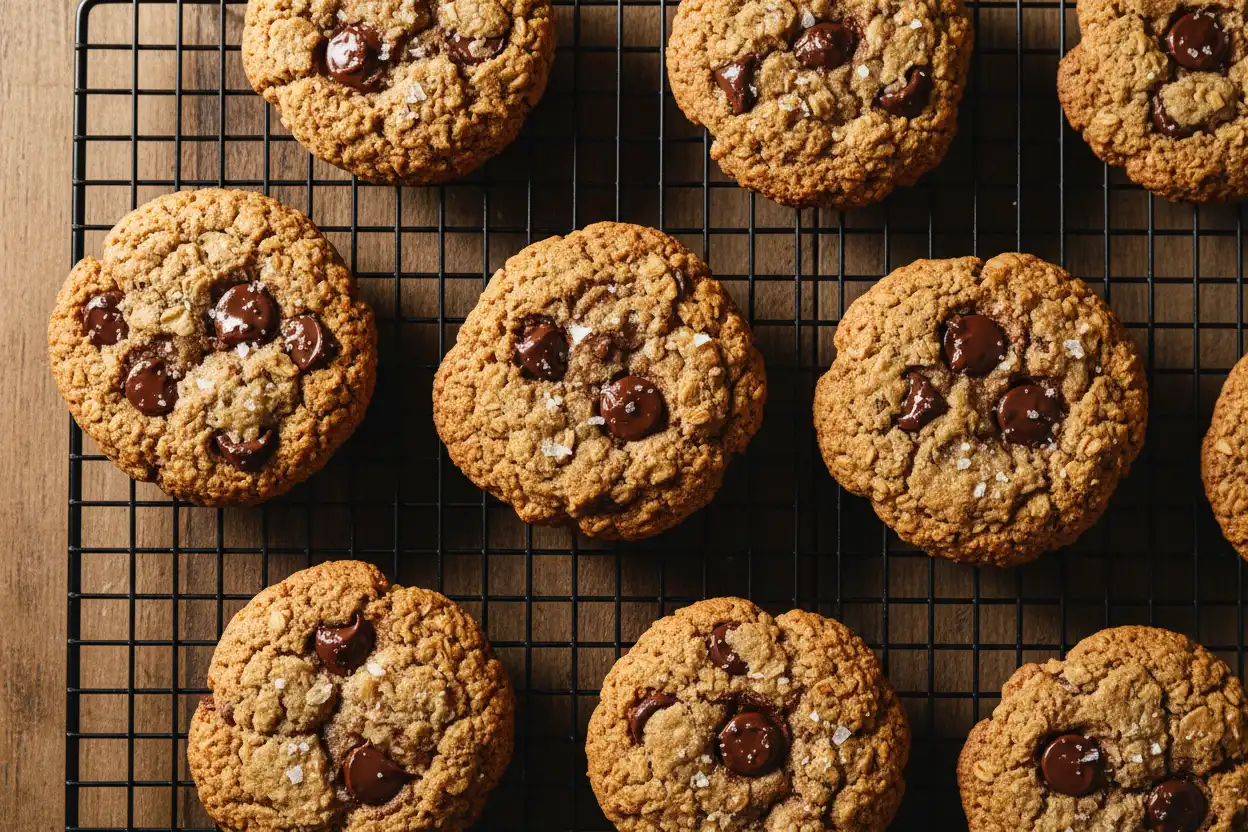
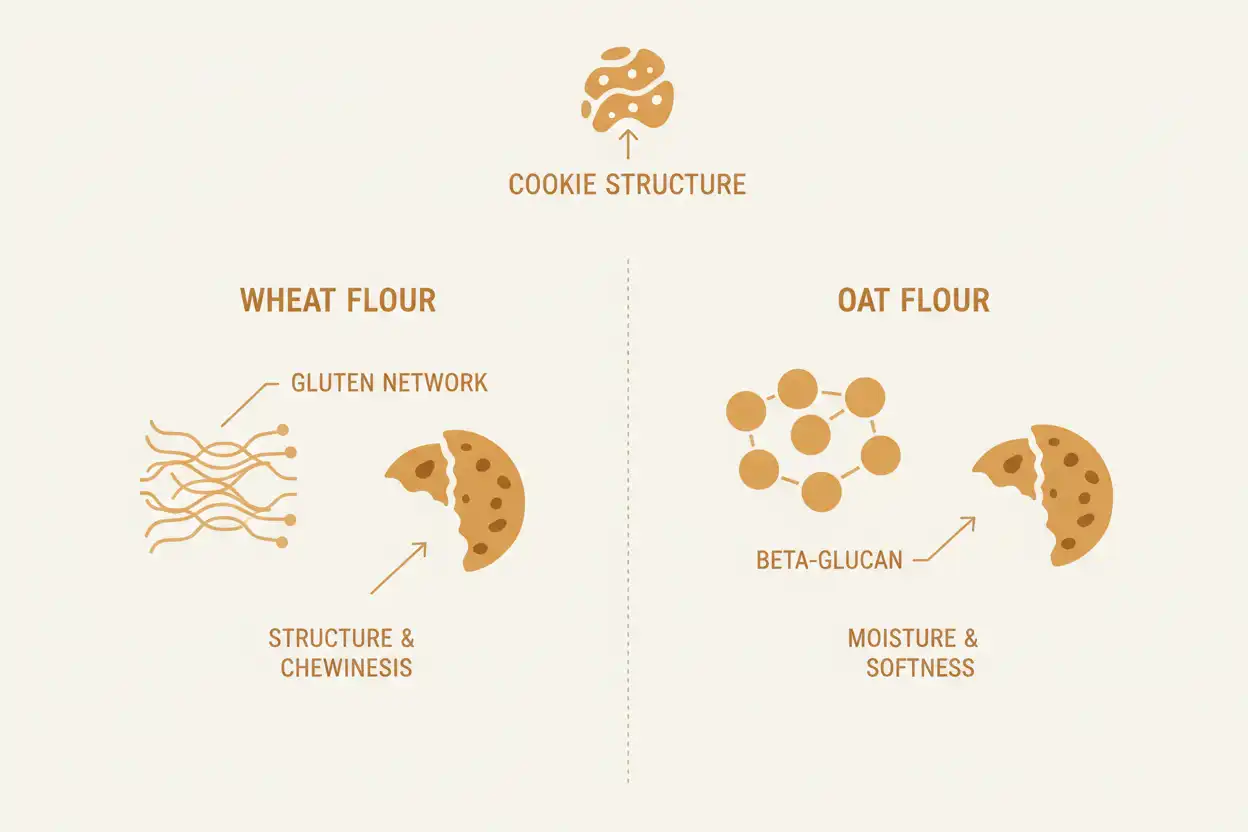
The ideal chocolate chip cookies using oatmeal and flour rely on a balanced 1:1 or 1.25:1 weight ratio of all-purpose flour to rolled oats, or a 70/30 split when using ground oat flour. This precise combination preserves the structural gluten network from wheat while capturing the moisture-retaining beta-glucans and nutty flavor of oats.
To avoid a dry or cakey cookie, use melted unsalted butter and a higher proportion of dark brown sugar than white sugar. Brown sugar introduces molasses, which attracts moisture and ensures a chewy center with caramelized, crisp edges.
- Standard Ratio by Weight: 150 grams all-purpose flour to 120 grams rolled oats (or 50 grams finely ground oat flour).
- Fat Balance: 115 grams (1/2 cup) unsalted butter per 270 grams total dry grains.
- Bake Time & Temp: 350°F (177°C) for 10 to 12 minutes until edges are golden and the center remains soft.
Introduction: The Power of Combining Oats and Wheat
Baking chocolate chip cookies with oatmeal and flour brings together the best qualities of two classic baked goods. Wheat flour supplies the gluten proteins needed for chew and rise, while oats provide rich texture, dietary fiber, and a toasted grain profile.
Whether you want to incorporate whole rolled oats for a rustic bite or use finely milled oat flour for a tender, melt-in-your-mouth crumb, controlling grain hydration is the key to consistent results. Oats behave differently than wheat flour in the presence of liquids and fats.
This guide breaks down the physical properties of oat-flour blends, outlines a thoroughly tested master recipe, and explains the adjustments needed to produce bakery-quality cookies in any home kitchen.
Oatmeal vs. Oat Flour: Key Differences in Baking
The phrase “chocolate chip cookies oatmeal flour” generally refers to two distinct baking approaches. Understanding how whole oats and milled oat flour behave will help you choose the right method for your desired texture.
1. Whole Rolled Oats (Old-Fashioned Oatmeal)
Old-fashioned rolled oats consist of whole oat groats that have been steamed and flattened between steel rollers. They do not dissolve into the dough, which allows them to create visible, chewy pockets throughout the baked cookie.
Because whole oats expose less surface area than finely milled flour, they absorb moisture gradually during the bake. This quality makes them perfect for traditional chewy cookies that maintain structural integrity without spreading too thin.
2. Quick-Cooking Rolled Oats
Quick oats undergo additional steaming and are cut into smaller pieces before rolling. They absorb liquid faster than whole rolled oats and can yield a slightly drier dough if left unadjusted.
When combined with all-purpose flour, quick oats blend more completely into the background crumb. They provide oat flavor with less pronounced surface chew than old-fashioned flakes.
3. Milled Oat Flour
Oat flour is created by milling whole oats into a silky, fine powder. It can be purchased commercially or produced at home by processing rolled oats in a high-speed blender.
Oat flour contains no gluten-forming proteins (glutenin and gliadin). When mixed with all-purpose flour, it dilutes the overall gluten network, creating a softer, more delicate cookie with a distinct toasty flavor.
4. Steel-Cut Oats (A Definite Warning)
Never add raw steel-cut oats directly to cookie dough. Their dense, chopped groat structure cannot hydrate properly during a 10-to-12-minute baking cycle, which leaves hard, unpalatable grains in your cookies.
The Science of Blending Oats with All-Purpose Flour
Baking is precise chemistry. When you combine wheat flour with oats or oat flour, you alter how water, fat, and sugar interact during mixing and baking.
Gluten Network Attenuation
All-purpose flour contains approximately 10% to 12% protein, primarily gliadin and glutenin. When hydrated and stirred, these proteins link together to form an elastic matrix that traps steam and holds the cookie together.
Oats contain avenin, a protein that does not form an elastic gluten structure. Introducing oats or oat flour into wheat dough softens the crumb and prevents the tough, rubbery texture caused by over-mixing.
Beta-Glucan Hydration Dynamics
Oats are rich in beta-glucan, a soluble fiber that absorbs and holds substantial amounts of water. In cookie dough, beta-glucan draws moisture away from the butter and eggs.
If your dough lacks adequate liquid, this absorption can result in dry, crumbly cookies that fail to spread. Balancing your recipe with sufficient fat and liquid sugars keeps the finished cookies soft for several days.
Fat Distribution and Spreading
Wheat flour dough relies on butter melting in the oven to initiate spread before the starches set. Oats act as small physical barriers that slow this spread, keeping the cookie taller and denser.
Using melted butter instead of creamed butter introduces liquid fat earlier in the mixing process. This coats the dry oat particles thoroughly, creating a rich texture with a chewy center and crisp outer edges.
Ingredient Ratios: Finding the Ideal Texture
Reliable cookie recipes rely on precise ratios rather than rough estimates. Measuring ingredients by weight with a digital kitchen scale guarantees consistent results every time.
The Classic Chewy Blend (All-Purpose Flour + Rolled Oats)
This ratio produces a bakery-style cookie with a crisp edge and a dense, chewy center.
- All-Purpose Flour: 55% of total grain weight (150g)
- Old-Fashioned Rolled Oats: 45% of total grain weight (120g)
- Total Butter: 115g (1 stick / 8 tablespoons)
- Sugars: 150g dark brown sugar and 50g granulated white sugar
The Melt-in-Your-Mouth Blend (All-Purpose Flour + Oat Flour)
This approach produces a smooth, uniform crumb with a delicate texture and deep nutty flavor.
- All-Purpose Flour: 70% of total grain weight (175g)
- Oat Flour: 30% of total grain weight (75g)
- Total Butter: 115g (1 stick / 8 tablespoons)
- Sugars: 130g light brown sugar and 70g granulated white sugar
Sugar Dynamics: Brown vs. White
Brown sugar contains hygroscopic molasses, which retains moisture throughout the bake. Keeping brown sugar at a 3:1 ratio relative to white sugar ensures your oatmeal cookies stay chewy rather than hard.
Step-by-Step Master Recipe
This master recipe produces 16 bakery-style chocolate chip cookies using a combination of all-purpose flour and rolled oats (with an optional oat-flour conversion noted below).
Recipe Specifications
Prep Time: 15 minutes | Chill Time: 45 minutes | Bake Time: 11 minutes
Yield: 16 cookies (approx. 55g each) | Oven Temp: 350°F (177°C)
Complete Ingredients List
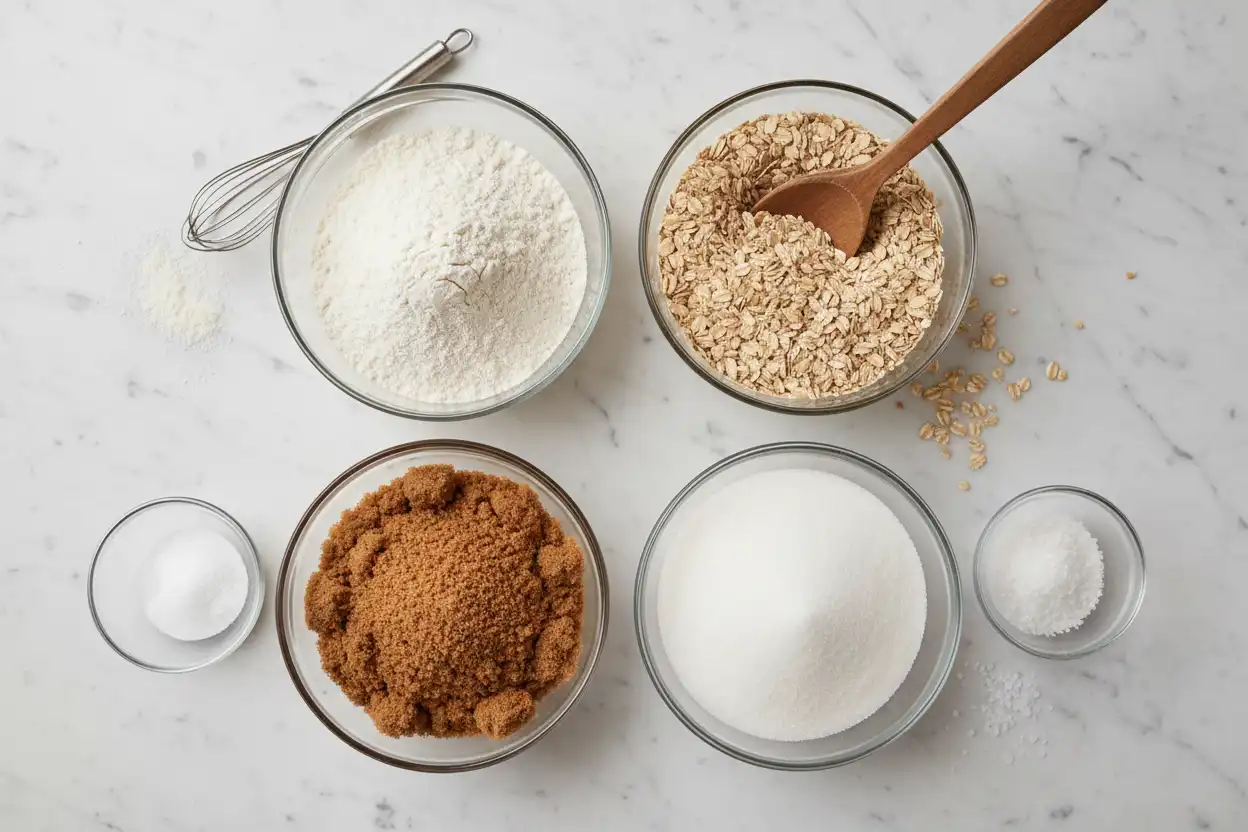
- All-Purpose Flour: 150 grams (1 cup plus 2 tablespoons, spooned and leveled)
- Old-Fashioned Rolled Oats: 120 grams (1 and 1/4 cups) Note: For a tender crumb, replace 40g of oats with fine oat flour.
- Unsalted Butter: 115 grams (1/2 cup / 1 stick), melted and cooled slightly
- Dark Brown Sugar: 150 grams (3/4 cup, packed)
- Granulated White Sugar: 50 grams (1/4 cup)
- Large Egg: 1 whole egg (approx. 50g without shell), room temperature
- Pure Vanilla Extract: 5 ml (1 teaspoon)
- Baking Soda: 3 grams (1/2 teaspoon)
- Fine Sea Salt: 3 grams (1/2 teaspoon)
- Semi-Sweet Chocolate Chips or Chopped Dark Chocolate: 170 grams (1 cup)
- Flaky Sea Salt: Optional, for finishing garnish
Preparation Steps
Step 1: Whisk the Dry Grain Base
What: Whisk together the all-purpose flour, rolled oats (or oat flour), baking soda, and fine sea salt in a medium bowl.
Why: Thorough whisking evenly disperses the baking soda and salt through the dry mixture, preventing pockets of uneven leavening.
How: Whisk vigorously for 30 seconds. Set the bowl aside.
Pro Tip: Toast the rolled oats on a dry skillet over medium heat for 3 minutes before mixing to bring out their nutty flavor.
Step 2: Combine the Wet Base and Emulsify
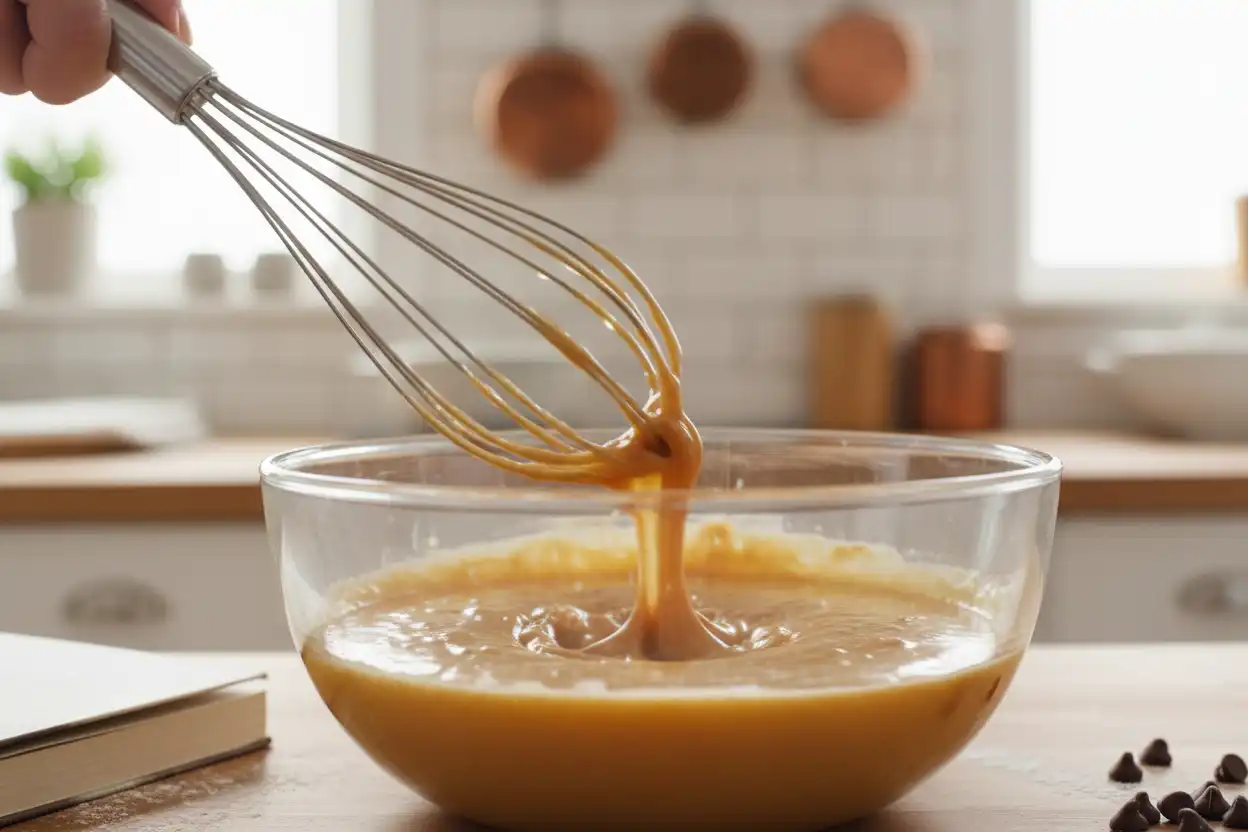
What: Whisk the melted butter, dark brown sugar, and granulated sugar together in a large mixing bowl until fully incorporated, then whisk in the egg and vanilla extract.
Why: Emulsifying the liquid butter with the sugars and the egg protein creates a smooth suspension that yields shiny cookie tops and a uniform crumb.
How: Whisk the butter and sugars for 60 seconds. Add the room-temperature egg and vanilla, whisking briskly until the mixture lightens slightly in color and thickens.
Common Mistake: Adding an egg directly from the refrigerator into warm melted butter can curdle the mixture and cause the butter to solidify prematurely.
Step 3: Fold Dry Ingredients into Wet
What: Pour the dry oat and flour blend into the bowl of wet ingredients.
Why: Gentle folding limits gluten development, keeping the cookies soft and tender.
How: Use a firm silicone spatula to fold the mixture just until no visible streaks of dry flour remain. Avoid using an electric hand mixer for this step.
Step 4: Incorporate the Chocolate
What: Add the chocolate chips or chopped chocolate chunks to the dough.
Why: Folding chocolate into the dough at the end ensures an even distribution of chocolate throughout every portion.
How: Fold gently with the spatula 4 to 6 times until the chocolate is evenly dispersed.
Pro Tip: Use a combination of standard chocolate chips and hand-chopped chocolate bars. The fine chocolate shards melt into the dough, while the larger chunks create molten pools.
Step 5: Rest and Chill the Dough
What: Cover the bowl and place it in the refrigerator for at least 45 minutes (or up to 24 hours).
Why: Resting allows the starches in the oats and wheat flour to hydrate fully while the butter fats firm up. This prevents excessive spreading in the oven.
How: Press a piece of parchment paper or plastic wrap directly onto the surface of the dough to prevent it from drying out, then refrigerate.
Step 6: Portion and Arrange
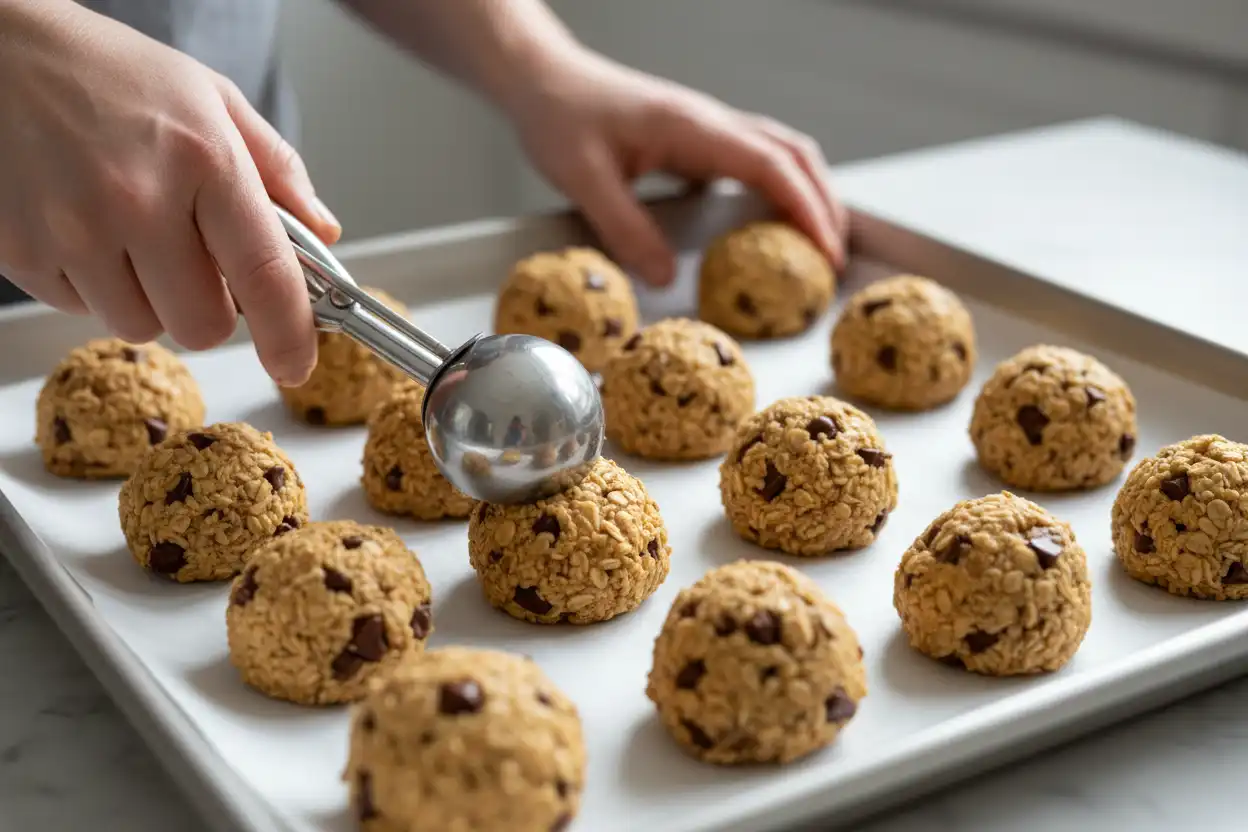
What: Scoop the dough into uniform portions on a parchment-lined baking sheet.
Why: Consistent dough portions ensure that all cookies bake at the same rate, avoiding undercooked or over-browned edges.
How: Use a #24 cookie disher (about 3 tablespoons or 55 grams per ball). Place the dough balls 2.5 inches apart on the baking sheet.
Step 7: Bake to Golden Perfection
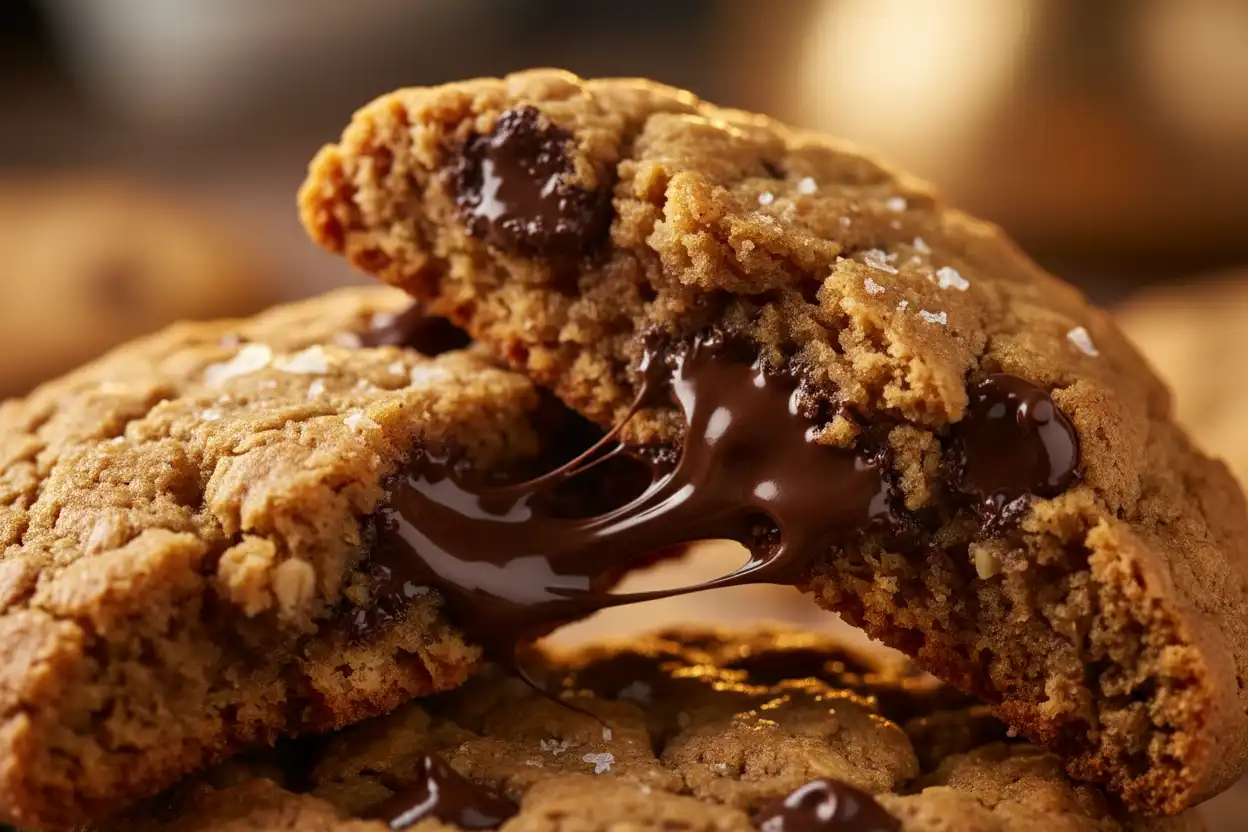
What: Bake at 350°F (177°C) for 10 to 12 minutes.
Why: This temperature caramelizes the sugars and crisps the outer edges while keeping the oat-dense center soft.
How: Bake on the center rack. Remove the pan when the outer edges are golden brown and set, but the center still appears soft and slightly underbaked.
Pro Tip: Tap the baking sheet firmly on your counter immediately after removing it from the oven. This settles the crumb and creates attractive crinkled surfaces.
Step 8: Cool and Finish
What: Allow the cookies to rest on the hot baking sheet for 5 minutes before transferring them to a wire rack.
Why: The cookies continue setting through carryover cooking. Moving them too quickly can cause them to break.
How: Sprinkle lightly with flaky sea salt while hot. After 5 minutes, use a wide spatula to move them onto a wire cooling rack.
Comparison Guide: Oat Styles in Cookies
Choosing between rolled oats, quick oats, and oat flour shapes your cookie’s final texture, spread, and crumb. Use this reference to pick the best approach for your kitchen.
| Oat Variety Used | Texture Profile | Moisture Absorption | Dough Spread | Recommended Pairing Ratio |
|---|---|---|---|---|
| Old-Fashioned Rolled Oats | Distinct chew, rustic bite, visible grain flecks | Moderate (hydrates gradually during bake) | Moderate spread; holds thickness well | 55% All-Purpose Flour / 45% Rolled Oats |
| Quick-Cooking Oats | Uniform chew, less visible grain, softer crumb | High (absorbs moisture quickly from dough) | Low to moderate; produces compact cookies | 60% All-Purpose Flour / 40% Quick Oats |
| Fine Oat Flour | Tender, velvety crumb; no visible oat pieces | Very High (acts like a whole grain flour) | Higher spread if unchilled; soft set | 70% All-Purpose Flour / 30% Oat Flour |
| Split Blend (Rolled + Flour) | Chewy center with tender crumb and nutty aroma | Balanced | Controlled, classic bakery profile | 50% AP Flour / 35% Rolled Oats / 15% Oat Flour |
Professional Techniques for Bakery-Quality Results
Small adjustments in your technique can turn a simple home cookie into a standout bakery-quality treat. Here are several proven methods to refine your baking.
1. Browning the Butter for Deeper Flavor
Brown butter adds rich flavor to oat-based cookies. Melt your unsalted butter in a light-colored saucepan over medium heat, swirling occasionally as it foams.
The milk solids will caramelize into golden-brown specks with a nutty aroma. Because this process evaporates roughly 15% to 20% of the butter’s water content, add 1 tablespoon of milk or water back into the cooled brown butter to maintain dough hydration.
2. The Pan-Banging Ripple Method
For bakery-style ripples around the edges, open your oven door at minute 9 of baking. Lift the baking sheet 3 inches and drop it flat onto the oven rack.
This deflates the rising dough, forcing the outer edges to ripple and crinkle while keeping the center rich and dense. Repeat this once more at minute 11 before removing the pan.
3. Extended Dough Maturation
While chilling for 45 minutes yields great results, resting the dough for 18 to 24 hours produces even better flavor. Extended chilling gives enzymes time to break down complex starches into simple sugars, enhancing caramelization and browning during the bake.
4. Managing High-Altitude Baking
At elevations above 3,500 feet, lower air pressure causes cookies to spread faster, while lower atmospheric moisture dries out oat starches. Make these adjustments to keep the recipe balanced:
- Increase oven temperature by 15°F (to 365°F / 185°C) to set the structure more quickly.
- Reduce granulated white sugar by 1 to 2 tablespoons to limit dough spread.
- Add 1 to 2 tablespoons of water or milk to balance the faster moisture loss in the dry grains.
Common Mistakes and How to Avoid Them
Baking with both oats and flour introduces extra variables. Here are the most common pitfalls and how to troubleshoot them.
1. Measuring Grains with Measuring Cups
Scooping flour or oats directly with a measuring cup packs the grains down, adding up to 30% more dry matter than intended. This excess dry ingredient leaves you with stiff, dry cookies that fail to spread.
Solution: Use a digital scale set to grams. If using measuring cups, fluff the dry ingredient with a spoon, scoop it gently into the cup, and level the top with a flat edge.
2. Skipping the Dough Chill
Baking this dough immediately after mixing warm melted butter causes the fat to liquefy before the oat starches can set. The result is thin, greasy cookies with unevenly spread chocolate chips.
Solution: Chill the dough for at least 45 minutes until it feels firm and cool to the touch.
3. Over-Baking the Center
Oat-based cookies dry out quickly if left in the oven too long. Waiting until the entire cookie looks firm and set guarantees a hard, dry texture once cooled.
Solution: Remove the cookies while the center 1-inch circle still appears pale, soft, and slightly puffed. Carryover heat from the baking sheet will finish cooking the centers on your counter.
4. Over-Working the Wheat Flour
Excessive stirring after adding the dry ingredients develops gluten pathways that create a tough, bread-like cookie rather than a tender, chewy one.
Solution: Fold the dry ingredients by hand with a spatula just until the dry streaks disappear.
Storage and Dough Preservation Best Practices
Knowing how to store your cookies and dough helps preserve their fresh-baked texture and flavor long after baking day.
Room-Temperature Cookie Storage
Keep baked cookies in an airtight glass or BPA-free container at room temperature. Place a small piece of plain sandwich bread inside the container—the cookies will draw moisture from the bread, staying soft for up to five days.
Freezing Unbaked Dough Balls (Best Practice)
Freezing prepared dough is the most convenient way to enjoy fresh-baked cookies on demand.
- Scoop dough balls onto a parchment-lined sheet pan.
- Place the pan in your freezer for 60 minutes until the dough balls freeze solid.
- Transfer the frozen dough balls into an airtight freezer bag, pressing out excess air. Label the bag with the date and baking temperature.
- Bake directly from frozen at 350°F (177°C), adding 1 to 2 minutes to the standard bake time.
Freezing Baked Cookies
Let the baked cookies cool completely, then layer them between sheets of parchment paper inside an airtight container. Freeze for up to three months. Thaw at room temperature for 20 minutes before serving.
Essential Kitchen Tools and Resources
Having the right baking tools on hand makes mixing, portioning, and baking these cookies simpler and more consistent.
- Digital Kitchen Scale: A scale measuring in 1-gram increments ensures your flour, oat, and sugar ratios remain accurate across batches.
- Heavy-Gauge Aluminum Half-Sheet Pans: Light-colored commercial baking pans reflect heat evenly, preventing burnt cookie bottoms.
- Unbleached Parchment Paper: Prevents sticking, supports even browning, and makes cleanup quick without altering dough spread the way nonstick cooking sprays can.
- Spring-Loaded Disher (#24 Scoop): Creates identical 55-gram dough balls that bake at the same rate.
- Heavy Wire Cooling Rack: Allows air to circulate under the warm cookies, keeping moisture from collecting on the bottoms.
Recommended Baking Guides
Explore these related guides to continue expanding your home baking skills:
- The Classic Chewy Oatmeal Raisin Cookie Method
- How to Brown Butter for Cookies, Cakes, and Pastries
- Certified Gluten-Free Oats: Sourcing and Baking Guide
- How to Flash-Freeze Cookie Dough for On-Demand Baking
- Baking Soda vs. Baking Powder: Controlling Spread and Rise
- Whole Wheat Flour in Drop Cookies: Ratios and Tips
Trusted Food Science References
For more information on grain science, starch gelatinization, and baking physics, consult these established culinary resources:
- USDA FoodData Central: Nutritional profiles and moisture ratings for rolled oats and whole grain flours.
- King Arthur Baking Company: Educational guides on grain milling and flour protein percentages.
- Exploratorium Science of Cooking: Technical breakdowns of sugar caramelization and gluten development in cookies.
Key Takeaways for Success
- Combine for balance: Use all-purpose flour for gluten structure and oats (rolled or milled) for chew, moisture retention, and rich flavor.
- Measure by weight: Measuring flour and oats with a digital scale avoids dry, packed dough.
- Favor brown sugar: A 3:1 brown-to-white sugar ratio keeps the cookie center soft and chewy.
- Melted butter works best: Melted butter hydrates oats efficiently and yields a dense, chewy center with crisp edges.
- Chill your dough: A 45-minute chill stabilizes the butter and hydrates the oat starches, keeping the cookies from spreading too thin.
- Pull from the oven early: Remove the pan while the centers are still soft to let carryover heat finish cooking the cookies gently.
Moving to the Kitchen
Baking chocolate chip cookies with oatmeal and flour lets you customize both flavor and texture. By pairing the gluten structure of wheat flour with the moisture-retaining qualities of oats, you get a cookie with crisp, caramelized edges and a soft, chewy center.
Measure your ingredients by weight, chill the portioned dough, and pull the cookies from the oven while the centers are still tender. Use this master recipe as your everyday base, and feel free to adjust the oat-to-flour ratios to match your personal taste.
Frequently Asked Questions
Can I use oat flour instead of all-purpose flour entirely?
Using 100% oat flour produces a gluten-free cookie, but the texture will be crumbly and delicate. Because oats lack the gluten proteins needed for structure, these cookies spread differently and break more easily. For the best balance of chew, rise, and stability, use a blend of 70% all-purpose flour and 30% oat flour.
Can I substitute quick oats for old-fashioned rolled oats?
Yes, you can substitute quick oats at a 1:1 ratio by weight. Keep in mind that quick oats are cut thinner and absorb dough moisture more rapidly. This produces a slightly more compact, uniform cookie with less pronounced chew than one made with whole rolled oats.
Why are my oatmeal chocolate chip cookies dry and crumbly?
Dry cookies typically result from measuring flour and oats with volume cups instead of a digital scale, which packs in too much dry grain. Over-baking can also cause this issue. To keep your cookies tender, weigh your dry ingredients, pull the sheet pan when the cookie centers are still soft, and make sure your recipe includes enough brown sugar and butter.
Do I need to chill oatmeal chocolate chip cookie dough before baking?
Yes. Chilling the dough for at least 45 minutes firms up the butter and gives the oats time to absorb moisture from the eggs and sugars. Baking unchilled dough made with melted butter causes the cookies to spread quickly, producing thin, greasy edges and uneven centers.
How do I make homemade oat flour from rolled oats?
Place old-fashioned rolled oats into a high-speed blender or food processor. Blend on high for 30 to 60 seconds until the oats turn into a fine, powdery flour. Sift the mixture through a fine mesh strainer to remove any remaining large flakes, then weigh the flour on your scale before adding it to your dough.
Why did my oatmeal chocolate chip cookies turn out flat?
Flat cookies usually happen when the butter is too warm, the dough is not chilled, or the baking soda has lost its potency. Placing dough onto a hot baking sheet from an earlier batch will also cause the butter to melt prematurely. Always chill your dough and let your sheet pans cool completely between batches.
Can I use coconut oil instead of butter in this recipe?
You can substitute refined coconut oil for butter at a 1:1 ratio by weight. Because butter is roughly 16% to 18% water while coconut oil is pure fat, add 1 tablespoon of milk or water to the dough to help hydrate the dry oat starches properly.
How long do chocolate chip cookies made with oatmeal and flour stay fresh?
When kept in an airtight container at room temperature, these cookies stay fresh and chewy for 4 to 5 days. The beta-glucan fiber in the oats helps retain moisture better than wheat flour alone. Adding a slice of sandwich bread to the container will help keep them soft even longer.