The Ultimate Guide to Cookies Made with Cocoa Powder: Science, Secrets, and Foolproof Recipes
Featured Snippet Summary
Cookies made with cocoa powder offer an intense, rich chocolate flavor without requiring melted baking chocolate. By balancing fat, sugar, and flour ratios, you can achieve textures ranging from fudgy brownies to chewy crinkle cookies.
Success depends heavily on measuring flour accurately, understanding cocoa powder acidity, and controlling bake times to prevent dryness. Simple adjustments to resting time and butter temperature transform basic pantry ingredients into bakery-quality treats.
- Key Takeaway 1: Use a kitchen scale for precise dry ingredient ratios.
- Key Takeaway 2: Match your cocoa powder type to your leavening agents.
- Key Takeaway 3: Underbake slightly to maintain a tender, fudgy interior center.
Introduction
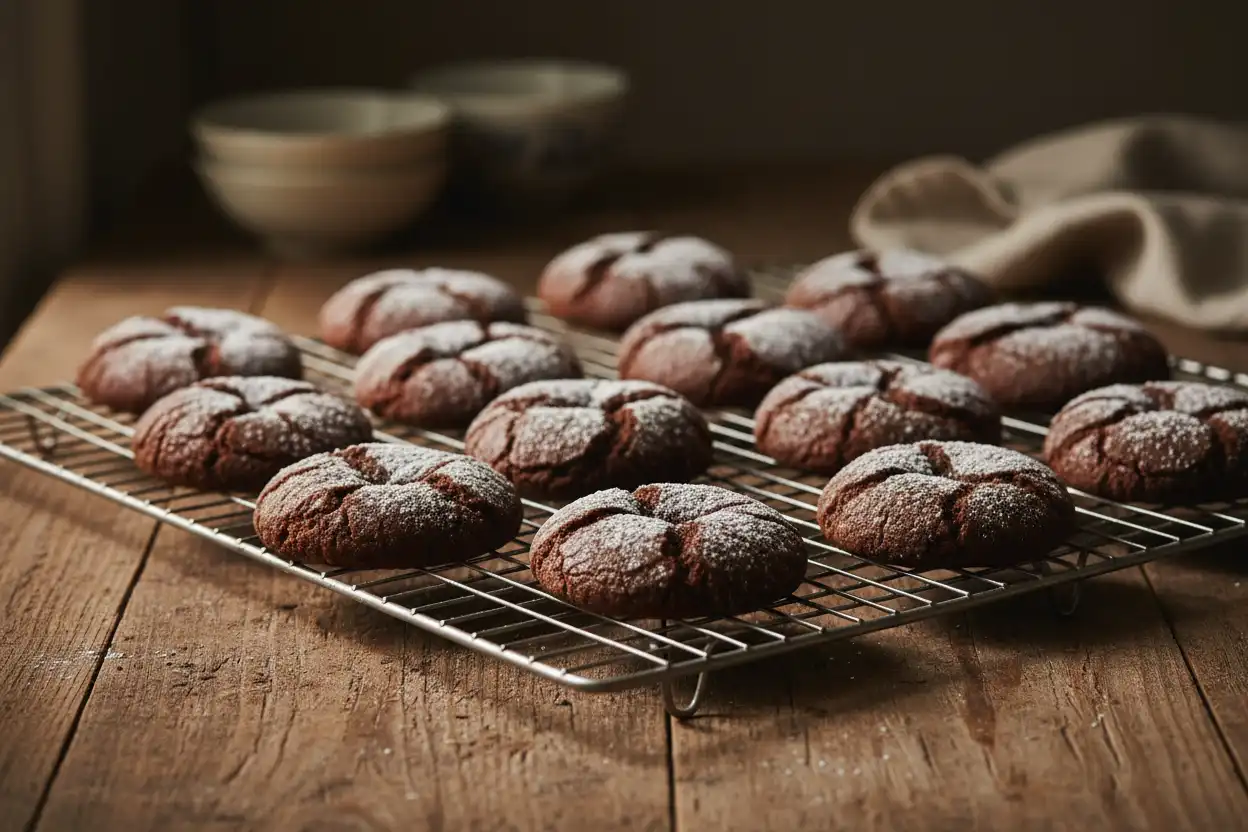
Baking exceptional chocolate cookies does not require expensive specialty chocolate bars. Cocoa powder delivers concentrated chocolate flavor efficiently and economically in home kitchens.
This guide serves home bakers, chocolate enthusiasts, and beginners seeking foolproof techniques. You will learn the chemical principles, precise steps, and troubleshooting tips needed for perfect results every single time.
The Science of Cocoa Powder in Baking
Cocoa powder consists of cocoa solids remaining after cocoa butter is pressed from roasted cacao beans. Understanding its chemical properties ensures your baked goods develop optimal structure and flavor.
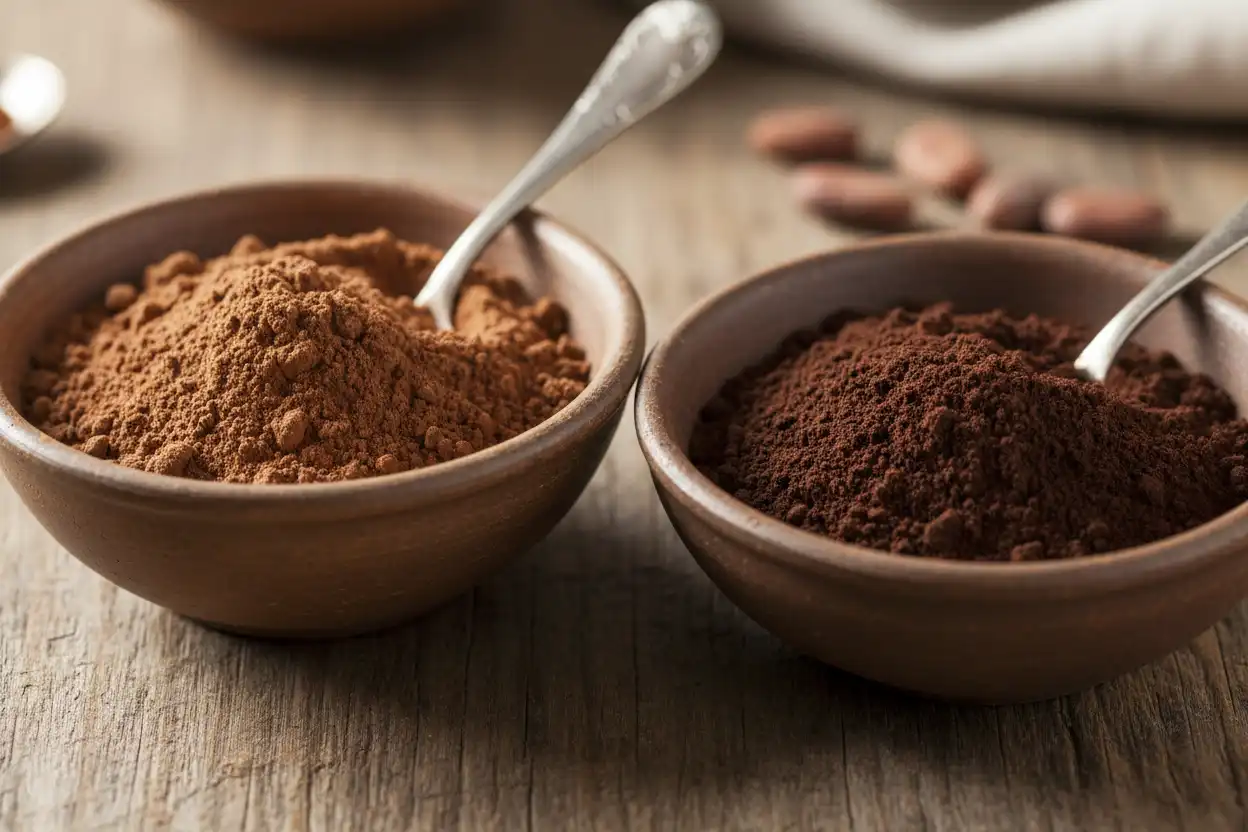
Natural vs. Dutch-Processed Cocoa Powder
Natural cocoa powder is acidic and reacts directly with baking soda to create carbon dioxide gas. This chemical reaction helps cookies rise and spread during the initial baking phase.
Dutch-processed cocoa powder is washed with an alkaline solution to neutralize its acidity. This treatment darkens the powder, mellows bitter flavor notes, and produces a smoother chocolate profile.
Moisture and Fat Absorption
Cocoa powder acts much like flour because it absorbs significant amounts of liquid and moisture. Failing to account for this high absorption rate results in dry, crumbly cookies.
Adding extra fat or liquid compensates for the drying nature of cocoa solids. Balancing these components guarantees a moist, tender crumb structure.
Essential Ingredients and Functional Roles
Every ingredient in a cookie recipe serves a distinct chemical purpose. Knowing these roles allows you to troubleshoot adjustments effectively.
Fat: Butter and Oil
Unsalted butter provides rich flavor and moisture while contributing to structural spread. Using melted butter encourages a dense, fudgy texture similar to brownies.
Creaming softened butter with sugar incorporates microscopic air pockets for a lighter texture. Combining butter with a small amount of neutral oil maintains softness over multiple days.
Sugar: Granulated and Brown
Granulated white sugar promotes crisp edges and aids in structural spreading. Brown sugar introduces molasses, adding moisture, chewiness, and caramel undertones.
Adjusting the ratio of white sugar to brown sugar alters the final chew and spread. Higher brown sugar proportions yield softer, thicker cookies.
Flour and Leavening
All-purpose flour provides the gluten framework required to hold the cookie together. Sifting flour and cocoa powder together prevents dry lumps and ensures even distribution.
Baking soda reacts with natural cocoa powder or brown sugar for lift. A pinch of salt sharpens the chocolate flavor profile by suppressing bitterness receptors on the tongue.
Essential Equipment for Precision Baking
Reliable kitchen tools elevate home baking from guesswork to precise science. Investing in standard equipment prevents common consistency issues.
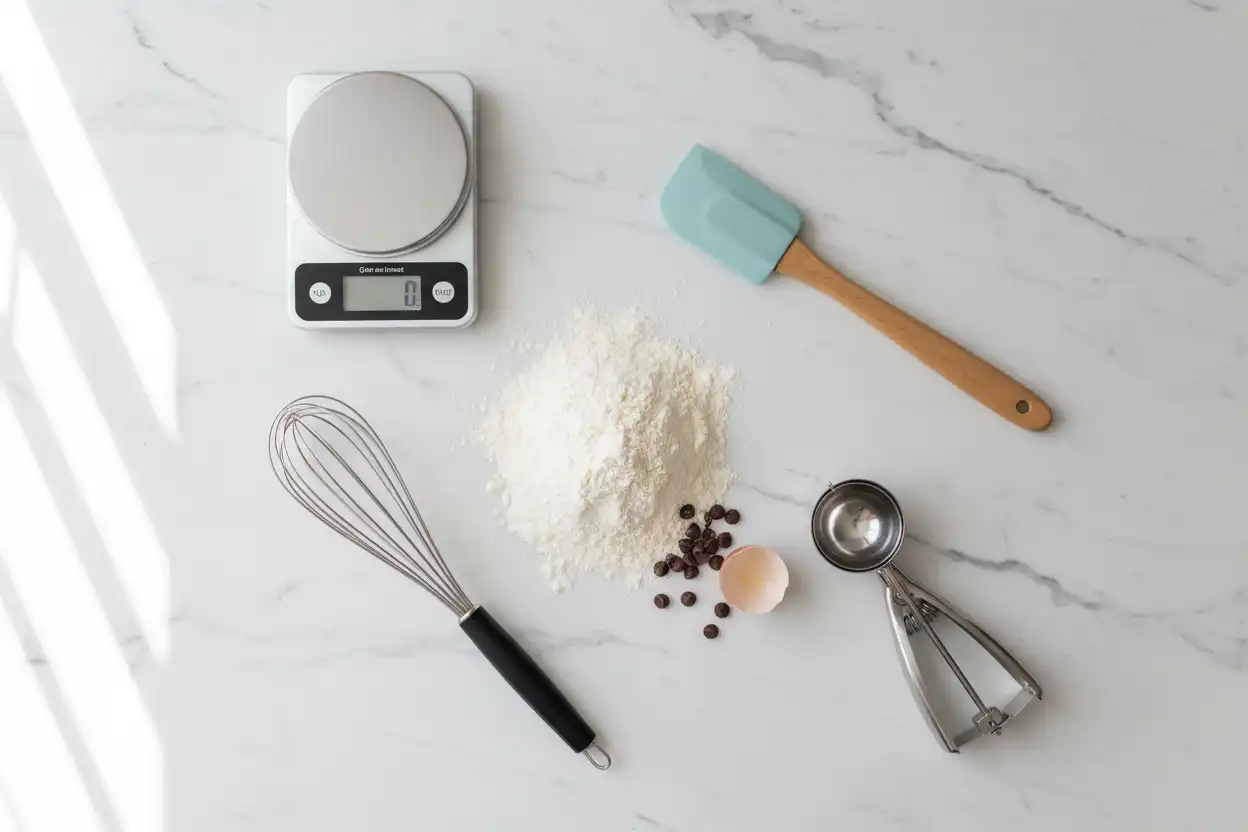
A digital kitchen scale eliminates measuring discrepancies caused by packing flour into cups. Heavy-duty aluminum baking sheets promote even heat distribution without warping.
Parchment paper prevents sticking and encourages even bottom browning. Spring-loaded cookie scoops ensure uniform sizing, guaranteeing even baking times across every batch.
Step-by-Step Guide: Classic Fudgy Cocoa Cookies
Follow this actionable workflow to create exceptional chocolate cookies from scratch. Each step explains the exact method and the underlying baking rationale.
Step 1: Prep and Dry Ingredient Whisking
Preheat your oven to 350 degrees Fahrenheit and line two large baking sheets with parchment paper. In a medium bowl, whisk together one and one-half cups all-purpose flour, one-half cup unsweetened cocoa powder, one teaspoon baking soda, and one-half teaspoon salt.
Why: Whisking aerates the dry components and distributes the leavening agent evenly throughout the flour. Sifting out clumps prevents pockets of bitter baking soda in the baked cookies.
Pro Tip: Use a fine-mesh sieve if your cocoa powder contains stubborn moisture clumps.
Step 2: Creaming Butter and Sugars
In a large mixing bowl, beat three-quarters cup softened unsalted butter, three-quarters cup granulated sugar, and one-half cup packed dark brown sugar on medium speed for two minutes. Beat in one large room-temperature egg and two teaspoons pure vanilla extract until smooth and fluffy.
Why: Thorough creaming incorporates air into the fat-sugar matrix, creating a delicate structural lift. Room-temperature eggs emulsify smoothly with the butter, preventing curdling.
Common Mistake: Using melted hot butter melts the sugar instantly, resulting in greasy, flat cookies.
Step 3: Combining Wet and Dry Mixtures
Add the dry ingredients to the butter mixture, mixing on low speed only until combined. Fold in one cup of semi-sweet chocolate chips using a sturdy rubber spatula just until incorporated.
Why: Overmixing develops excess gluten in the wheat flour, turning tender cookies into tough, bread-like discs. Stopping as soon as streaks of flour disappear preserves a tender crumb.
Step 4: Chilling and Scooping Dough
Cover the bowl tightly with plastic wrap and chill the dough in the refrigerator for at least forty-five minutes. Scoop rounded tablespoons of chilled dough onto the prepared baking sheets, leaving two inches of space between each mound.
Why: Chilling solidifies the butter fats, slowing down outward spread in the oven. This creates thicker cookies with crisp edges and soft, fudgy centers.
Pro Tip: Do not skip the chilling step if you want rich, thick cookies rather than flat, crispy discs.
Step 5: Baking and Cooling
Bake on the middle oven rack for ten to twelve minutes until the edges appear set and the centers remain slightly soft. Cool on the baking sheet for five minutes before transferring to a wire rack to cool completely.
Why: Residual heat on the hot pan finishes cooking the center gently without overbaking. Removing cookies too early risks breakage, while leaving them on the pan too long causes over-drying.
Cocoa Powder Variety Comparison
Review this detailed comparison to select the ideal cocoa powder for your specific recipe goals.
| Cocoa Type | Acidity Level | Flavor Profile | Best Baking Application |
|---|---|---|---|
| Natural Unsweetened | Acidic (pH 5.3–5.8) | Fruity, bright, sharp chocolate notes | Recipes using baking soda for leavening lift |
| Dutch-Processed | Neutral (pH 7.0) | Mellow, earthy, deep chocolate flavor | Rich fudge cookies, crinkles, brownies |
| Black (Ultra-Dutched) | Alkaline (pH 8.0+) | Very mild, earthy, Oreo-like bitterness | Dark aesthetic cookies requiring neutral pH |
Expert Tips for Bakery-Quality Results
Professional bakers rely on small technique adjustments to elevate standard homemade cookies. Implement these strategies to refine your final texture and appearance.
The Pan-Banging Technique
Lift the baking sheet three inches and drop it flat onto the oven rack during the final two minutes of baking. This collapses the puffed center, creating dense, chewy ridges around the perimeter.
The Cookie Scooting Method
Immediately after removing hot cookies from the oven, swirl a round cookie cutter or mug rim around each cookie. This pulls irregular edges inward into a perfectly circular, professional shape.
Salt Balancing
Sprinkle flaky sea salt lightly over the dough balls immediately before sliding them into the oven. The contrasting sodium crystals amplify the sweet cocoa notes brilliantly.
Common Mistakes and How to Avoid Them
Even experienced bakers occasionally encounter frustrating challenges when working with cocoa powder. Identify these common errors and apply our corrective solutions.
Dry, Crumbly Cookies
Why it happens: Measuring flour by scooping cups directly into the flour bag packs excess density into the recipe. Cocoa powder also absorbs more moisture than plain flour.
How to avoid: Fluff your flour with a fork, spoon it gently into your measuring cup, and level it off with a straight edge. Alternatively, weigh ingredients in grams.
Excessive Spreading and Flatness
Why it happens: Butter was completely melted or too warm when mixed with sugars. Skipping the refrigerator chilling step also leads to rapid butter melting.
How to avoid: Ensure butter is softened to room temperature so it holds an indentation while retaining structural firmness. Always refrigerate soft dough before baking.
Bitter Aftertaste
Why it happens: Using excessive baking soda without enough acid to neutralize it leaves an unpleasant metallic taste. Using poor-quality, highly processed cocoa powder also introduces harsh bitterness.
How to avoid: Stick to tested measurement ratios and invest in high-quality natural or Dutch-processed cocoa powders.
Best Practices for Storing and Freezing
Proper storage maintains moisture and prevents staling, ensuring your cookies taste freshly baked days later. Store baked cookies in an airtight container at room temperature with a slice of white bread.
The bread transfers its moisture to the cookies, keeping them remarkably soft and chewy. Freeze unbaked cookie dough balls on a lined tray, then transfer them to a freezer bag for up to three months.
Bake frozen dough balls directly from the freezer by adding two extra minutes to the total bake time. This allows you to enjoy fresh-baked chocolate cookies on demand.
Recommended Tools and Resources
Utilize these trusted industry tools to streamline your baking routine and ensure consistency. A digital kitchen scale is the single most valuable investment for precise recipe scaling.
Oven thermometers verify your true internal baking temperature, as built-in appliance thermostats frequently drift. Heavy-gauge insulated baking pans prevent burnt cookie bottoms.
External Authority References
Consult these reputable culinary and food science authorities for deeper educational reading:
- Serious Eats Culinary Science Lab – For deep dives into the chemistry of baking fats and sugars.
- King Arthur Baking Company Baker’s Hotline – Trusted source for ingredient conversion charts and troubleshooting.
Key Takeaways
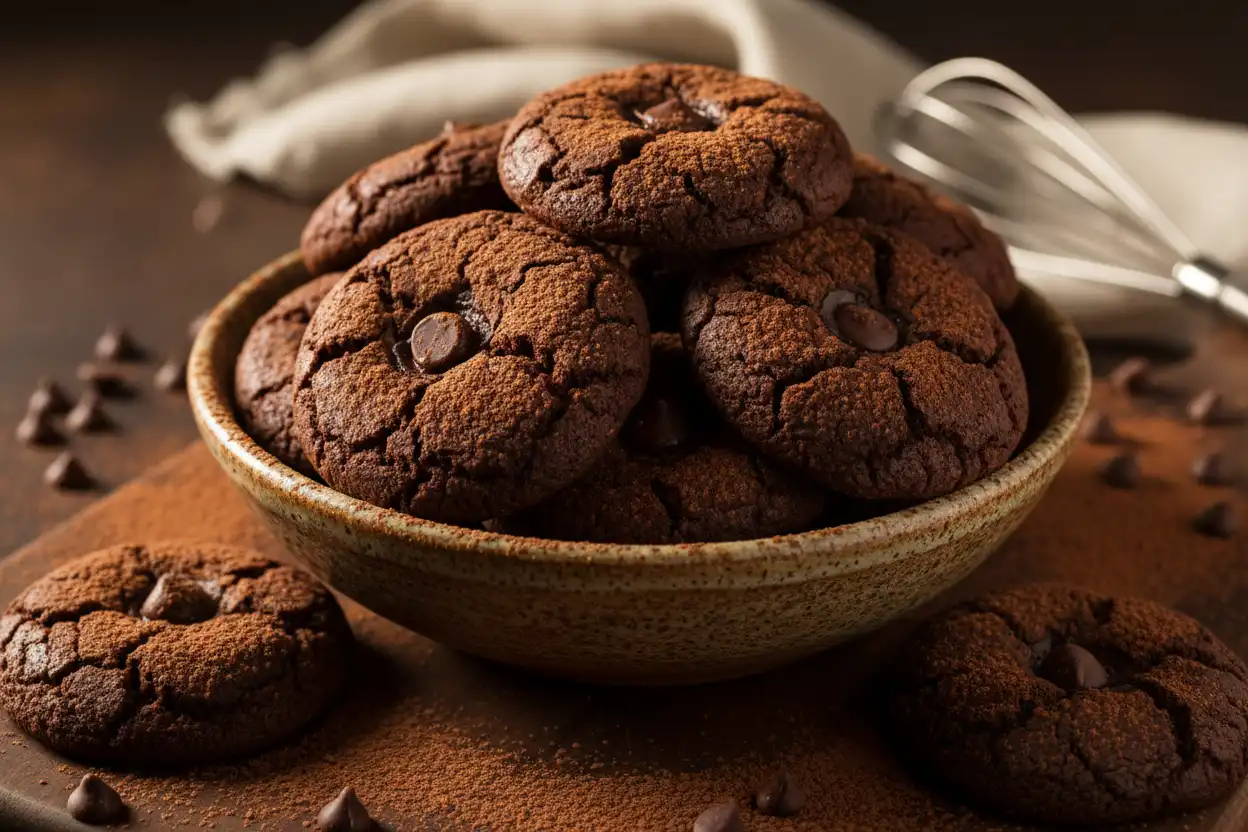
Mastering cookies made with cocoa powder transforms simple pantry staples into gourmet treats. Always weigh your dry ingredients to prevent a dry, crumbly texture.
Match your cocoa powder variety to the chemical leavening agents specified in your recipe. Never skip chilling your cookie dough to ensure thick, fudgy, bakery-quality results.
Conclusion
Baking exceptional chocolate cookies with cocoa powder is both a science and a rewarding culinary art. By respecting ingredient ratios and controlling temperature, you unlock incredible rich flavors.
Gather your ingredients, preheat your oven, and start baking your new favorite batch today. Share your baking results and variations with fellow home bakers in the comments below.
Frequently Asked Questions
Can I substitute cocoa powder for melted chocolate in cookie recipes?
You cannot swap cocoa powder 1:1 for melted chocolate because cocoa powder lacks cocoa butter fat. To substitute successfully, you must add extra butter or oil to make up for the missing fat content from the chocolate bar. Adjusting flour levels also prevents the dough from becoming overly dry and crumbly.
Why are my cocoa powder cookies dry and cakey?
Dry cookies usually result from packing too much flour into your measuring cups or overbaking the batch. Cocoa powder absorbs significant moisture, so measuring by weight rather than volume prevents this issue. Removing cookies from the oven when centers are still soft keeps them fudgy.
Should I use natural or Dutch-processed cocoa powder for cookies?
Natural cocoa powder works best in recipes featuring baking soda because its acidity triggers the necessary chemical rise. Dutch-processed cocoa powder yields a darker color and milder flavor, ideal for fudgy cookies where chemical leavening is minimal. Always check your recipe’s specified leavening agent before choosing your cocoa.
How do I make my cocoa cookies taste richer and more intense?
Enhance chocolate flavor by adding a quarter teaspoon of espresso powder or instant coffee granules to your dry ingredients. Coffee acts as a flavor amplifier without making your cookies taste like coffee. Including a pinch of flaky sea salt on top also sharpens the chocolate notes.
Do I really need to chill cookie dough made with cocoa powder?
Chilling cookie dough solidifies the butter, slowing down outward spread and concentrating the rich chocolate flavors. Skipping this step often results in flat, greasy cookies that spread too thin on the pan. For thick, chewy centers, refrigerate your dough for at least forty-five minutes.
How should I store baked chocolate cookies to keep them soft?
Store baked chocolate cookies in an airtight container at room temperature with a slice of fresh white bread. The cookies absorb moisture from the bread, maintaining their soft, fudgy texture for up to five days. You can also freeze baked cookies for up to three months.
Can I freeze unbaked cocoa cookie dough balls?
Unbaked cookie dough balls freeze exceptionally well on a parchment-lined tray before transferring to a freezer bag. Frozen dough balls keep safely for up to three months in your freezer. Bake them straight from frozen by adding two extra minutes to your baking time.
Why did my chocolate cookies spread out completely flat in the oven?
Flat cookies usually happen when the butter is too warm, melted, or whipped with too little flour support. Not chilling the dough or using an expired baking soda batch also causes excessive spreading. Ensure your butter is softened properly and always chill your dough.