The Ultimate Guide to Baking Chocolate Cookies with White Chocolate Chips
Quick Answer: Chocolate cookies with white chocolate chips combine a rich, fudgy cocoa cookie base with sweet, creamy pockets of white chocolate. Achieving the perfect texture requires balancing Dutch-process cocoa powder, exact flour measurements, and a mandatory dough chilling step to prevent spreading.
To make them at home, cream softened butter with brown and white sugars, beat in eggs and vanilla, fold in your dry ingredients, and mix in chopped white chocolate. Bake at 350°F (175°C) for 9 to 11 minutes until edges are set.
- Prep time: 20 minutes
- Chill time: 30 minutes
- Bake time: 10 minutes
- Yield: 18 large cookies
Introduction
Few flavor combinations match the striking visual and taste contrast of deep, dark chocolate cookies dotted with sweet, creamy white chocolate chips. This guide provides everything you need to master this beloved treat from scratch in your own kitchen.
Whether you are a novice home baker or an experienced enthusiast looking to refine your technique, this comprehensive resource covers every variable. You will learn the science behind ingredient ratios, professional mixing methods, and troubleshooting strategies for flawless results.
By the end of this guide, you will understand how to manipulate sugar, fat, and flour to achieve your ideal cookie texture, whether crispy, chewy, or fudgy. Let us dive into the art and science of baking exceptional white chocolate chip chocolate cookies.
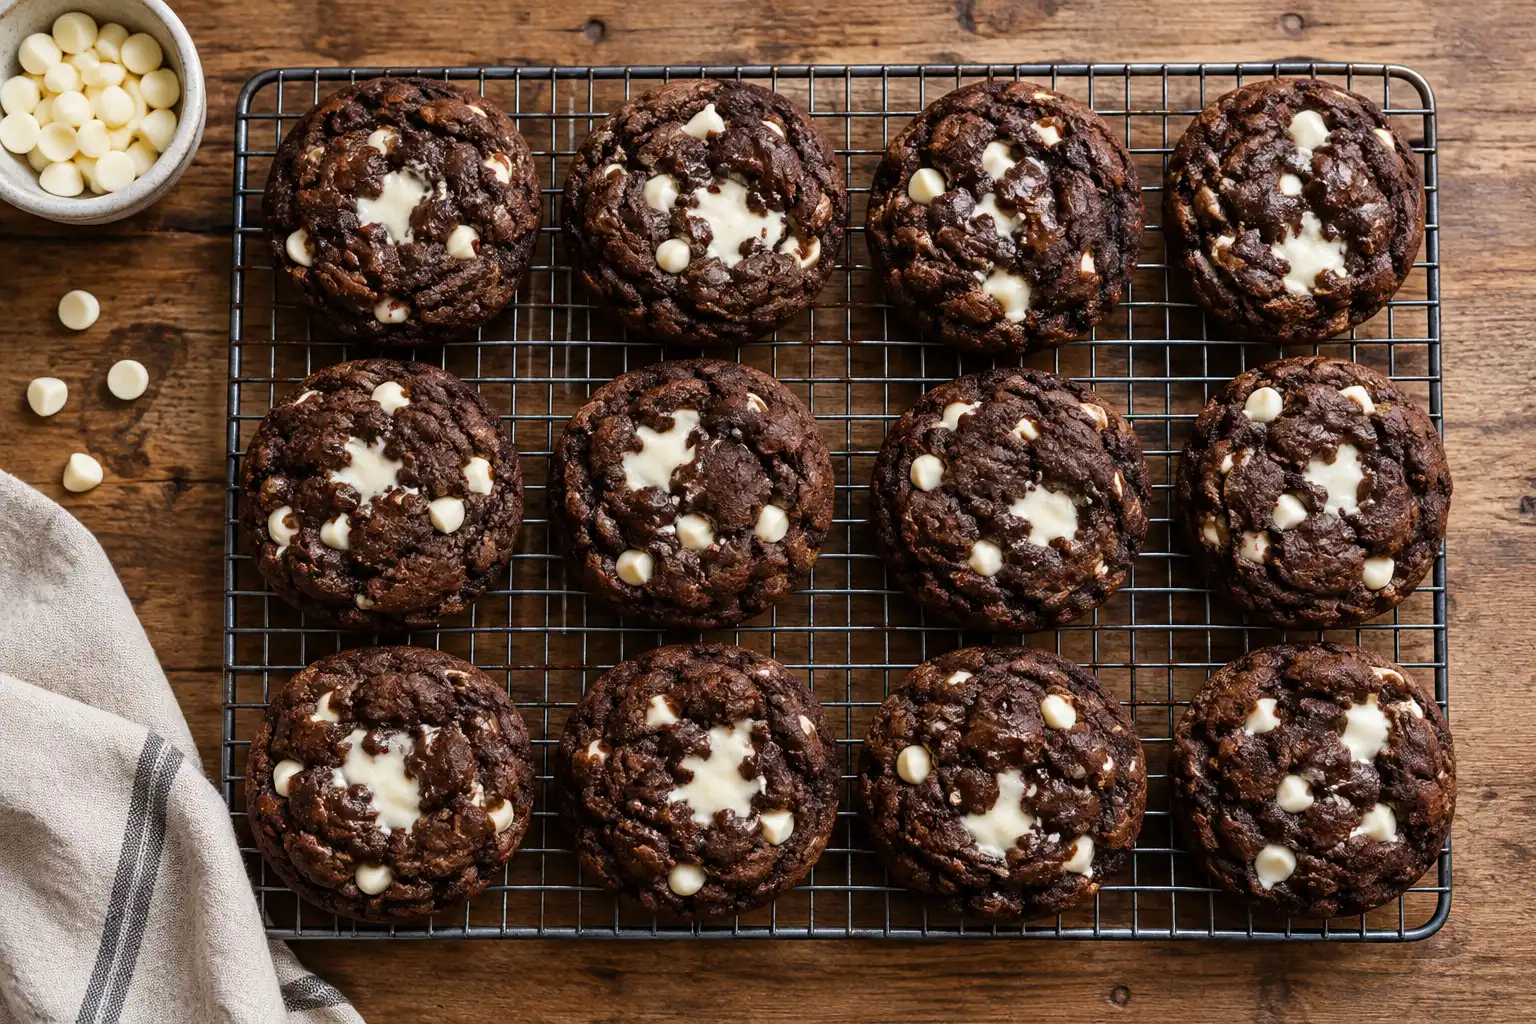
Cocoa Powder Selection: Dutch-Process vs. Natural
The type of cocoa powder you choose dictates the color, flavor profile, and chemical behavior of your chocolate cookies. Selecting the correct variety is the first step toward a superior batch.
Natural Cocoa Powder
Natural cocoa powder is acidic, retaining sharp, fruity chocolate notes. When used with baking soda, it provides a moderate lift and a lighter, reddish-brown hue.
Dutch-Process Cocoa Powder
Dutch-process cocoa is washed with a potassium solution to neutralize its acidity, resulting in a deep, dark color and a smooth, mellow flavor. Most professional bakers prefer Dutch-process cocoa for rich chocolate cookies because it delivers an intense fudge-like flavor profile.
Match your leavening agent to your cocoa powder. Natural cocoa requires baking soda, while Dutch-process cocoa often requires baking powder or a balanced combination depending on the recipe’s acidity.
Butter Temperatures and Sugar Ratios
The physical state of your butter when mixed profoundly influences cookie structure. Softened butter creamed with sugar incorporates air pockets, resulting in a lighter texture.
Brown Sugar vs. Granulated White Sugar
Granulated white sugar promotes crisp edges and wider spread due to its lower moisture content. Brown sugar contains molasses, introducing acidity, moisture, and a distinct toffee-like flavor.
Using a higher ratio of brown sugar to white sugar guarantees a dense, chewy center that contrasts beautifully with sweet white chocolate chips.
The Browned Butter Variation
For advanced depth of flavor, melt and brown your butter before cooling it to room temperature. Browning evaporates excess water and toasts milk solids, imparting a nutty aroma that elevates standard chocolate cookies.
Choosing Quality White Chocolate
True white chocolate consists of cocoa butter, sugar, and milk solids. Many commercial chips labeled as baking pieces are actually compound chocolate containing vegetable oils instead of cocoa butter.
Always inspect ingredient labels to ensure cocoa butter is listed as the primary fat source. Real white chocolate melts smoothly on the palate, offering a luxurious mouthfeel that complements rich cocoa.
Consider chopping a high-quality white chocolate baking bar rather than relying solely on standard chips. Chopped chunks create irregular pools of melted white chocolate throughout the cookie.
Step-by-Step Baking Guide
Follow this detailed walkthrough to produce bakery-quality chocolate cookies with white chocolate chips every single time.
Step 1: Gather and Weigh Your Ingredients
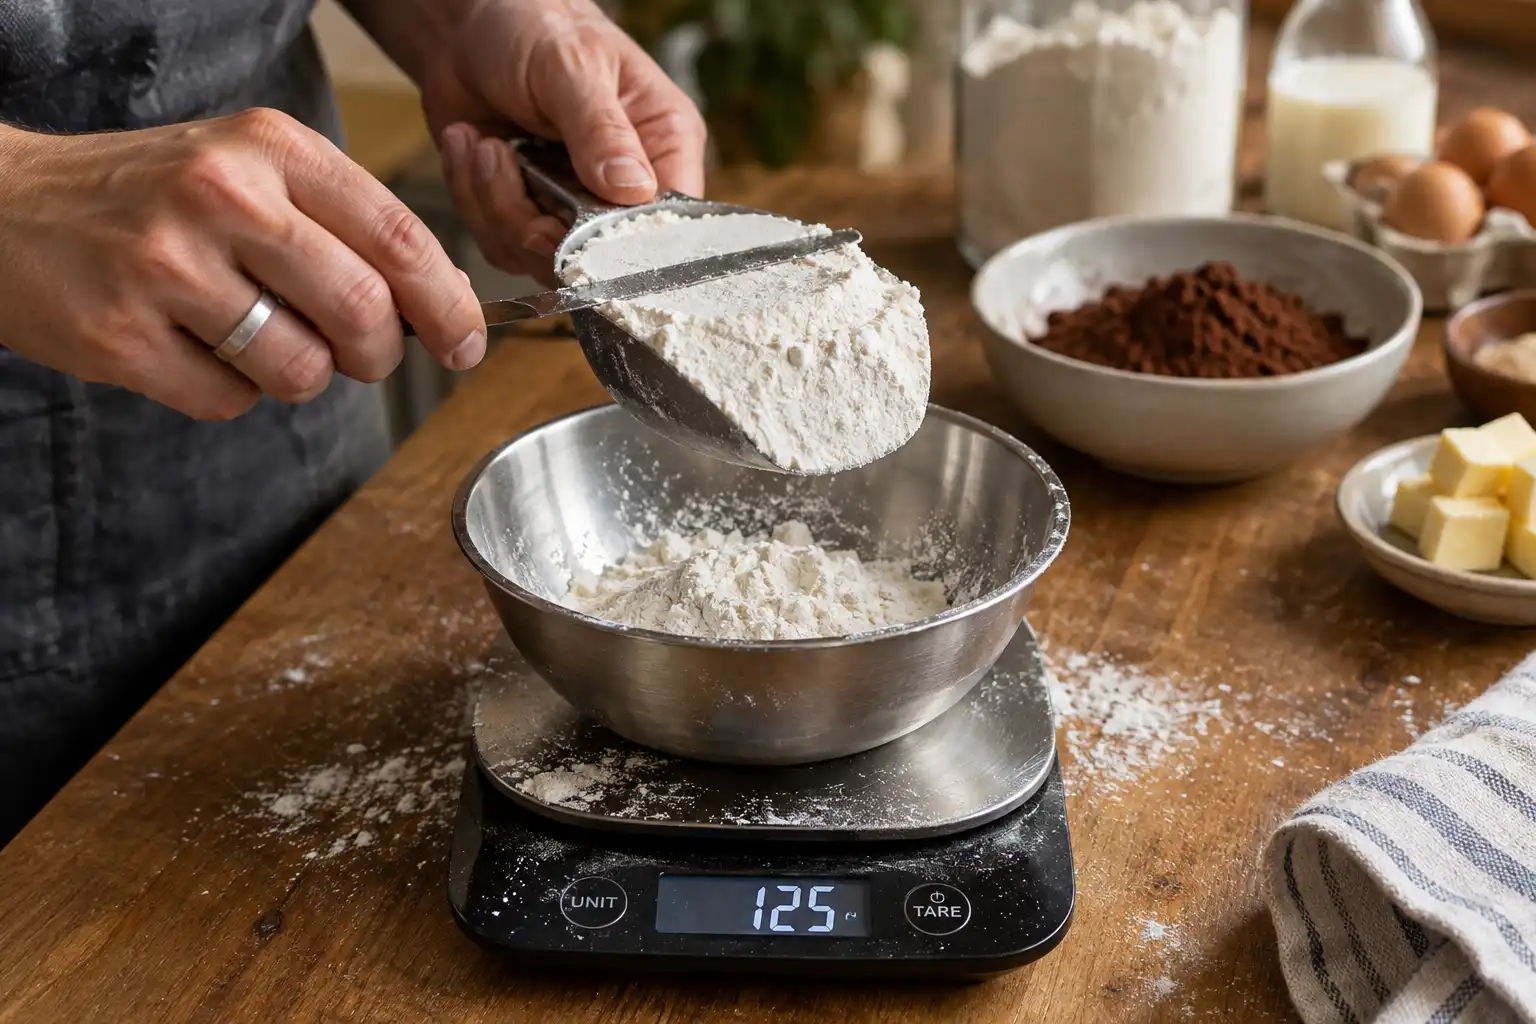
Accurate measurement is critical for baking success. Use a digital kitchen scale to weigh flour, cocoa powder, sugars, and butter in grams.
- What: 1 cup (125g) all-purpose flour, 1/2 cup (50g) Dutch-process cocoa powder, 3/4 cup (150g) packed dark brown sugar, 1/4 cup (50g) granulated sugar, 1/2 cup (115g) unsalted butter (softened), 1 large egg plus 1 yolk, 1 teaspoon vanilla extract, 1/2 teaspoon baking soda, 1/4 teaspoon salt, and 1 cup (180g) white chocolate chips or chopped chunks.
- Why: Measuring by volume using measuring cups often leads to compressed flour, resulting in dry, heavy cookies.
- How: Fluff your flour with a fork, spoon it into your scale container, and level it off.
- Common Mistake: Scooping flour directly with the measuring cup, which packs in up to 30% extra flour.
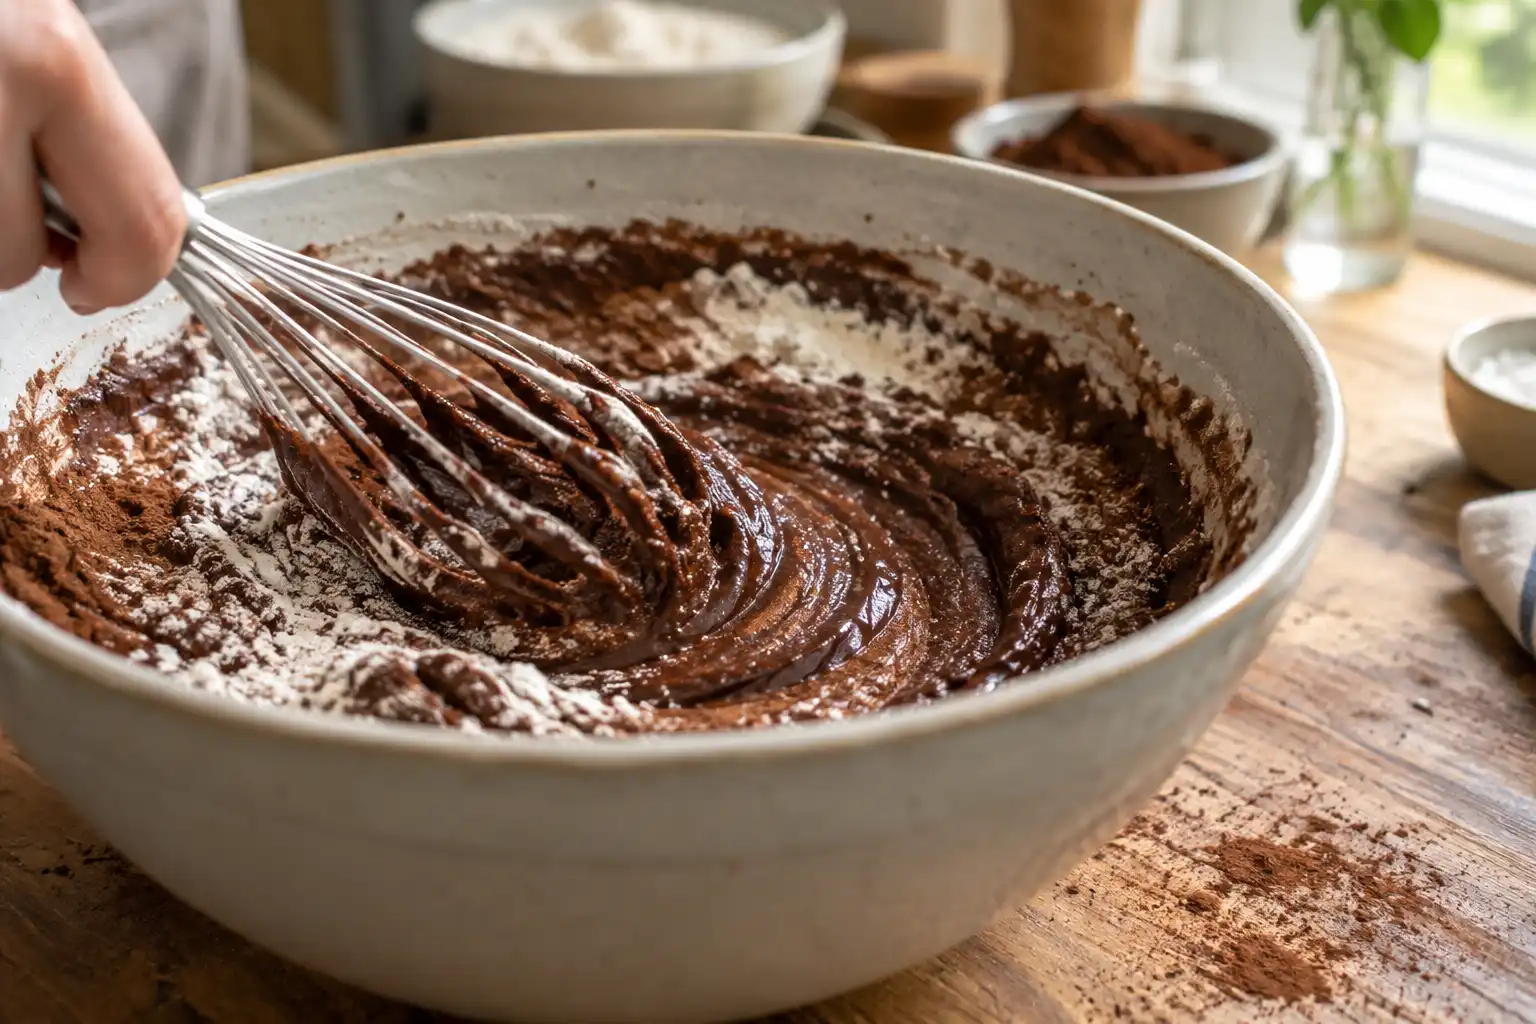
Step 2: Whisk the Dry Ingredients
Combine your dry components thoroughly before introducing them to the wet mixture.
- What: All-purpose flour, cocoa powder, baking soda, and salt mixed in a medium bowl.
- Why: Even distribution of baking soda and salt ensures uniform rising and flavor in every bite.
- How: Whisk vigorously for 30 seconds until no lumps remain in the cocoa powder.
- Pro Tip: Sift the cocoa powder if it appears clumpy to prevent bitter pockets of unmixed powder.
Step 3: Cream the Butter and Sugars
Incorporate air and build the foundational structure of your cookie dough.
- What: Softened unsalted butter beaten with brown and white sugars.
- Why: Sugar crystals cut into the butter fat, creating microscopic air pockets that expand in the oven.
- How: Beat using an electric mixer on medium-high speed for 2 to 3 minutes until pale and fluffy.
- Common Mistake: Using melted or overly hot butter, which dissolves the sugar and yields greasy, flat cookies.
Step 4: Incorporate Wet Ingredients
Add moisture and emulsifying fats to bind the dough.
- What: Egg, egg yolk, and pure vanilla extract added to the creamed butter and sugar mixture.
- Why: The extra egg yolk adds rich fats and moisture, ensuring a fudgy, chewy interior texture.
- How: Beat on medium speed for 1 minute until fully emulsified and glossy. Scrape down the bowl sides.
Step 5: Combine Wet and Dry Mixtures
Merge your components gently to avoid developing excess gluten.
- What: Adding the dry flour and cocoa mixture into the butter-egg bowl.
- Why: Overmixing develops gluten in the wheat flour, turning tender cookies into tough, bread-like biscuits.
- How: Switch to a rubber spatula and fold gently until just a few streaks of flour remain visible.
Step 6: Fold in White Chocolate Chips
Distribute the sweet contrast evenly throughout the rich dough.
- What: High-quality white chocolate chips or chopped white chocolate blocks.
- Why: Gentle folding preserves chip integrity and prevents the chocolate from breaking apart into dust.
- How: Gently fold the chips into the dough until fully encapsulated. Reserve a small handful for pressing onto dough tops before baking.
Step 7: Chill the Cookie Dough
Allow fats to solidify and flavors to meld.
- What: Resting the covered bowl of cookie dough in the refrigerator.
- Why: Chilling solidifies the butter, reducing outward spread during baking and concentrating the cocoa flavor.
- How: Chill the dough for a minimum of 30 minutes, or up to 48 hours for maximum flavor development.
- Pro Tip: Scoop the dough into balls before chilling to save time and make portioning easier.
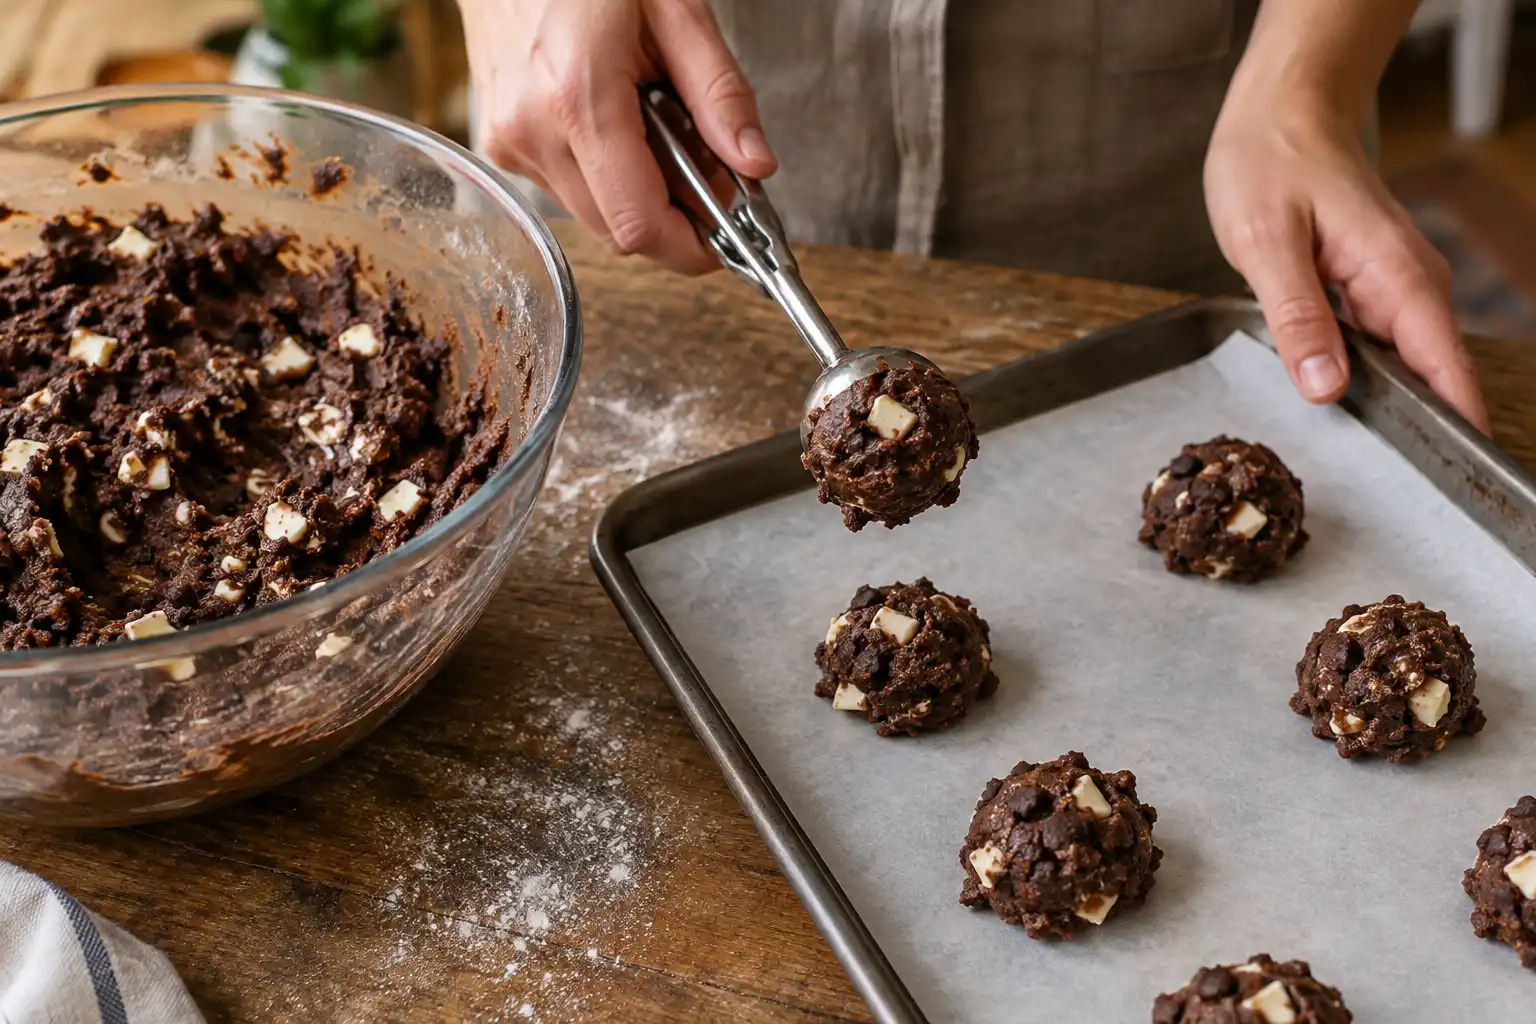
Step 8: Portion and Bake
Transform chilled dough portions into finished, golden-edged cookies.
- What: Scooping 2-tablespoon portions (approx. 50g each) onto parchment-lined baking sheets.
- Why: Uniform sizing ensures even baking times across all cookies.
- How: Bake at 350°F (175°C) for 9 to 11 minutes. The edges should look set while the centers remain soft and slightly underbaked.
- Common Mistake: Over-baking until completely firm in the oven, which results in dry cookies once cooled.
Texture Comparison Table
| Cookie Variation | Primary Fat Used | Sugar Ratio | Final Texture | Best Suited For |
|---|---|---|---|---|
| Classic Chewy | Softened Unsalted Butter | High Brown Sugar / Low White Sugar | Chewy center, crisp outer edges | Everyday home baking and lunchboxes |
| Fudgy Brownie-Like | Melted Butter / Extra Egg Yolk | Balanced Brown and White Sugar | Dense, moist, rich center | Chocolate purists and dessert plating |
| Cakey & Soft | Softened Butter + Baking Powder | High White Sugar | Puffy, soft, domed crumb | Those who prefer lighter, cake-like sweets |
| Crisp & Thin | Melted Butter + Granulated Sugar | High White Sugar / Low Brown Sugar | Crispy throughout with caramelized notes | Ice cream sandwich construction |
Expert Tips for Professional-Grade Results
Elevate your home baking with professional techniques used by pastry chefs worldwide.
The Pan-Banging Technique: Halfway through baking, gently lift and drop your baking sheet against the oven rack. This collapses the cookie center, creating wrinkled edges and chewy rings.
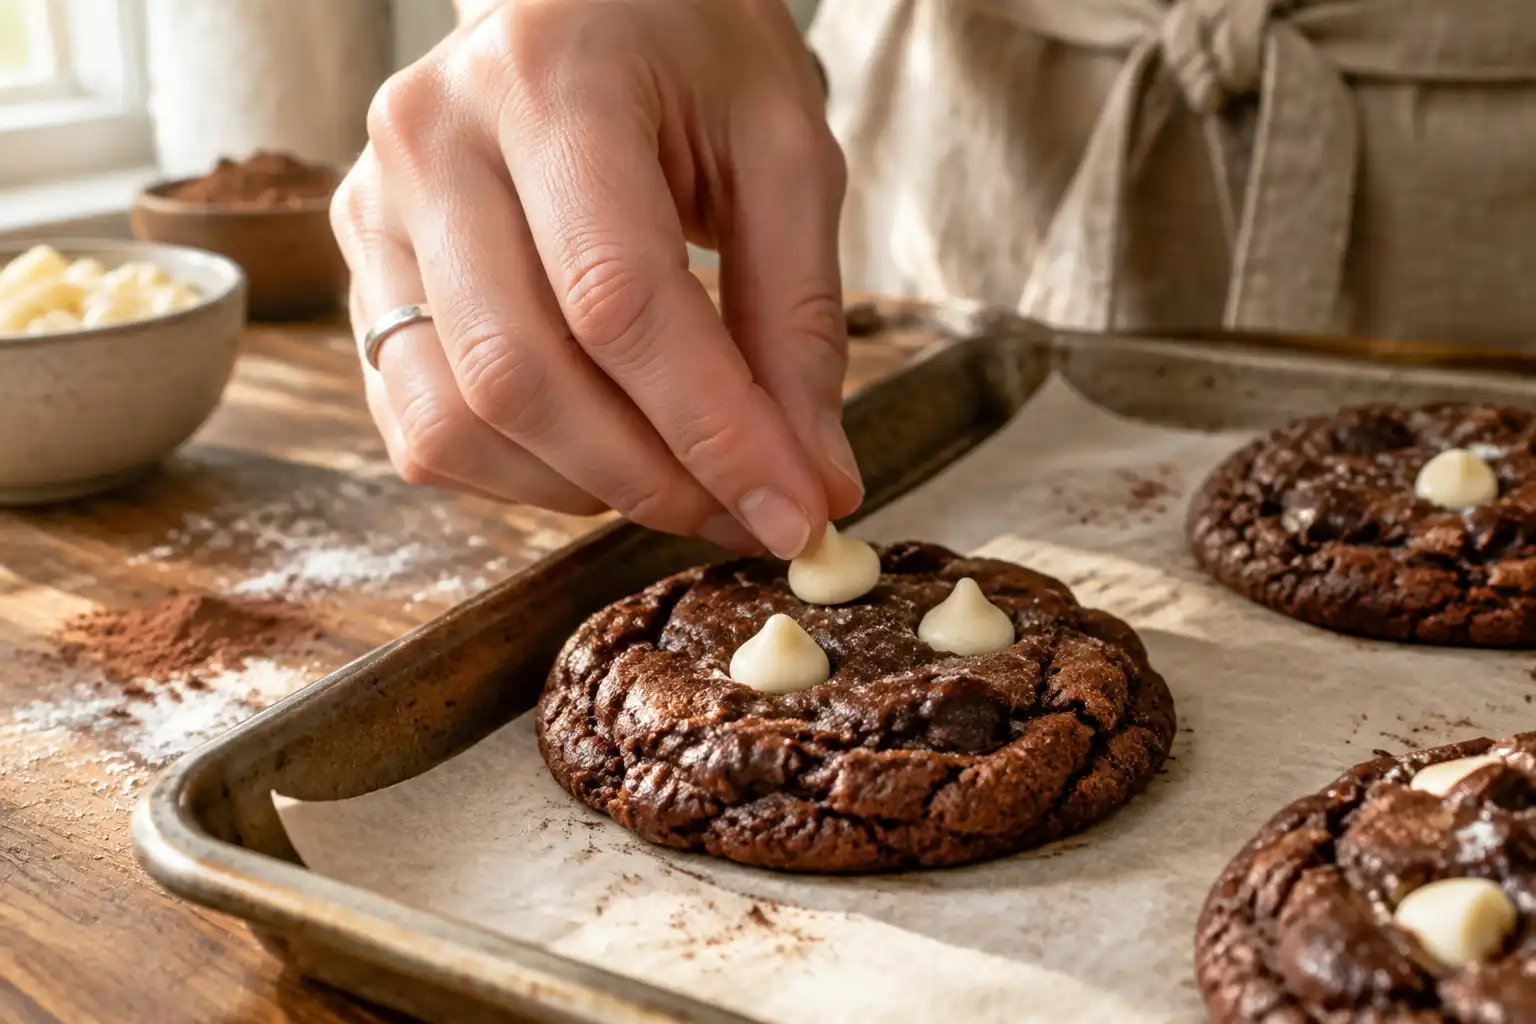
Strategic Topping: Save 10 to 15 white chocolate chips to press onto the tops of the hot cookies immediately after they emerge from the oven. This creates a bakery-style appearance.
Rest on Hot Pans: Allow your baked cookies to rest on the hot baking sheet for 5 minutes before transferring them to a wire rack. Residual heat finishes cooking the center without drying it out.
Sea Salt Finish: Sprinkle a tiny pinch of flaky sea salt, such as Maldon, over the white chocolate chips right after baking. The salt cuts through the intense sweetness of the white chocolate.
Common Mistakes and How to Avoid Them
Even experienced bakers occasionally encounter setbacks. Here is how to identify and prevent common errors.
Cookies Spreading Too Much into a Single Blob
This happens when butter is too warm, dough is not chilled, or too little flour was used. Always chill your dough for at least 30 minutes, and ensure your baking sheet is cool before placing fresh dough on it.
Cookies Are Dry, Chalky, and Crumbly
Excess flour absorption or over-baking causes a dry texture. Weigh your ingredients with a digital scale rather than using measuring cups, and remove the cookies from the oven while the centers still look soft.
White Chocolate Burning or Discoloring
White chocolate contains milk solids that scorch easily at high temperatures. Avoid baking your cookies above 375°F (190°C), and keep white chocolate chips pushed slightly into the dough so they do not sit exposed on the outer edges.
Best Practices for Storage, Freezing, and Reheating
Proper storage preserves moisture, texture, and flavor long after the baking process is complete.
Store baked chocolate cookies in an airtight container at room temperature with a slice of fresh white bread. The cookies will absorb moisture from the bread, remaining soft for up to five days.
Freeze unbaked cookie dough balls on a baking sheet until solid, then transfer them to a freezer-safe bag for up to three months. Bake straight from frozen by adding 2 minutes to the total baking time.
To refresh leftover cookies, microwave them for 8 to 10 seconds on medium power. They will taste as warm and gooey as the moment they left the oven.
Tools and Resources for Baking Success
Equipping your kitchen with the right tools ensures consistent, professional results.
- Digital Kitchen Scale: Essential for precise gram measurements of flour and sugar.
- Stand Mixer or Hand Mixer: Crucial for properly creaming butter and sugar to incorporate air.
- Cookie Scoops (Spring-Loaded): Ensures uniform portion sizes for even baking.
- For further reading on food science and baking chemistry, consult trusted resources such as Serious Eats’ Food Lab.
External Authority References
For deeper academic and culinary insights into baking science, consult these established institutions:
- Bob’s Red Mill Baking Guides for grain science and flour handling.
- King Arthur Baking Company Baker’s Hotline for expert troubleshooting.
Key Takeaways
- Weigh your flour and cocoa powder using a digital kitchen scale to avoid dry, heavy cookies.
- Use Dutch-process cocoa powder for a deep, rich, fudgy chocolate flavor profile.
- Chill your cookie dough for at least 30 minutes to control spread and concentrate flavor.
- Select high-quality white chocolate containing real cocoa butter for superior melt and taste.
- Remove cookies from the oven while centers remain soft to guarantee a chewy interior.
Conclusion
Baking exceptional chocolate cookies with white chocolate chips is both a science and a rewarding culinary art. By understanding ingredient chemistry, controlling your baking temperatures, and utilizing quality chocolate, you can consistently produce bakery-quality treats.
Gather your ingredients, preheat your oven, and enjoy the delicious results of your newfound baking expertise.
Frequently Asked Questions
Why did my chocolate cookies spread too flat in the oven?
Cookies spread too flat when butter is too warm, when dough lacks adequate chilling time, or when there is too little flour in the mixture. Ensure your butter is softened rather than melted, and always chill your dough for at least 30 minutes before baking to solidify the fats.
Can I use natural cocoa powder instead of Dutch-process cocoa?
Yes, you can substitute natural cocoa powder, but it will result in a lighter color and a sharper, more acidic flavor profile. Because natural cocoa is acidic, you may need to adjust your leavening agents slightly to ensure the cookies rise correctly and avoid a dense texture.
How do I know when chocolate cookies are done baking?
Chocolate cookies are done when the edges look set and slightly firm, but the centers still appear soft and slightly underbaked. They will continue to firm up on the hot baking sheet as they rest for five minutes after coming out of the oven.
Should I use white chocolate chips or chopped white chocolate bars?
Chopped white chocolate bars yield superior results because commercial white chocolate chips often contain stabilizers designed to prevent melting. Chopping a high-quality baking bar creates delicious, irregular pools of melted white chocolate throughout your cookies.
Can I freeze unbaked chocolate cookie dough?
Unbaked cookie dough freezes exceptionally well for up to three months. Scoop the dough into individual balls on a baking sheet, freeze them until solid, and transfer them to a freezer-safe bag. Bake straight from frozen by adding two extra minutes to your baking time.
Why are my chocolate cookies dry and crumbly?
Dry and crumbly cookies typically result from packing too much flour into your measuring cups or leaving the cookies in the oven for too long. Using a digital kitchen scale to weigh your flour in grams and removing cookies promptly prevents this issue.
How can I keep my baked cookies soft for multiple days?
Store your baked cookies in an airtight container at room temperature alongside a single slice of fresh white bread. The cookies will absorb moisture from the bread, maintaining a soft, chewy texture for up to five days without altering their flavor.
Can I make this dough without an electric mixer?
You can mix this dough by hand using a sturdy wooden spoon or silicone spatula, provided your butter is properly softened. Vigorously stirring the softened butter and sugars incorporates sufficient air, though an electric mixer makes the creaming process faster and easier.