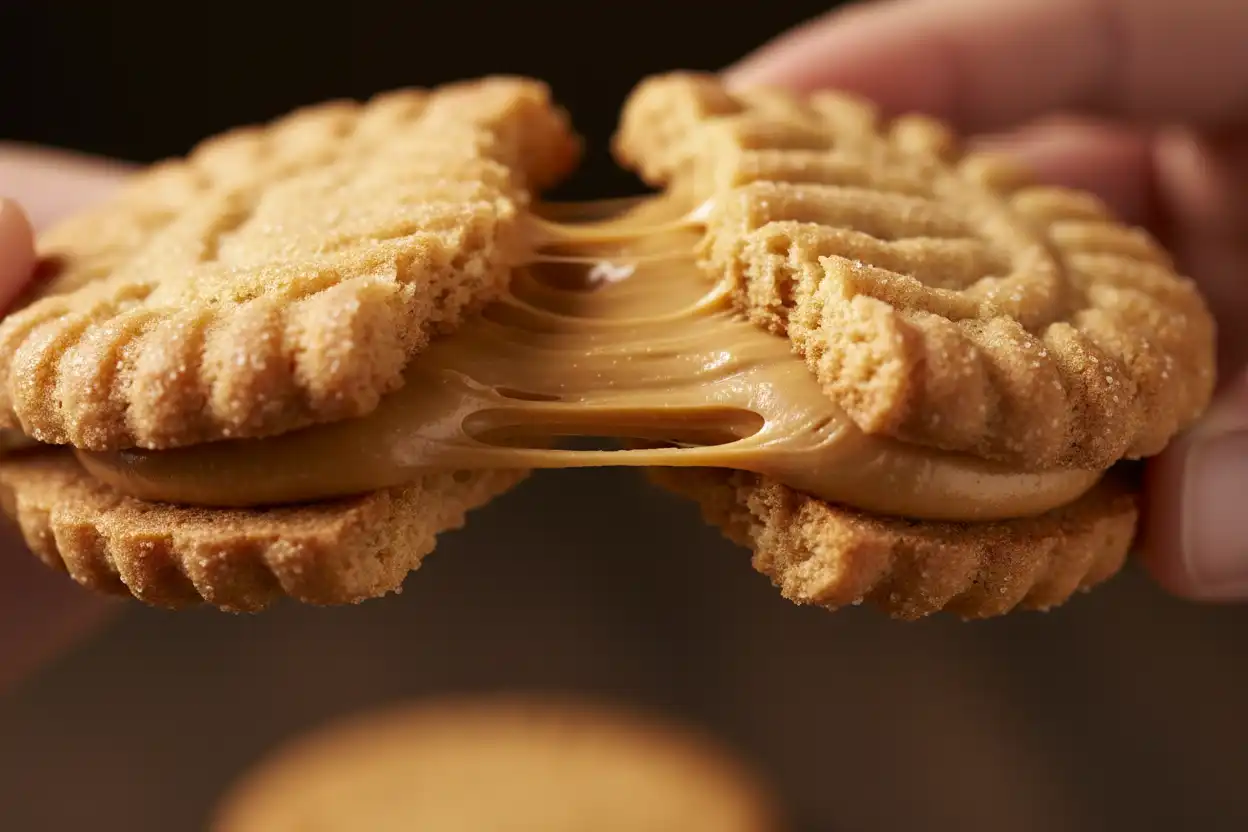
Few things hit the sweet-and-salty spot like crisp peanut butter cookies filled with a creamy peanut butter center. These homemade peanut butter sandwich cookies are rich, nostalgic, and surprisingly simple to make with pantry staples. They have that classic peanut-shaped cookie-shop feel, but with a fresher flavor and a softer, melt-in-your-mouth filling.
If you enjoy nutter butter peanut butter sandwich cookies, lance nekot peanut butter sandwich cookies, or any crunchy filled sandwich cookies, this recipe gives you a homemade version that feels familiar while tasting even better right from your own kitchen.
What Makes These Cookies So Good
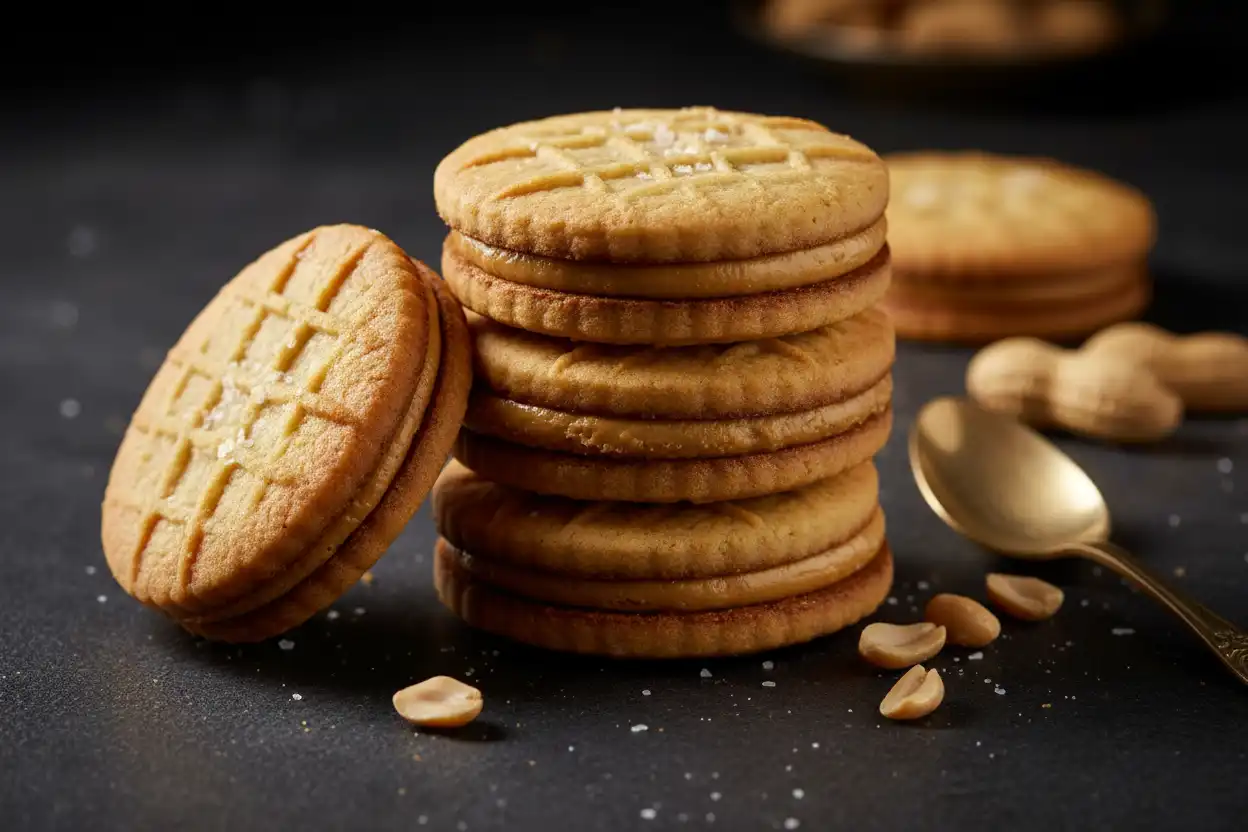
These cookies are built around three simple ideas: deep peanut flavor, crisp edges, and a smooth filling that holds everything together. The cookie dough uses creamy peanut butter, brown sugar, and vanilla for a warm, roasted flavor. A quick chill helps the dough hold its shape, while a fork pattern gives each cookie that classic peanut butter look.
The filling is a simple peanut butter buttercream made with powdered sugar, butter, peanut butter, vanilla, and a splash of milk. It is thick enough to pipe or spread, but soft enough to bite through without squeezing out the sides.
This recipe is perfect when you want:
- A homemade treat for lunchboxes or snack trays
- A fun weekend baking project
- A nostalgic dessert inspired by classic store-bought cookies
- Make-ahead peanut butter desserts for parties
- Crisp, creamy sandwich cookies with big peanut flavor
Ingredients You’ll Need
For the Peanut Butter Cookies
- 1/2 cup unsalted butter, softened
- 1/2 cup creamy peanut butter
- 1/2 cup light brown sugar, packed
- 1/4 cup granulated sugar
- 1 large egg
- 1 teaspoon vanilla extract
- 1 1/4 cups all-purpose flour
- 1/2 teaspoon baking soda
- 1/4 teaspoon baking powder
- 1/4 teaspoon fine salt
For the Peanut Butter Filling
- 1/4 cup unsalted butter, softened
- 1/3 cup creamy peanut butter
- 1 cup powdered sugar
- 1/2 teaspoon vanilla extract
- 1 to 2 tablespoons milk or cream
- Pinch of salt, optional
Before You Start
For the best texture, use regular creamy peanut butter rather than natural peanut butter that separates. Natural peanut butter can make the dough oily or crumbly because the oil content varies. A shelf-stable creamy peanut butter gives the cookies a more consistent structure and helps the filling stay smooth.
Make sure your butter is softened but not melted. Softened butter should give slightly when pressed, while still holding its shape. If the butter is too warm, the cookies may spread too much in the oven.
You will also need a baking sheet, parchment paper, mixing bowls, a hand mixer or stand mixer, a fork, and either a small cookie scoop or spoon.
Step 1: Cream the Butter, Peanut Butter, and Sugars
In a large mixing bowl, add the softened butter, creamy peanut butter, brown sugar, and granulated sugar. Beat on medium speed for 2 to 3 minutes, or until the mixture looks lighter and slightly fluffy.
This step matters because creaming adds air to the dough and helps create a cookie that is crisp at the edges but not hard all the way through. Scrape down the sides of the bowl as needed so everything mixes evenly.
Step 2: Add the Egg and Vanilla
Beat in the egg and vanilla extract until fully combined. The mixture may look slightly glossy at this stage, which is normal. Avoid overmixing once the egg is added. You only need to mix until the wet ingredients are smooth.
Vanilla may seem like a small addition, but it rounds out the peanut flavor and gives the cookies a more bakery-style taste.
Step 3: Mix the Dry Ingredients Separately
In a separate bowl, whisk together the flour, baking soda, baking powder, and salt. Whisking first helps evenly distribute the leavening agents so the cookies bake consistently.
Add the dry ingredients to the peanut butter mixture in two additions. Mix on low speed just until no dry streaks remain. The dough should be soft, thick, and easy to scoop.
If it feels very sticky, do not add extra flour right away. Chilling will firm it up.
Step 4: Chill the Dough
Cover the bowl and chill the dough for at least 30 minutes. This short rest makes the dough easier to handle and helps prevent excessive spreading.
If you want to make the dough ahead, you can chill it for several hours. Let it sit at room temperature for 10 to 15 minutes before scooping if it becomes too firm.
Step 5: Shape the Cookies
Preheat your oven to 350°F and line a baking sheet with parchment paper.
Scoop the chilled dough into small portions, about 1 tablespoon each. Roll each portion into a ball, then gently shape it into a small oval if you want a look inspired by classic peanut butter sandwich cookies.
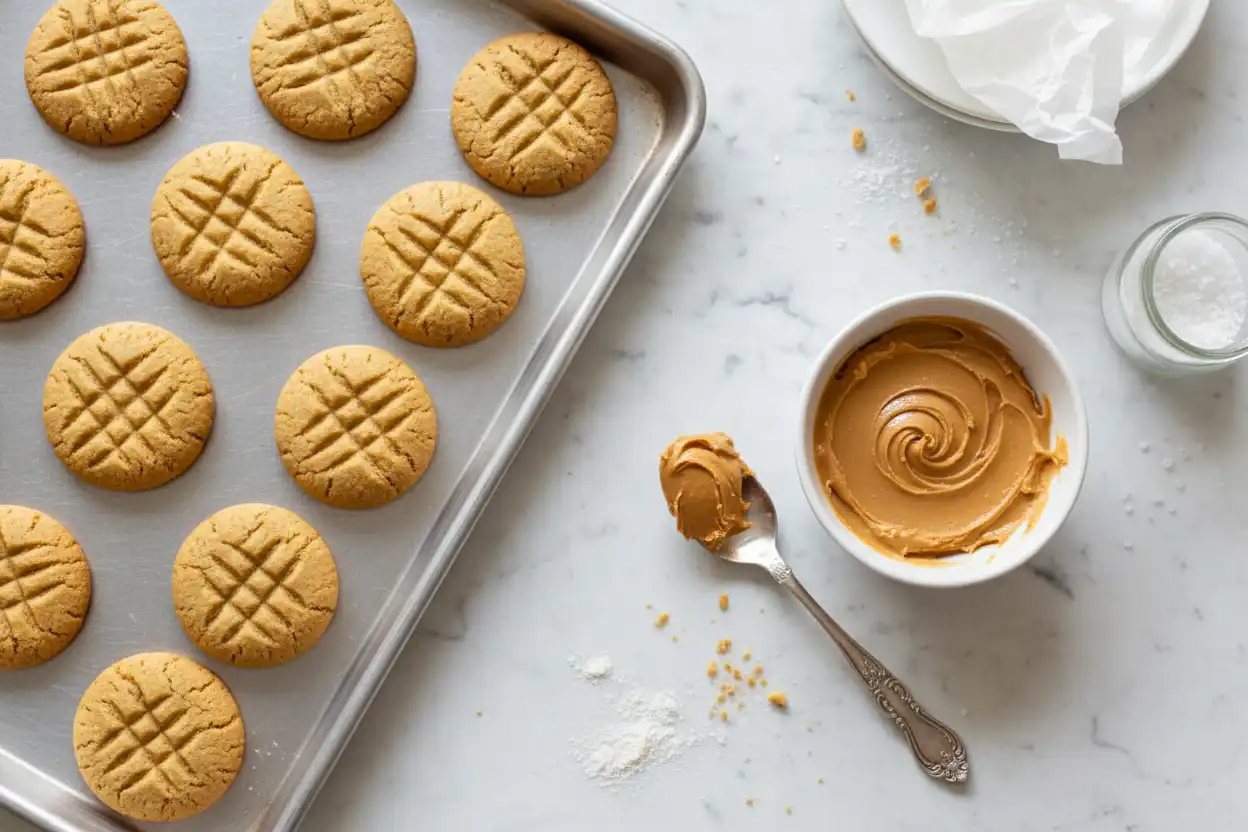
Place the dough portions about 2 inches apart on the prepared baking sheet. Use a fork to press a crisscross pattern into each cookie. For a peanut-shaped look, lightly pinch the center of each oval before pressing with the fork.
Step 6: Bake Until Lightly Golden
Bake the cookies for 9 to 11 minutes, or until the edges look set and the tops appear slightly dry. They may look a little soft in the center when you remove them from the oven, but they will continue to firm up as they cool.
Let the cookies rest on the baking sheet for 5 minutes before transferring them to a wire rack. This prevents breakage and helps the bottoms finish setting.
Allow the cookies to cool completely before filling. If the cookies are warm, the peanut butter filling will melt and slide out.
Step 7: Make the Peanut Butter Filling
In a medium bowl, beat the softened butter and peanut butter until smooth and creamy. Add the powdered sugar, vanilla, and a pinch of salt if using. Beat on low speed at first so the sugar does not puff out of the bowl, then increase to medium speed.
Add milk or cream 1 teaspoon at a time until the filling reaches a spreadable consistency. It should be thick, creamy, and able to hold its shape.
If the filling is too thin, add a little more powdered sugar. If it is too thick, add another small splash of milk.
Step 8: Assemble the Sandwich Cookies
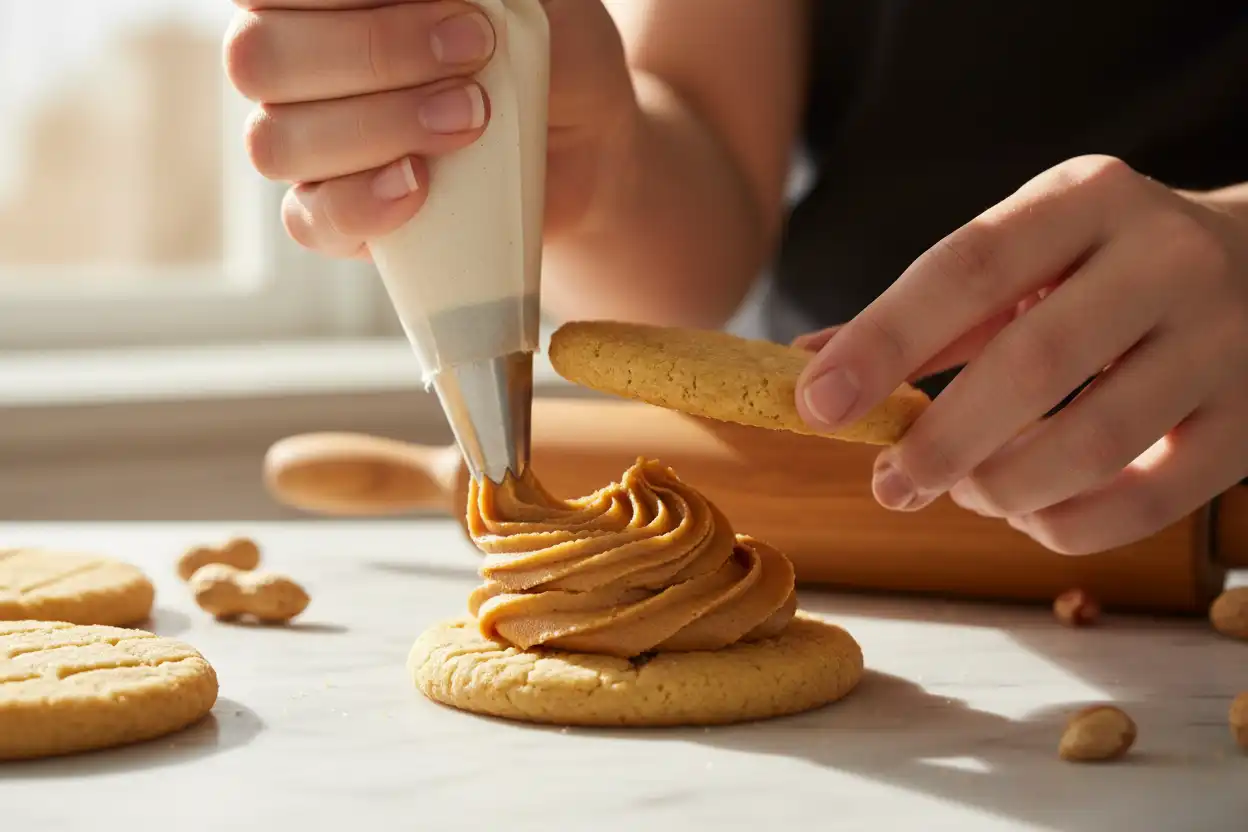
Pair the cooled cookies by size so each sandwich has two similar halves. Spread or pipe a small amount of peanut butter filling onto the flat side of one cookie, then top with another cookie. Press gently until the filling reaches the edges.
Repeat until all cookies are filled.
For a cleaner finish, use a piping bag or a zip-top bag with one corner snipped off. This makes it easier to control the amount of filling and gives the cookies a neat, bakery-style look.
Step 9: Let the Cookies Set
You can enjoy the cookies right away, but they taste even better after resting for 20 to 30 minutes. This gives the filling time to firm slightly and helps the cookie layers settle into the sandwich.
For a firmer cookie, chill the assembled sandwiches for 15 minutes before serving. For a softer bite, let them sit at room temperature for a few minutes after chilling.
Tips for the Best Peanut Butter Sandwich Cookies
Use these simple tips to make sure your cookies turn out flavorful, sturdy, and easy to assemble.
- Measure the flour carefully. Too much flour can make the cookies dry. Spoon flour into the measuring cup and level it off instead of scooping directly from the bag.
- Do not skip the chill time. Chilling helps the cookies keep their shape and creates a better texture.
- Keep the cookies small. Smaller cookies are easier to sandwich and give you the best cookie-to-filling ratio.
- Cool completely before filling. Even slightly warm cookies can cause the filling to soften too much.
- Match cookies by size. This makes the finished sandwich cookies look more polished.
- Adjust salt to taste. A tiny pinch of salt in the filling balances the sweetness and boosts the peanut butter flavor.
Easy Variations
Once you know the basic method, you can customize these cookies in several delicious ways.
Chocolate Peanut Butter Sandwich Cookies
Add 2 tablespoons of cocoa powder to the filling or drizzle the assembled cookies with melted chocolate. Chocolate and peanut butter are always a strong pairing, especially for richer peanut butter desserts.
Crunchy Peanut Butter Filling
Use crunchy peanut butter in the filling for extra texture. Keep the cookie dough itself creamy for the best structure.
Honey Peanut Butter Filling
Replace 1 tablespoon of milk with honey for a slightly sweeter, more old-fashioned flavor.
Mini Party Cookies
Use 1 teaspoon of dough per cookie instead of 1 tablespoon. Reduce the bake time slightly and watch closely. Mini sandwich cookies are great for dessert boards and party trays.
Dipped Peanut Butter Cookies
Dip half of each assembled cookie in melted chocolate, then let them set on parchment paper. Add chopped peanuts before the chocolate firms for extra crunch.
How to Store Them
Store the finished cookies in an airtight container at room temperature for up to 3 days. If your kitchen is warm, refrigerate them so the filling stays firm.
For longer storage, place the cookies in a freezer-safe container with parchment between layers. Freeze for up to 2 months. Thaw in the refrigerator or at room temperature before serving.
You can also freeze the unfilled cookies and add the filling later. This is a good option if you want the crispest possible texture.
Make-Ahead Instructions
The dough can be made up to 2 days ahead and stored covered in the refrigerator. Let it soften slightly before scooping and shaping.
The filling can also be made a day in advance. Store it covered in the refrigerator, then let it come to room temperature and re-whip briefly before assembling.
If you are baking for an event, make the cookies one day ahead and fill them the day you plan to serve. This keeps the texture fresh while still saving time.
Common Mistakes to Avoid
The cookies spread too much
The dough may have been too warm, or the butter may have been overly soft. Chill the dough longer before baking the next batch.
The cookies are too dry
Too much flour is the most common cause. Measure carefully, and avoid overbaking. Pull the cookies from the oven once the edges are set.
The filling is too sweet
Add a pinch of salt or a little more peanut butter to balance the powdered sugar.
The filling squeezes out
The filling may be too thin, or too much may have been added. Mix in extra powdered sugar and use a smaller amount per cookie.
Frequently Asked Questions
Can I use natural peanut butter?
It is not recommended for the most consistent result. Natural peanut butter can separate and change the texture of both the dough and filling. If you only have natural peanut butter, stir it extremely well before using and expect a slightly different texture.
Can I make these cookies gluten-free?
You can try a cup-for-cup gluten-free flour blend designed for baking. Results may vary depending on the blend, so chill the dough well and bake a small test batch first.
Can I make the filling less sweet?
Yes. Start with 3/4 cup powdered sugar instead of 1 cup, then adjust as needed. The filling will be softer with less sugar, so add only enough milk to make it spreadable.
Are these like store-bought peanut butter sandwich cookies?
They are inspired by the same sweet, salty, peanut-forward flavor people love in cookies like nutter butter peanut butter sandwich cookies and lance nekot peanut butter sandwich cookies, but the homemade version has a fresher taste and a customizable filling.
Can I double the recipe?
Yes. Double all ingredients and bake in batches. Keep any dough you are not currently baking chilled so the cookies hold their shape.
Serving Ideas
Serve these cookies with cold milk, hot coffee, or a scoop of vanilla ice cream. They also make a fun addition to lunchboxes, bake sales, cookie swaps, and holiday dessert trays.
For a simple dessert platter, pair them with chocolate cookies, shortbread, and fresh strawberries. The salty peanut butter flavor helps balance sweeter desserts and adds a nostalgic touch.

Final Baking Notes
The secret to excellent homemade peanut butter sandwich cookies is patience: chill the dough, bake just until set, cool completely, and use a filling that is thick but creamy. With those basics in place, you get cookies that are crisp, rich, and full of peanut butter flavor in every bite.
Whether you are recreating a childhood favorite or adding a new recipe to your list of go-to peanut butter desserts, these homemade sandwich cookies are a satisfying treat worth making again and again.