Few frozen desserts get a bigger smile than a bright blue scoop packed with cookies. It is playful, nostalgic, easy to customize, and perfect for birthdays, movie nights, summer parties, or anytime you want sweet treats that feel a little extra. The best part is that cookie monster ice cream is not one single formula. You can make it rich and custardy, quick and no-churn, extra crunchy, ultra-creamy, or even dairy-free while keeping the same cheerful blue color and cookie-loaded personality.
This guide walks you through the ingredients, techniques, and variations that help you create a freezer-worthy batch at home. Whether you own an ice cream maker or only have a mixing bowl and a loaf pan, you can build a version that tastes as fun as it looks.
What Makes This Ice Cream So Special?
Cookie monster-style ice cream is typically known for three things:
- A vivid blue base
- A creamy vanilla or cookie-flavored ice cream
- A generous mix of cookies, often chocolate chip cookies and chocolate sandwich cookies
Unlike more traditional ice cream flavors, this one leans into fun first. The blue color does not have to represent a specific fruit or flavor. Instead, it creates a playful backdrop for cookies, cream, chocolate, and vanilla.
That flexibility makes it ideal for home cooks. You can keep the base simple, add your favorite store-bought cookies, fold in homemade cookie pieces, or swirl in extras like fudge, marshmallow creme, caramel, or cookie butter. The final result should be creamy, colorful, and packed with texture in every bite.
The Best Cookies to Use
A great batch starts with choosing cookies that hold up well in frozen desserts. Some cookies soften into the base, while others stay chewy or crunchy. A combination gives the most satisfying texture.
Good options include:
- Chocolate chip cookies for buttery sweetness and chewy chunks
- Chocolate sandwich cookies for a cookies-and-cream effect
- Mini cookies for easy mixing and decorating
- Fudge-filled cookies for a richer chocolate bite
- Sugar cookies for a softer, cake-like texture
- Brownie brittle or cookie crisps for extra crunch
For the best balance, use both soft and crunchy cookies. Soft cookies blend into the ice cream and create pockets of cookie dough-like sweetness. Crunchier cookies add contrast, especially when folded in right before freezing.
If you want large cookie pieces, break them by hand instead of crushing them into crumbs. Crumbs can make the base look muddy, especially when mixed with the blue color. A few crumbs are fine, but visible chunks make the finished ice cream more exciting.
Key Ingredients for a Creamy Blue Base
Most homemade cookie monster ice cream recipes start with a vanilla-style base. From there, you add color and cookies.
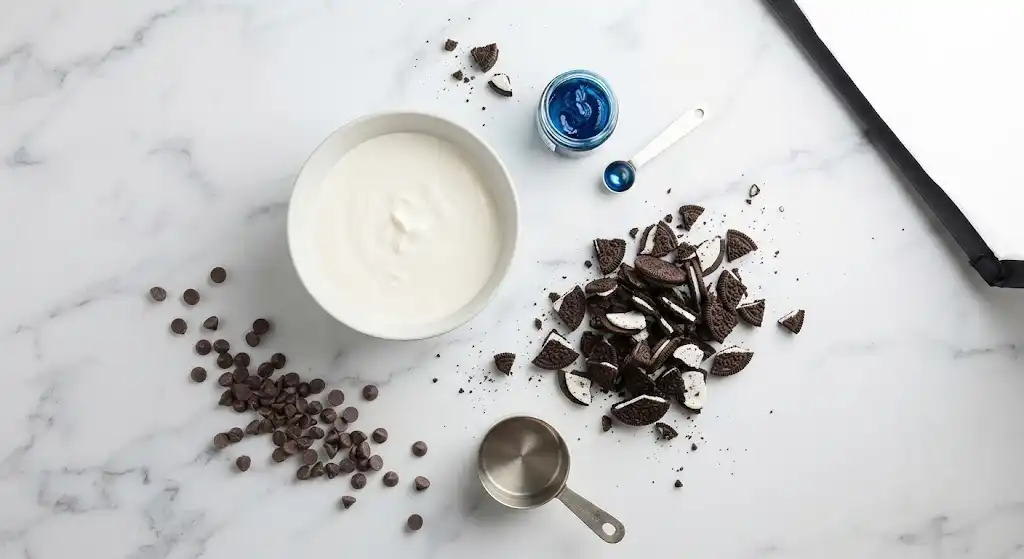
Common ingredients include:
- Heavy cream for richness and body
- Whole milk or sweetened condensed milk, depending on the method
- Sugar for sweetness and scoopability
- Vanilla extract for a classic bakery-style flavor
- Blue gel food coloring for strong color without adding too much liquid
- Cookies folded in after the base is prepared
- A pinch of salt to balance the sweetness
Gel food coloring is usually better than liquid food coloring because it creates a bold blue shade with only a small amount. Add it gradually until you reach the color you want. The color may look slightly softer after freezing, so it is fine if the unfrozen base appears a little brighter than your target shade.
Classic Churned Cookie Ice Cream
This version uses an ice cream maker and creates a smooth, creamy texture. It is a great choice if you want a scoop-shop style result.
Ingredients
- 2 cups heavy cream
- 1 cup whole milk
- 3/4 cup granulated sugar
- 1 tablespoon vanilla extract
- 1/4 teaspoon salt
- Blue gel food coloring, added gradually
- 1 cup chopped chocolate chip cookies
- 1 cup chopped chocolate sandwich cookies
Method
- In a large mixing bowl, whisk together the heavy cream, whole milk, sugar, vanilla extract, and salt until the sugar is mostly dissolved.
- Add a small amount of blue gel food coloring and whisk until evenly blended. Continue adding tiny amounts until the base is bright blue.
- Cover and chill the mixture for at least 2 hours. A colder base churns better and freezes more smoothly.
- Pour the chilled mixture into your ice cream maker and churn according to the manufacturer’s instructions.
- During the last few minutes of churning, add the chopped cookies.
- Transfer the ice cream to a freezer-safe container. Press a piece of parchment paper or plastic wrap against the surface, cover, and freeze until firm.
For the best texture, let the ice cream sit at room temperature for a few minutes before scooping. This helps soften the cookie pieces and makes the scoops smoother.
Easy No-Churn Version
No ice cream maker? No problem. This no-churn method is rich, creamy, and simple. It relies on whipped cream and sweetened condensed milk to create a soft, scoopable texture.
Ingredients
- 2 cups cold heavy cream
- 1 can sweetened condensed milk
- 1 tablespoon vanilla extract
- 1/4 teaspoon salt
- Blue gel food coloring
- 1 cup chopped chocolate chip cookies
- 1 cup chopped chocolate sandwich cookies
Method
- In a large bowl, whip the cold heavy cream until stiff peaks form.
- In a separate bowl, stir together the sweetened condensed milk, vanilla, salt, and blue gel food coloring.
- Gently fold the whipped cream into the blue condensed milk mixture. Work slowly so the mixture stays light and airy.
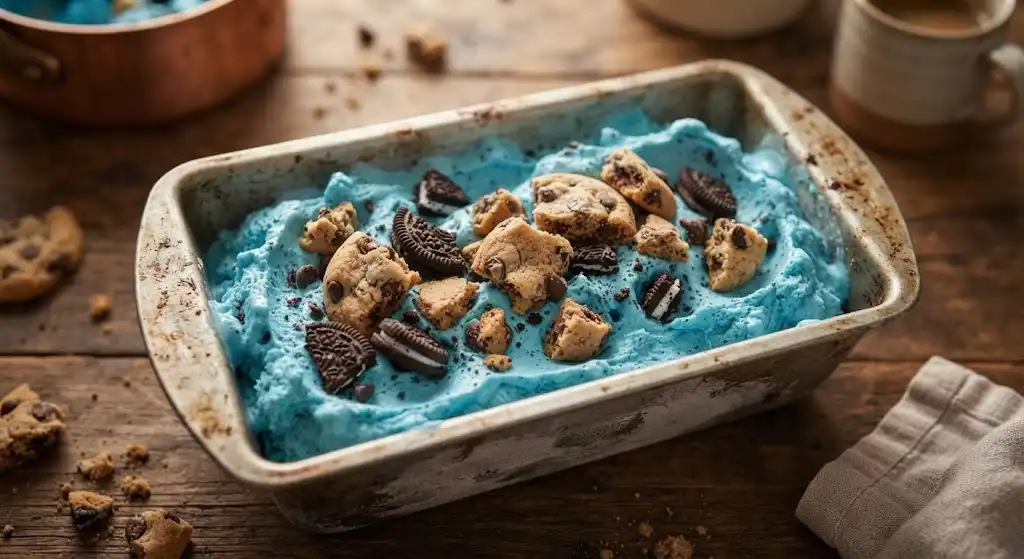
- Fold in most of the chopped cookies, saving a handful for the top.
- Spoon the mixture into a loaf pan or freezer-safe container.
- Sprinkle the reserved cookie pieces over the surface.
- Cover tightly and freeze until firm.
This version is especially good for parties because it is low effort and easy to make ahead. The texture is slightly different from churned ice cream, but it is creamy, sweet, and very satisfying.
Cookie Dough-Inspired Variation
If you love cookie dough ice cream flavors, you can push this recipe in that direction by adding edible cookie dough pieces. Use a dough made specifically to be eaten without baking. Avoid raw flour unless it has been heat-treated, and do not use raw eggs.
To make a cookie dough-style version:
- Add mini chocolate chips to the blue base.
- Fold in small pieces of edible chocolate chip cookie dough.
- Use fewer chocolate sandwich cookies so the cookie dough remains the focus.
- Add a tiny splash of butter extract if you want a stronger bakery flavor.
The result is rich and playful, with a mix of creamy vanilla, cookie chunks, chocolate chips, and soft dough bites.
Cookies-and-Cream Overload Variation
For a more chocolate-forward batch, make chocolate sandwich cookies the star.
Try these additions:
- Fold crushed chocolate sandwich cookies into the base.
- Add larger cookie chunks near the end for texture.
- Swirl in fudge sauce before freezing.
- Top with mini sandwich cookies for decoration.
To create a swirl, spoon a layer of blue ice cream into your container, drizzle with fudge, add another layer, and repeat. Use a butter knife to gently swirl once or twice. Avoid overmixing, or the fudge will disappear into the base.
Birthday Party Version
Cookie monster ice cream already feels festive, but you can make it even more party-ready with colorful add-ins.
Good birthday-style mix-ins include:
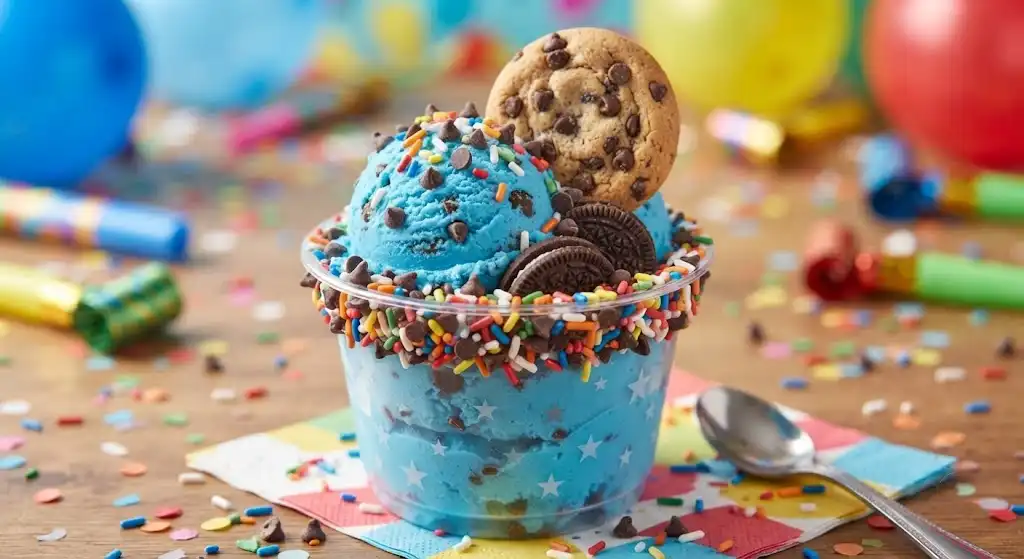
- Rainbow sprinkles
- Chopped frosted sugar cookies
- White chocolate chips
- Crumbled vanilla cupcakes
- A ribbon of marshmallow creme
Add sprinkles at the end, just before freezing. Some sprinkles can bleed color into the ice cream, so use them lightly or choose sprinkle blends designed for baking and frozen desserts.
This version pairs well with waffle cones, cookie bowls, or a build-your-own sundae bar. Offer toppings like whipped cream, hot fudge, extra cookies, and mini chocolate chips so guests can customize their scoops.
Dairy-Free Cookie Monster Ice Cream
You can make a dairy-free version using coconut cream or another rich plant-based base. The key is choosing ingredients with enough fat to create a creamy texture.
A simple dairy-free approach:
- Use full-fat coconut cream or a rich plant-based whipping cream.
- Sweeten with sugar, maple syrup, or dairy-free condensed milk.
- Add vanilla extract and a pinch of salt.
- Use blue gel coloring or a plant-based natural color option if preferred.
- Fold in dairy-free cookies and chocolate chips.
Coconut cream may add a light coconut flavor, which works nicely with chocolate cookies. If you prefer a more neutral taste, look for plant-based cream alternatives designed for whipping or frozen desserts.
How to Keep Cookies from Getting Too Soggy
Cookies naturally soften in ice cream, but you can control the texture with a few simple tricks.
First, fold cookies in at the end rather than letting them sit in the liquid base for a long time. Second, use larger chunks instead of fine crumbs. Third, reserve some crisp cookie pieces for serving and sprinkle them on top right before eating.
You can also lightly freeze cookie chunks before adding them. This helps them stay more defined as they mix into the base. For extra crunch, choose cookies with a firm structure, such as chocolate sandwich cookies or crisp chocolate chip cookies.
How to Get the Perfect Blue Color
The color is part of the fun, so it is worth getting right. Start with a white or pale vanilla base, then add blue gel color in small amounts. Stir fully before adding more.
For a deeper color, use a royal blue or sky blue gel. For a softer pastel look, use less coloring. If your base has a yellow tint from cream, vanilla, or egg yolks, the blue may appear slightly teal. A tiny drop of violet food coloring can help balance yellow tones, but use it carefully.
If you prefer to avoid artificial colors, you can experiment with natural blue coloring options. Keep in mind that natural colors may be softer, may shift in tone, and may affect flavor depending on the ingredient used.
Serving Ideas for Maximum Fun
This ice cream is delicious on its own, but it also works beautifully in creative desserts.
Try serving it as:
- Scoops in waffle cones with cookie crumbs on the rim
- Ice cream sandwiches between chocolate chip cookies
- A sundae with hot fudge and whipped cream
- A milkshake blended with milk and extra cookies
- A topping for brownies or blondies
- Mini scoops served in party cups
- A frozen pie filling in a cookie crust
For ice cream sandwiches, freeze the scoops slightly after assembling so the cookies and ice cream firm up together. For milkshakes, start with less milk than you think you need, then add more until the texture is thick but drinkable.

Storage Tips
Homemade ice cream tastes best when stored properly. Use a shallow, airtight freezer-safe container to help it freeze evenly. Press parchment paper or plastic wrap directly onto the surface before adding the lid. This helps reduce ice crystals and keeps the top from drying out.
Store the ice cream toward the back of the freezer, where the temperature is more stable. Avoid repeated thawing and refreezing, which can make the texture icy.
If the ice cream becomes too hard, let it rest on the counter briefly before scooping. A warm scoop also helps create cleaner, rounder portions.
Common Mistakes to Avoid
Even simple recipes can go wrong if a few details are overlooked. Watch out for these common issues:
- Adding too many cookie crumbs, which can make the ice cream gritty
- Using too much liquid food coloring, which can thin the base
- Skipping the chill time for churned ice cream
- Overmixing no-churn ice cream and deflating the whipped cream
- Adding warm fudge or caramel, which can melt the base
- Storing the ice cream without a tight cover
The goal is balance. You want enough cookies to make every bite exciting, but not so many that the base disappears. You want bold color, but not so much coloring that it affects the texture or taste.
Flavor Pairings and Custom Add-Ins
Once you master the basic method, you can create your own signature version. Cookie monster ice cream works well with many sweet treats because the vanilla base and cookie chunks are so versatile.
Consider adding:
- Peanut butter cups for a chocolate-peanut butter twist
- Brownie pieces for a richer dessert
- Caramel swirls for buttery sweetness
- Pretzel pieces for a salty crunch
- Marshmallows for a softer, fluffier bite
- White chocolate chunks for contrast
- Graham cracker pieces for a cookie crust flavor
Try not to add every mix-in at once. Choose two or three that work together so the finished ice cream still feels intentional.
A Simple Formula for Your Own Version
If you want to improvise, follow this basic formula:
- Start with a vanilla cream base.
- Color it blue gradually.
- Add one soft cookie element.
- Add one crunchy cookie element.
- Include one optional swirl or candy mix-in.
- Freeze until firm and serve with extra cookies on top.
This approach gives you endless room to play while keeping the dessert recognizable. It also helps you design new ice cream flavors without losing the creamy texture that makes homemade ice cream so rewarding.
Final Scoop
Cookie-loaded blue ice cream is cheerful, customizable, and easier to make than it looks. Choose the churned version when you want a classic creamy texture, the no-churn version when you want convenience, or a themed variation when you are making dessert for a special occasion.
With a bold blue base, plenty of cookie chunks, and the right storage method, you can create a homemade frozen dessert that looks playful and tastes indulgent. Keep a few extra cookies nearby for topping, because this is one of those sweet treats that deserves a little extra crunch right before serving.