Delicious Molasses Cookies: A Classic Recipe
These molasses cookies have gently crisp edges, soft centers, and a warm, spiced flavor that suits an afternoon coffee or a holiday cookie plate. This molasses cookies recipe walks you through mixing, chilling, shaping, and baking, with clear doneness cues and an oatmeal variation. The goal is a tender, chewy cookie—not a cakey biscuit or an underbaked, liquid-centered dessert.
- What do you need before starting?
- Measure the ingredients
- Make the cookies step by step
- How do you know when the cookies are done?
- Adapt the dough for oatmeal molasses cookies
- Why did your cookies spread or turn hard?
- Cool, store, and serve
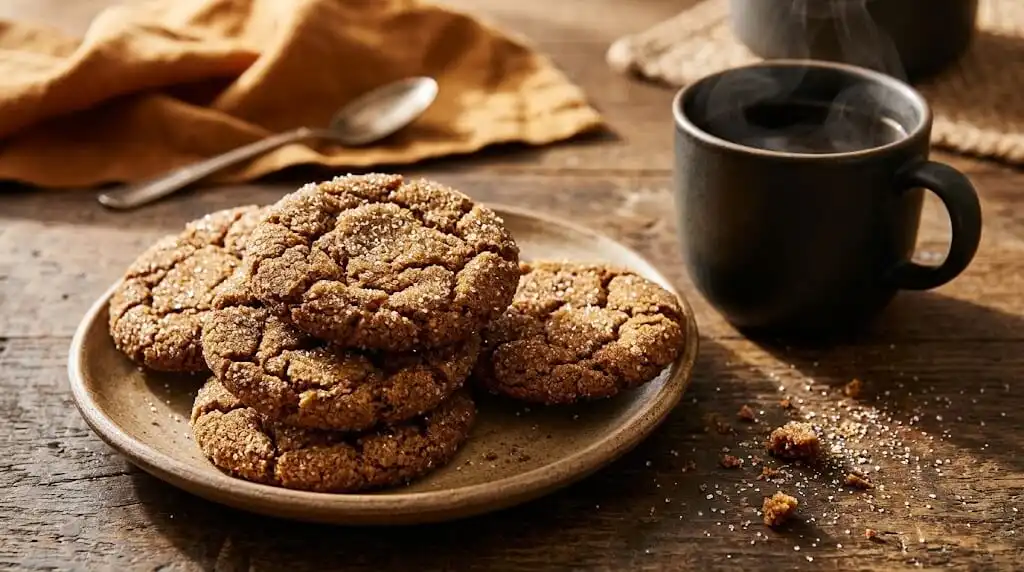
What do you need before starting?
You need basic baking equipment, room-temperature ingredients, and enough time to chill the dough before baking. Plan for approximately 25 minutes of hands-on preparation, 30–45 minutes of chilling, and 10–12 minutes per tray in the oven. Including cooling and baking successive trays, allow roughly 90–110 minutes overall.
This recipe makes approximately 26 cookies, depending on portion size. Bake on the middle rack at 175°C / 350°F in a conventional oven; for a fan oven, start around 160°C / 320°F and watch the first tray closely.
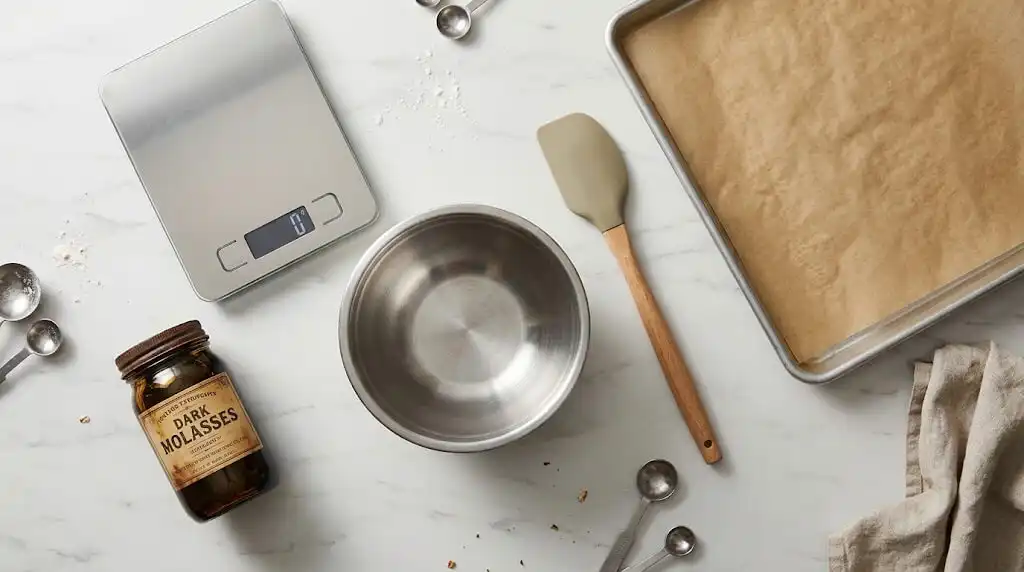
Gather these tools before measuring:
- Digital kitchen scale: Keeps the dough consistent, especially when measuring dry ingredients.
- Mixing bowls and electric mixer: A hand mixer works well; a sturdy spoon also works with extra effort.
- Flexible spatula: Scrapes the bowl so no dense pockets remain underneath the mixture.
- Baking sheets and parchment or silicone mats: Provide a lined surface for easy removal.
- Cookie scoop and cooling rack: Help produce evenly sized cookies and prevent soggy bottoms.
Measure the ingredients
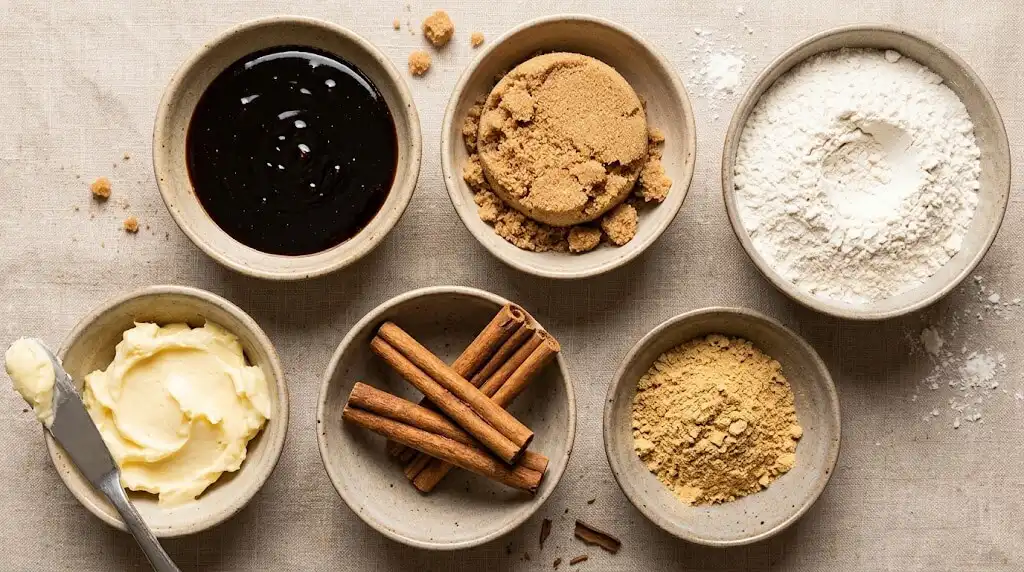
Use the gram amounts for the most repeatable results. US cup and spoon equivalents are practical approximations because packing, grinding, and measuring technique affect weight. For cup measurements, fluff dry ingredients, spoon them into the measure, and level without compacting unless specified otherwise.
| Ingredient | Metric weight | US cup/spoon equivalent |
|---|---|---|
| All-purpose flour | 280 g | 2¼ cups |
| Unsalted butter, softened | 170 g | ¾ cup |
| Light brown sugar, packed | 150 g | ¾ cup |
| Unsulphured molasses, not blackstrap | 85 g | ¼ cup |
| Beaten egg | 50 g | 3 tablespoons + 1 teaspoon |
| Baking soda | 5 g | 1 teaspoon |
| Ground ginger | 2 g | 1 teaspoon |
| Ground cinnamon | 2.6 g | 1 teaspoon |
| Ground cloves | 0.5 g | ¼ teaspoon |
| Fine table salt | 3 g | ½ teaspoon |
| Granulated sugar, for coating | 50 g | ¼ cup |
The softened ingredient should yield to light finger pressure while still holding its shape. If it looks shiny or partially melted, let it firm up before mixing; an overly warm base encourages spreading.
Choose the specified unsulphured molasses (85 g; ¼ US cup) rather than blackstrap for this version. Blackstrap has a stronger, more bitter character and is not an equivalent flavor substitution. Measure the beaten ingredient separately so that differences in shell size do not change the dough’s moisture.
Keep the coating separate from the dough ingredients. You may have some left after rolling; that is preferable to running short halfway through shaping.
Make the cookies step by step
- Combine the dry mixture. Whisk together all the dry dough ingredients from the table, excluding the packed sweetener and reserved coating. Break up visible lumps and whisk across the bottom of the bowl. Even distribution prevents isolated bitter or overly spicy patches in the finished cookies.
- Cream the base. In a second bowl, beat the softened ingredient with the packed sweetener for about two minutes at medium speed. Stop when the mixture looks smoother and slightly lighter, scraping down the bowl once. You want an evenly combined base, not an extremely fluffy mixture; excessive aeration can change how the cookies rise and settle.
- Incorporate the wet ingredients. Beat in the measured egg mixture, then add the dark syrup and mix until the color is uniform. Scrape the sides and bottom again. If the mixture looks slightly curdled, continue with the recipe; the dry mixture usually brings it together.
- Mix just until combined. Add the dry mixture in two additions, mixing on low speed or folding with a spatula. Stop as soon as no dry streaks remain, checking underneath the dough. The dough should be soft and tacky, so resist adding extra dry ingredients simply to make it easier to handle.
- Chill and prepare the trays. Cover the bowl and refrigerate for 30–45 minutes, until the dough can hold a rounded scoop. Meanwhile, line the baking sheets and preheat the oven fully. If the dough still smears heavily across your hands, chill it longer rather than struggling through shaping.
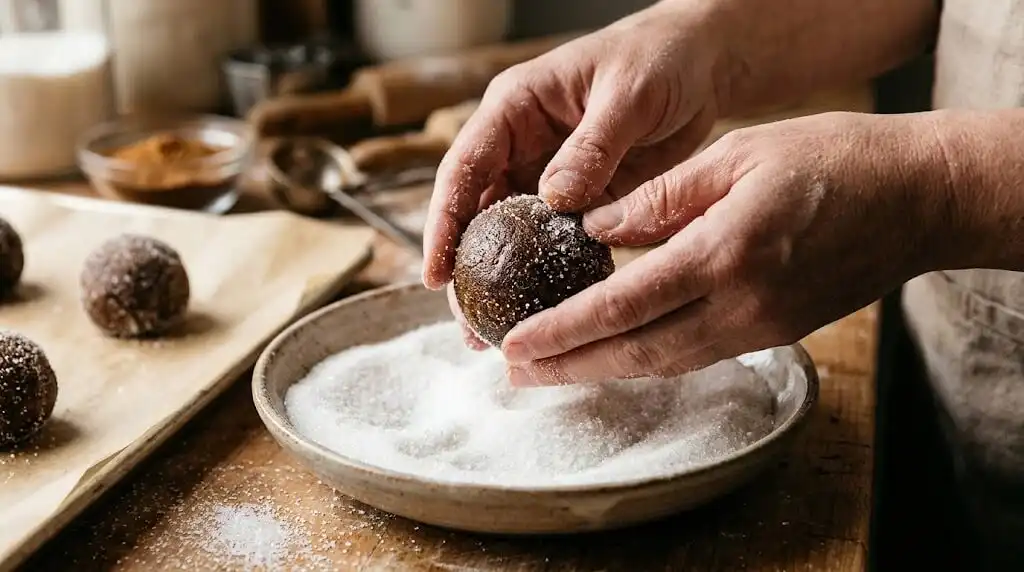
- Portion and coat. Scoop portions weighing approximately 28–30 g each, then roll briefly between your palms. Turn each ball in the reserved coating and arrange them about 7.5 cm / 3 inches apart. Keep their rounded shape rather than flattening them, and refrigerate waiting portions if your kitchen is warm.
- Bake and let the structure set. Bake one tray at a time on the middle rack for approximately 10–12 minutes. Look for set edges and centers that remain soft but no longer appear wet. Leave the cookies on the baking sheet for five minutes before transferring them carefully to a cooling rack.
How do you know when the cookies are done?
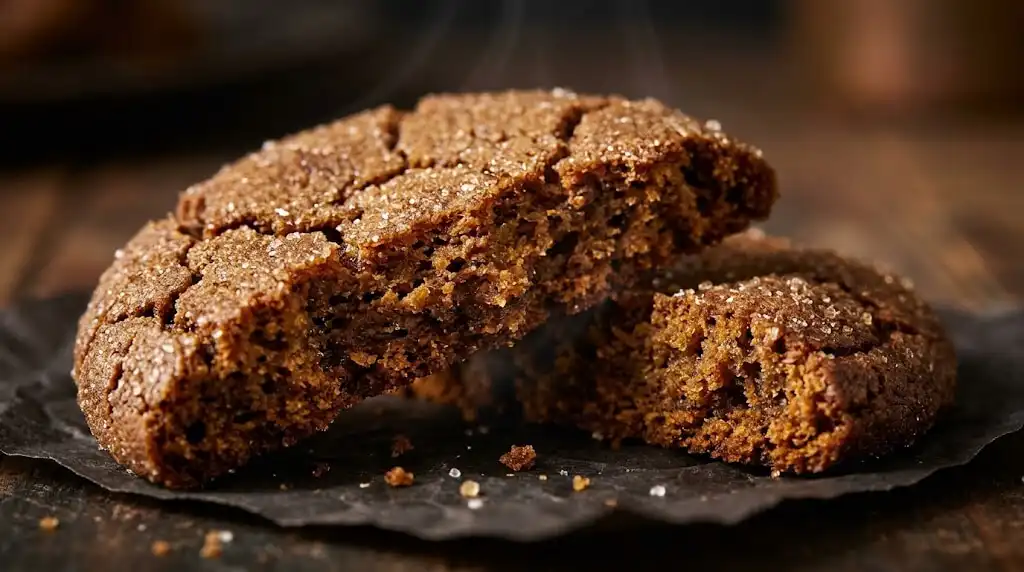
The cookies are ready when their edges look set, their tops have begun to crack, and the centers appear soft rather than glossy or liquid. Because the dough is dark, surface color alone is an unreliable guide. Check the first tray at the earlier end of the baking range, then adjust subsequent trays to match your oven.
Freshly baked cookies are fragile and will firm as they cool. Trying to lift them immediately can make a properly baked cookie seem underdone because its structure has not settled yet. Give them the full tray-resting time before judging the texture.
For a chewier result, avoid waiting until the entire surface feels firm in the oven. For slightly crisper edges, extend baking cautiously and compare a fully cooled sample before changing the whole batch.
Adapt the dough for oatmeal molasses cookies
For oatmeal molasses cookies, replace all-purpose flour (62 g; ½ US cup) with old-fashioned rolled oats (45 g; ½ US cup). Keep the remaining ingredients and method unchanged for your first attempt. This variation adds a more textured bite, although its spread and tenderness will differ from the classic version.
Stir the replacement into the dry mixture so it disperses evenly. After mixing, chill for at least 45 minutes to give the dough time to firm and the flakes time to absorb moisture. Avoid assuming that a thicker-looking dough needs additional liquid.
Bake two test cookies before portioning the entire batch. If they spread too much, chill the remaining dough longer; if they remain very domed, flatten subsequent portions slightly before baking. Use the same visual doneness cues rather than automatically extending the baking time.
Why did your cookies spread or turn hard?
Excessive spreading usually points to warm dough, warm baking sheets, or measuring differences; hard cookies often result from overbaking or an overly dry dough. Make one adjustment at a time so you can identify what helped.
- Cookies merge together: Chill the remaining dough and use a completely cooled tray. Check spacing before changing the recipe.
- Cookies stay unusually thick: Let very cold portions soften briefly, then press them down slightly. Recheck your measurements if the dough seems crumbly.
- Centers seem raw after cooling: Bake the next tray slightly longer, checking at one-minute intervals. Soft and chewy should not mean wet batter.
- Cookies become hard: Shorten the next bake and assess texture only after cooling. Weighing ingredients helps prevent an accidentally dry mixture.
- Bottoms darken too quickly: Check rack placement and shorten the bake if needed. A heavy, dark tray may brown the undersides faster than a lighter one.
Cool, store, and serve
Let the cookies cool completely before packing them into an airtight container. Warm cookies release steam, which can dampen their surfaces when trapped. Store at room temperature and enjoy within about four days for the best texture.
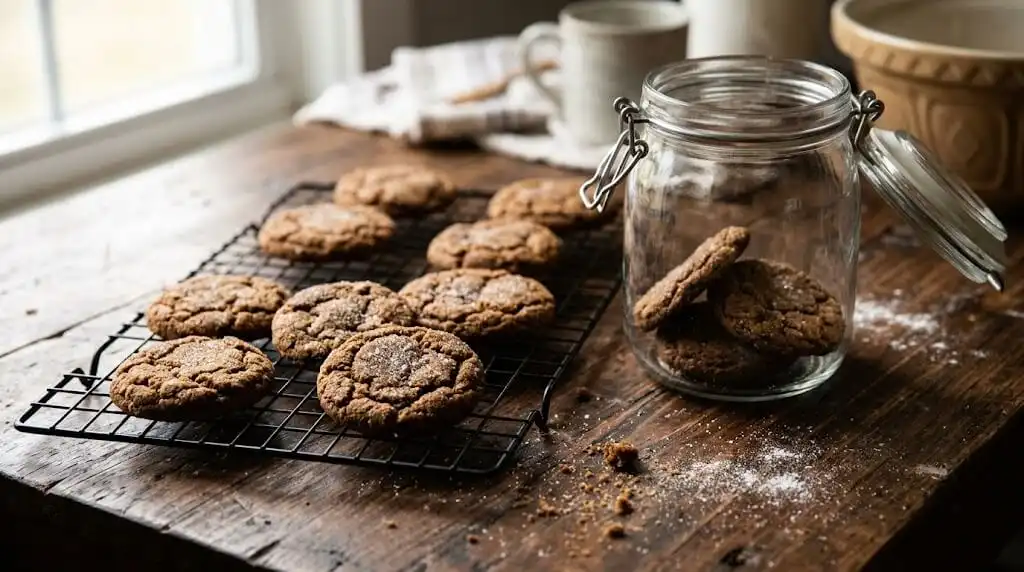
For longer storage, freeze cooled cookies in a sealed freezer-safe container with layers separated by parchment. Thaw them while covered at room temperature. Serve as they are, or warm an individual cookie briefly for a softer bite without aiming for a molten center.