Buttery, tender, and filled with a bright ruby center, these little cookies are the kind of treat that feels special without being fussy. Raspberry thumbprint cookies are classic for holidays, cookie swaps, afternoon tea, and simple weekend baking because they deliver a perfect balance of rich shortbread-style dough and sweet-tart jam in every bite.
This guide walks you through the full process: how to make the dough, shape clean thumbprints, keep the jam from bubbling over, and bake cookies that are soft, delicate, and beautiful enough to share. If you’ve been looking for a reliable cookie recipe that’s easy to customize and even easier to love, this one belongs in your baking rotation.
Why These Cookies Work So Well
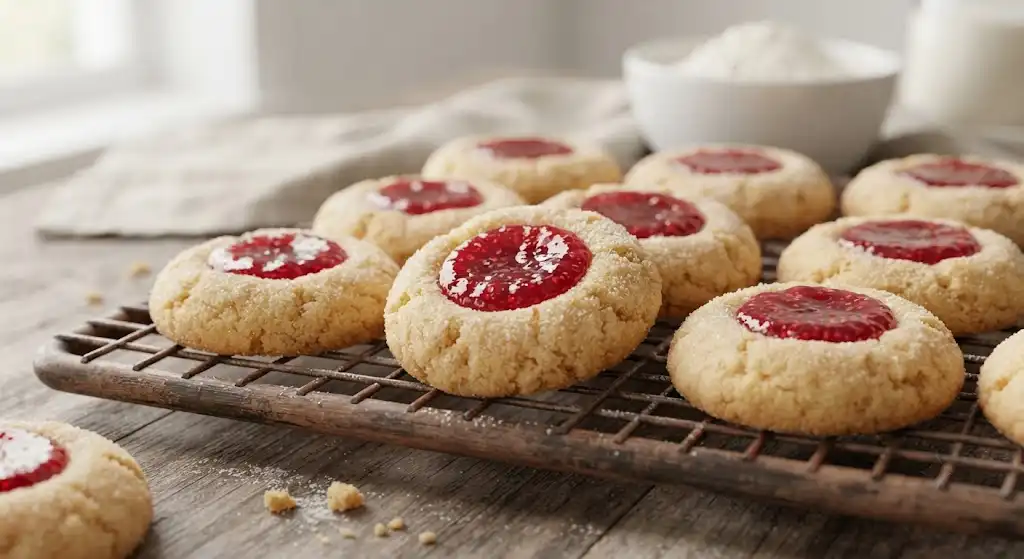
The best thumbprint cookies have a few key qualities: they should be tender but not crumbly, buttery but not greasy, sweet but not overpowering, and sturdy enough to hold a generous spoonful of jam. This version is designed around those details.
Here’s what makes them especially delicious:
- A simple butter cookie base gives the cookies a melt-in-your-mouth texture.
- Raspberry jam adds brightness that cuts through the richness of the dough.
- Chilling the dough helps the cookies hold their shape and prevents excessive spreading.
- A small indentation before baking creates the classic thumbprint center without cracking the cookie too much.
- A light glaze is optional but adds a bakery-style finish.
Although raspberry cookies are often associated with festive baking, they’re versatile enough for any season. They look elegant on a dessert platter, pack well for gifting, and pair beautifully with coffee, tea, or a glass of milk.
Ingredients You’ll Need
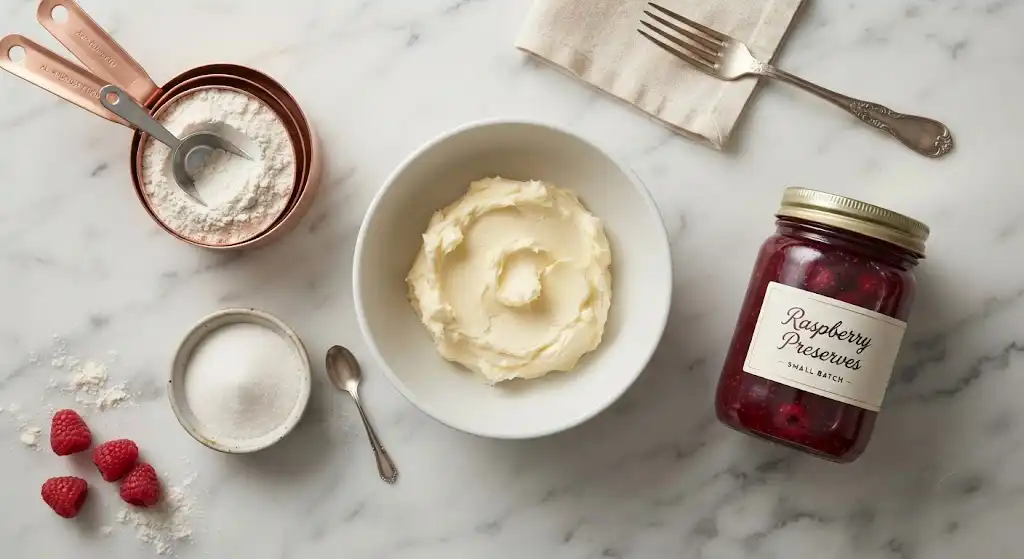
This recipe uses pantry-friendly ingredients, which is one reason thumbprint cookies are such a favorite. Each ingredient plays an important role, so try not to make big substitutions unless you understand how they’ll affect the final texture.
For the cookies
- 1 cup unsalted butter, softened
- 2/3 cup granulated sugar
- 1 large egg yolk
- 1 teaspoon vanilla extract
- 1/4 teaspoon almond extract, optional but recommended
- 2 cups all-purpose flour
- 1/4 teaspoon fine salt
- 1/2 cup raspberry jam or preserves
Optional glaze
- 1/2 cup powdered sugar
- 1 to 2 teaspoons milk, cream, or lemon juice
- 1/4 teaspoon vanilla extract
Ingredient Notes and Smart Substitutions
Butter: Use softened unsalted butter for the best flavor and control over saltiness. The butter should be soft enough to press with your finger, but not melted or shiny. If it’s too warm, the dough can become greasy and the cookies may spread.
Sugar: Granulated sugar keeps the cookies delicate and lightly crisp around the edges. Powdered sugar can create a more tender, sandy texture, but this recipe is balanced for granulated sugar.
Egg yolk: The yolk adds richness and helps bind the dough without making it cakey. Using only the yolk helps preserve the classic shortbread-like texture.
Vanilla and almond extract: Vanilla gives warmth, while almond extract adds a subtle bakery-style flavor that works beautifully with raspberry. If you don’t enjoy almond flavor, leave it out.
Flour: Measure flour carefully. Too much flour is one of the most common reasons thumbprint cookies turn out dry or crumbly. For best results, spoon the flour into your measuring cup and level it off rather than scooping directly from the bag.
Raspberry jam: Smooth raspberry jam creates the neatest centers, while preserves with seeds or fruit pieces give a more rustic look. Either works. If your jam is very thick, stir it well before spooning it into the cookies.
Equipment That Helps
You don’t need special tools for this cookie recipe, but a few basics make the process easier:
- Mixing bowl or stand mixer
- Measuring cups and spoons
- Baking sheets
- Parchment paper
- Small cookie scoop or tablespoon
- Rounded measuring spoon, wooden spoon handle, or your thumb
- Wire cooling rack
- Small spoon or piping bag for the jam
A small cookie scoop is especially helpful because evenly sized cookies bake at the same rate. If you don’t have one, use a tablespoon and roll each portion between your palms.
Step-by-Step Instructions
1. Cream the butter and sugar
Add the softened butter and granulated sugar to a large mixing bowl. Beat until the mixture looks light, fluffy, and slightly paler in color. This usually takes about 2 to 3 minutes with an electric mixer.
This step matters because creaming incorporates air into the dough, which helps the cookies bake up tender instead of dense. Avoid rushing it, but don’t beat for too long after the mixture is fluffy.
2. Add the egg yolk and extracts
Mix in the egg yolk, vanilla extract, and almond extract if using. Beat just until combined. Scrape down the sides of the bowl so everything blends evenly.
At this stage, the mixture should look creamy and smooth. If it looks slightly separated, don’t worry. It will come together once the flour is added.
3. Mix in the dry ingredients
Add the flour and salt. Mix on low speed until a soft dough forms. The dough may look crumbly at first, but it should come together when pressed.
Be careful not to overmix once the flour is added. Overworking the dough can make the cookies tougher instead of delicate.
4. Chill the dough
Cover the bowl and chill the dough for about 30 minutes. This short rest makes the dough easier to handle and helps prevent the cookies from spreading too much in the oven.
If you chill the dough for longer than an hour, it may become quite firm. Let it sit at room temperature for a few minutes before shaping.
5. Shape the cookies
Line baking sheets with parchment paper. Scoop the dough into 1-inch balls, using about 1 tablespoon of dough per cookie. Roll each portion gently between your palms until smooth.
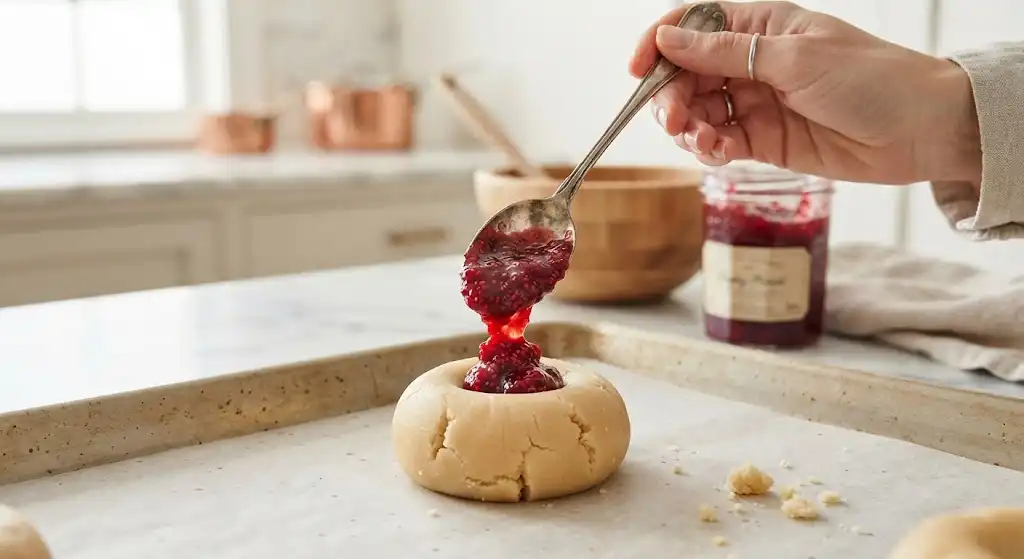
Place the dough balls about 2 inches apart on the prepared baking sheets. Use your thumb, the back of a rounded measuring spoon, or the handle end of a wooden spoon to make an indentation in the center of each cookie.
If the edges crack slightly, gently press them back together. A few small cracks are normal and give homemade raspberry thumbprint cookies their signature charm.
6. Fill with raspberry jam
Spoon about 1/2 teaspoon of raspberry jam into each indentation. Avoid overfilling, even if it’s tempting. Too much jam can bubble over while the cookies bake.
For a cleaner look, place the jam in a small zip-top bag, snip off a tiny corner, and pipe it into the centers. This is especially helpful if you’re making cookies for a party or gift box.
7. Bake until lightly golden
Bake in a preheated 350°F oven for 10 to 12 minutes, or until the edges are set and just lightly golden. The tops should still look pale, and the jam should be glossy.
Let the cookies cool on the baking sheet for about 5 minutes before transferring them to a wire rack. They are delicate when warm, so moving them too soon can cause breakage.
8. Add the optional glaze
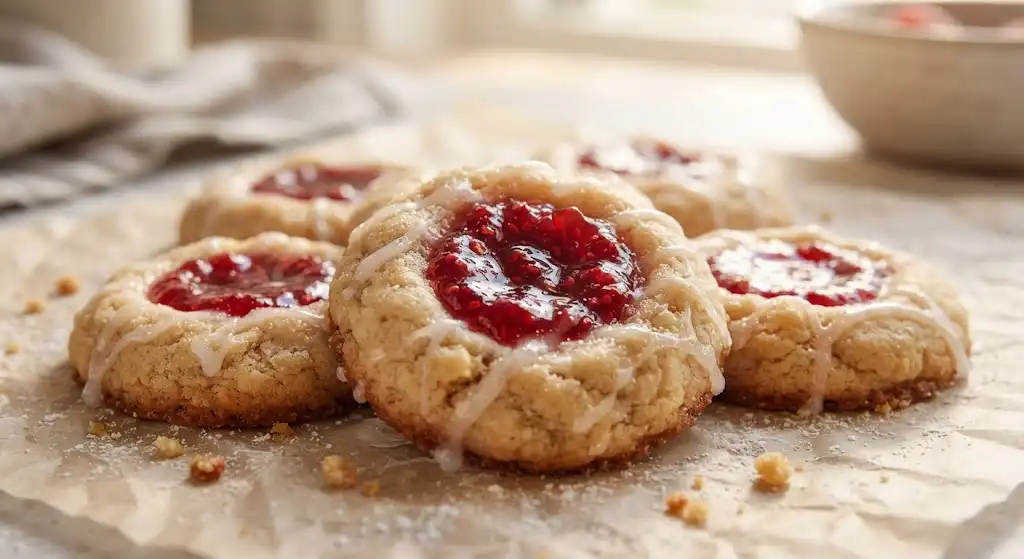
Once the cookies are completely cool, whisk together powdered sugar, milk or lemon juice, and vanilla extract until smooth. Drizzle lightly over the cookies.
A lemon juice glaze adds a subtle tartness that complements the raspberry filling, while milk or cream creates a sweeter, softer finish.
Tips for the Best Raspberry Thumbprint Cookies
Small details make a big difference with thumbprint cookies. Use these tips to get consistent results every time.
Measure flour correctly. Too much flour can make the dough dry and cause cracking. Spoon and level the flour rather than packing it down.
Don’t skip the chill time. Even 30 minutes in the refrigerator helps the cookies hold their shape.
Make the indentations deep enough. A shallow thumbprint won’t hold much jam. Press down firmly, but don’t go all the way through the dough.
Fix cracks before baking. If the dough splits around the edges, gently smooth it with your fingers. This keeps the finished cookies prettier and helps contain the jam.
Use good-quality jam. Since the filling is the main flavor, choose a raspberry jam you genuinely enjoy. Seedless jam gives a polished look, while seeded jam offers more texture.
Do not overbake. These cookies should be pale with only lightly golden edges. Overbaking can make them dry.
Common Mistakes to Avoid
Even simple cookies can be a little tricky if the dough temperature or measurements are off. Here are the most common issues and how to prevent them.
The cookies spread too much
This usually happens when the butter is too soft, the dough wasn’t chilled, or the baking sheet was warm. Use cool baking sheets and chill the shaped dough for 10 extra minutes if your kitchen is warm.
The dough is crumbly
A slightly crumbly dough can be normal before it’s pressed together. If it won’t hold at all, you may have used too much flour. Try gently kneading the dough in the bowl for a few seconds. If needed, add 1 teaspoon of milk at a time until it comes together.
The jam overflowed
The indentations may have been too shallow, or the cookies may have been overfilled. Use about 1/2 teaspoon jam per cookie and press a defined well into the dough.
The cookies cracked too much
Some cracking is normal, but excessive cracking can happen if the dough is too cold or dry. Let very chilled dough soften slightly before rolling, and smooth cracks before baking.
The cookies taste bland
Butter cookies rely on simple flavors, so salt and extracts matter. Use enough vanilla, consider a small amount of almond extract, and don’t leave out the salt.
Flavor Variations
Once you understand the basic method, this recipe is easy to adapt. Try one of these variations when you want a new twist.
Lemon raspberry cookies
Add 1 teaspoon of fresh lemon zest to the dough and use lemon juice in the glaze. The citrus makes the raspberry flavor taste even brighter.
Chocolate raspberry thumbprints
Drizzle the cooled cookies with melted dark chocolate instead of glaze. Raspberry and chocolate are a classic pairing, and this version feels especially elegant.
Almond raspberry cookies
Roll the dough balls in finely chopped almonds before making the indentations. This adds crunch and enhances the almond extract flavor.
Mixed jam thumbprints
Use several jam flavors on one tray, such as raspberry, apricot, strawberry, or blackberry. This is a beautiful option for dessert platters.
Powdered sugar finish
Skip the glaze and dust the cooled cookies lightly with powdered sugar for a delicate, snowy look.
Make-Ahead and Storage Instructions
Raspberry thumbprint cookies are excellent for planning ahead because the dough and baked cookies both store well.
To make the dough ahead
Prepare the dough, cover it tightly, and refrigerate it for up to 2 days. When ready to bake, let the dough sit at room temperature until soft enough to scoop and roll.
You can also shape the dough balls in advance. Place them on a lined baking sheet, chill until firm, then store them in an airtight container in the refrigerator. Add the thumbprints and jam just before baking.
To freeze the dough
Roll the dough into balls and freeze them on a baking sheet until firm. Transfer to a freezer-safe container. When ready to bake, thaw slightly, make the indentations, add jam, and bake as directed. You may need to add a minute or two to the baking time.
To store baked cookies
Store cooled cookies in an airtight container at room temperature for 3 to 4 days. Place parchment paper between layers to protect the jam centers and glaze.
For longer storage, freeze the baked cookies without glaze. Thaw at room temperature, then glaze once fully defrosted.
Serving Ideas
These raspberry cookies are lovely on their own, but they also fit naturally into dessert spreads and gift boxes. Serve them with:
- Hot tea or coffee
- Sparkling cider or dessert wine
- Vanilla ice cream
- A holiday cookie assortment
- Brunch pastries and fresh fruit
- Chocolate truffles or lemon bars
Because raspberry thumbprint cookies are colorful and bite-sized, they add visual contrast to trays filled with chocolate chip cookies, sugar cookies, and brownies.

Frequently Asked Questions
Can I use homemade raspberry jam?
Yes. Homemade jam works well as long as it’s thick enough to stay in the center of the cookies. If it’s runny, simmer it briefly to reduce and cool it before using.
Can I make these without almond extract?
Absolutely. Almond extract is optional. Vanilla alone still creates a delicious cookie, especially if you prefer a more classic butter flavor.
Should I fill thumbprint cookies before or after baking?
For this recipe, fill them before baking. The jam sets slightly in the oven and becomes glossy. Some recipes add jam after baking, but pre-filling creates a more cohesive cookie.
Can I double the recipe?
Yes. This cookie recipe doubles well. Use a large mixing bowl and avoid overcrowding the baking sheets so the cookies bake evenly.
Why are my cookies dry?
Dry cookies are usually caused by too much flour or overbaking. Measure carefully and remove the cookies when the edges are just set and lightly golden.
A Simple Cookie Worth Making Again
The beauty of thumbprint cookies is that they feel both nostalgic and elegant. With a tender butter cookie base and a jewel-like raspberry center, they’re simple enough for beginner bakers but pretty enough for special occasions.
Whether you make them for the holidays, a cookie exchange, a family gathering, or a quiet afternoon treat, these raspberry thumbprint cookies offer everything a great homemade cookie should: rich flavor, a soft crumb, a bright pop of fruit, and just the right amount of sweetness.