“In this article, you will learn the best creative techniques for decorating cookies to make your desserts stand out.”
Beautiful cookies sit at the intersection of baking, craft, and storytelling. A simple sugar cookie can become a tiny bouquet, a place card, a party favor, or a holiday keepsake when you master the right Techniques for Decorating Cookies.
Whether you are preparing a few dozen treats for a family gathering or designing decorative wedding cookies for an elegant dessert table, the best results come from planning, patience, and a handful of reliable Techniques for Decorating Cookies. This guide walks through creative ways to decorate cookies, from icing basics to finishing touches, packaging ideas, and practical Techniques for Decorating Cookies that help your designs look polished without feeling overly complicated.”
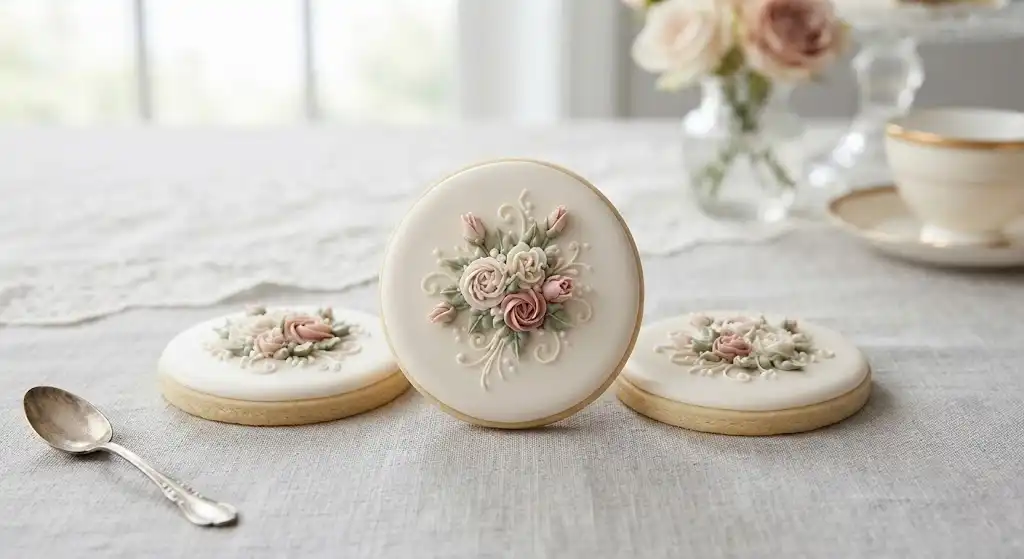
Start With the Right Cookie Base Using Techniques for Decorating Cookies
Before you reach for piping bags or sprinkles, choose a cookie that supports your decorating style. Not every cookie is ideal for detailed designs. Soft, crumbly, or heavily textured cookies may taste wonderful, but they can make precise decorating difficult.
For most decorative cookies, a firm sugar cookie, shortbread-style cookie, or gingerbread cookie works best. These hold their shape well, provide a smooth surface, and are sturdy enough for icing, stacking, and packaging.
A good decorating cookie should:
- Bake with minimal spreading
- Have a flat, even surface
- Be sturdy enough to handle
- Taste good on its own
- Cool completely before decorating
If your cookies spread in the oven, chill the cut dough before baking. For intricate cookie cutters, chilling is especially useful because it helps sharp edges stay defined.
Plan the Design Before You Begin
One of the most overlooked cookie decorating tips is also one of the simplest: sketch or mentally map your design before you start. You do not need to be an artist. A basic plan helps you decide which icing colors to prepare, what order to decorate in, and where embellishments should go.
For example, if you are creating floral cookies, decide whether you want a soft watercolor effect, piped flowers, pressed edible blooms, or a combination. If you are making decorative wedding cookies, think about the event’s colors, mood, and motifs. Lace patterns, monograms, metallic accents, soft florals, and pearl details all work beautifully for wedding-inspired designs.
Planning also prevents over-decorating. A cookie does not need every technique at once. Often, the most elegant designs use one standout feature, such as a marbled icing background or a single piped rose.
Master Royal Icing Consistencies and Techniques for Decorating Cookies
Royal icing is one of the most popular choices for decorative cookies because it dries firm and creates a smooth, professional finish. The key is learning how to adjust consistency.
The three most useful consistencies are:
- Stiff icing: Best for flowers, borders, leaves, and details that need to hold shape.
- Medium icing: Useful for lettering, outlines, dots, and controlled piping.
- Flood icing: Thin enough to spread smoothly inside an outline for a flat base layer.
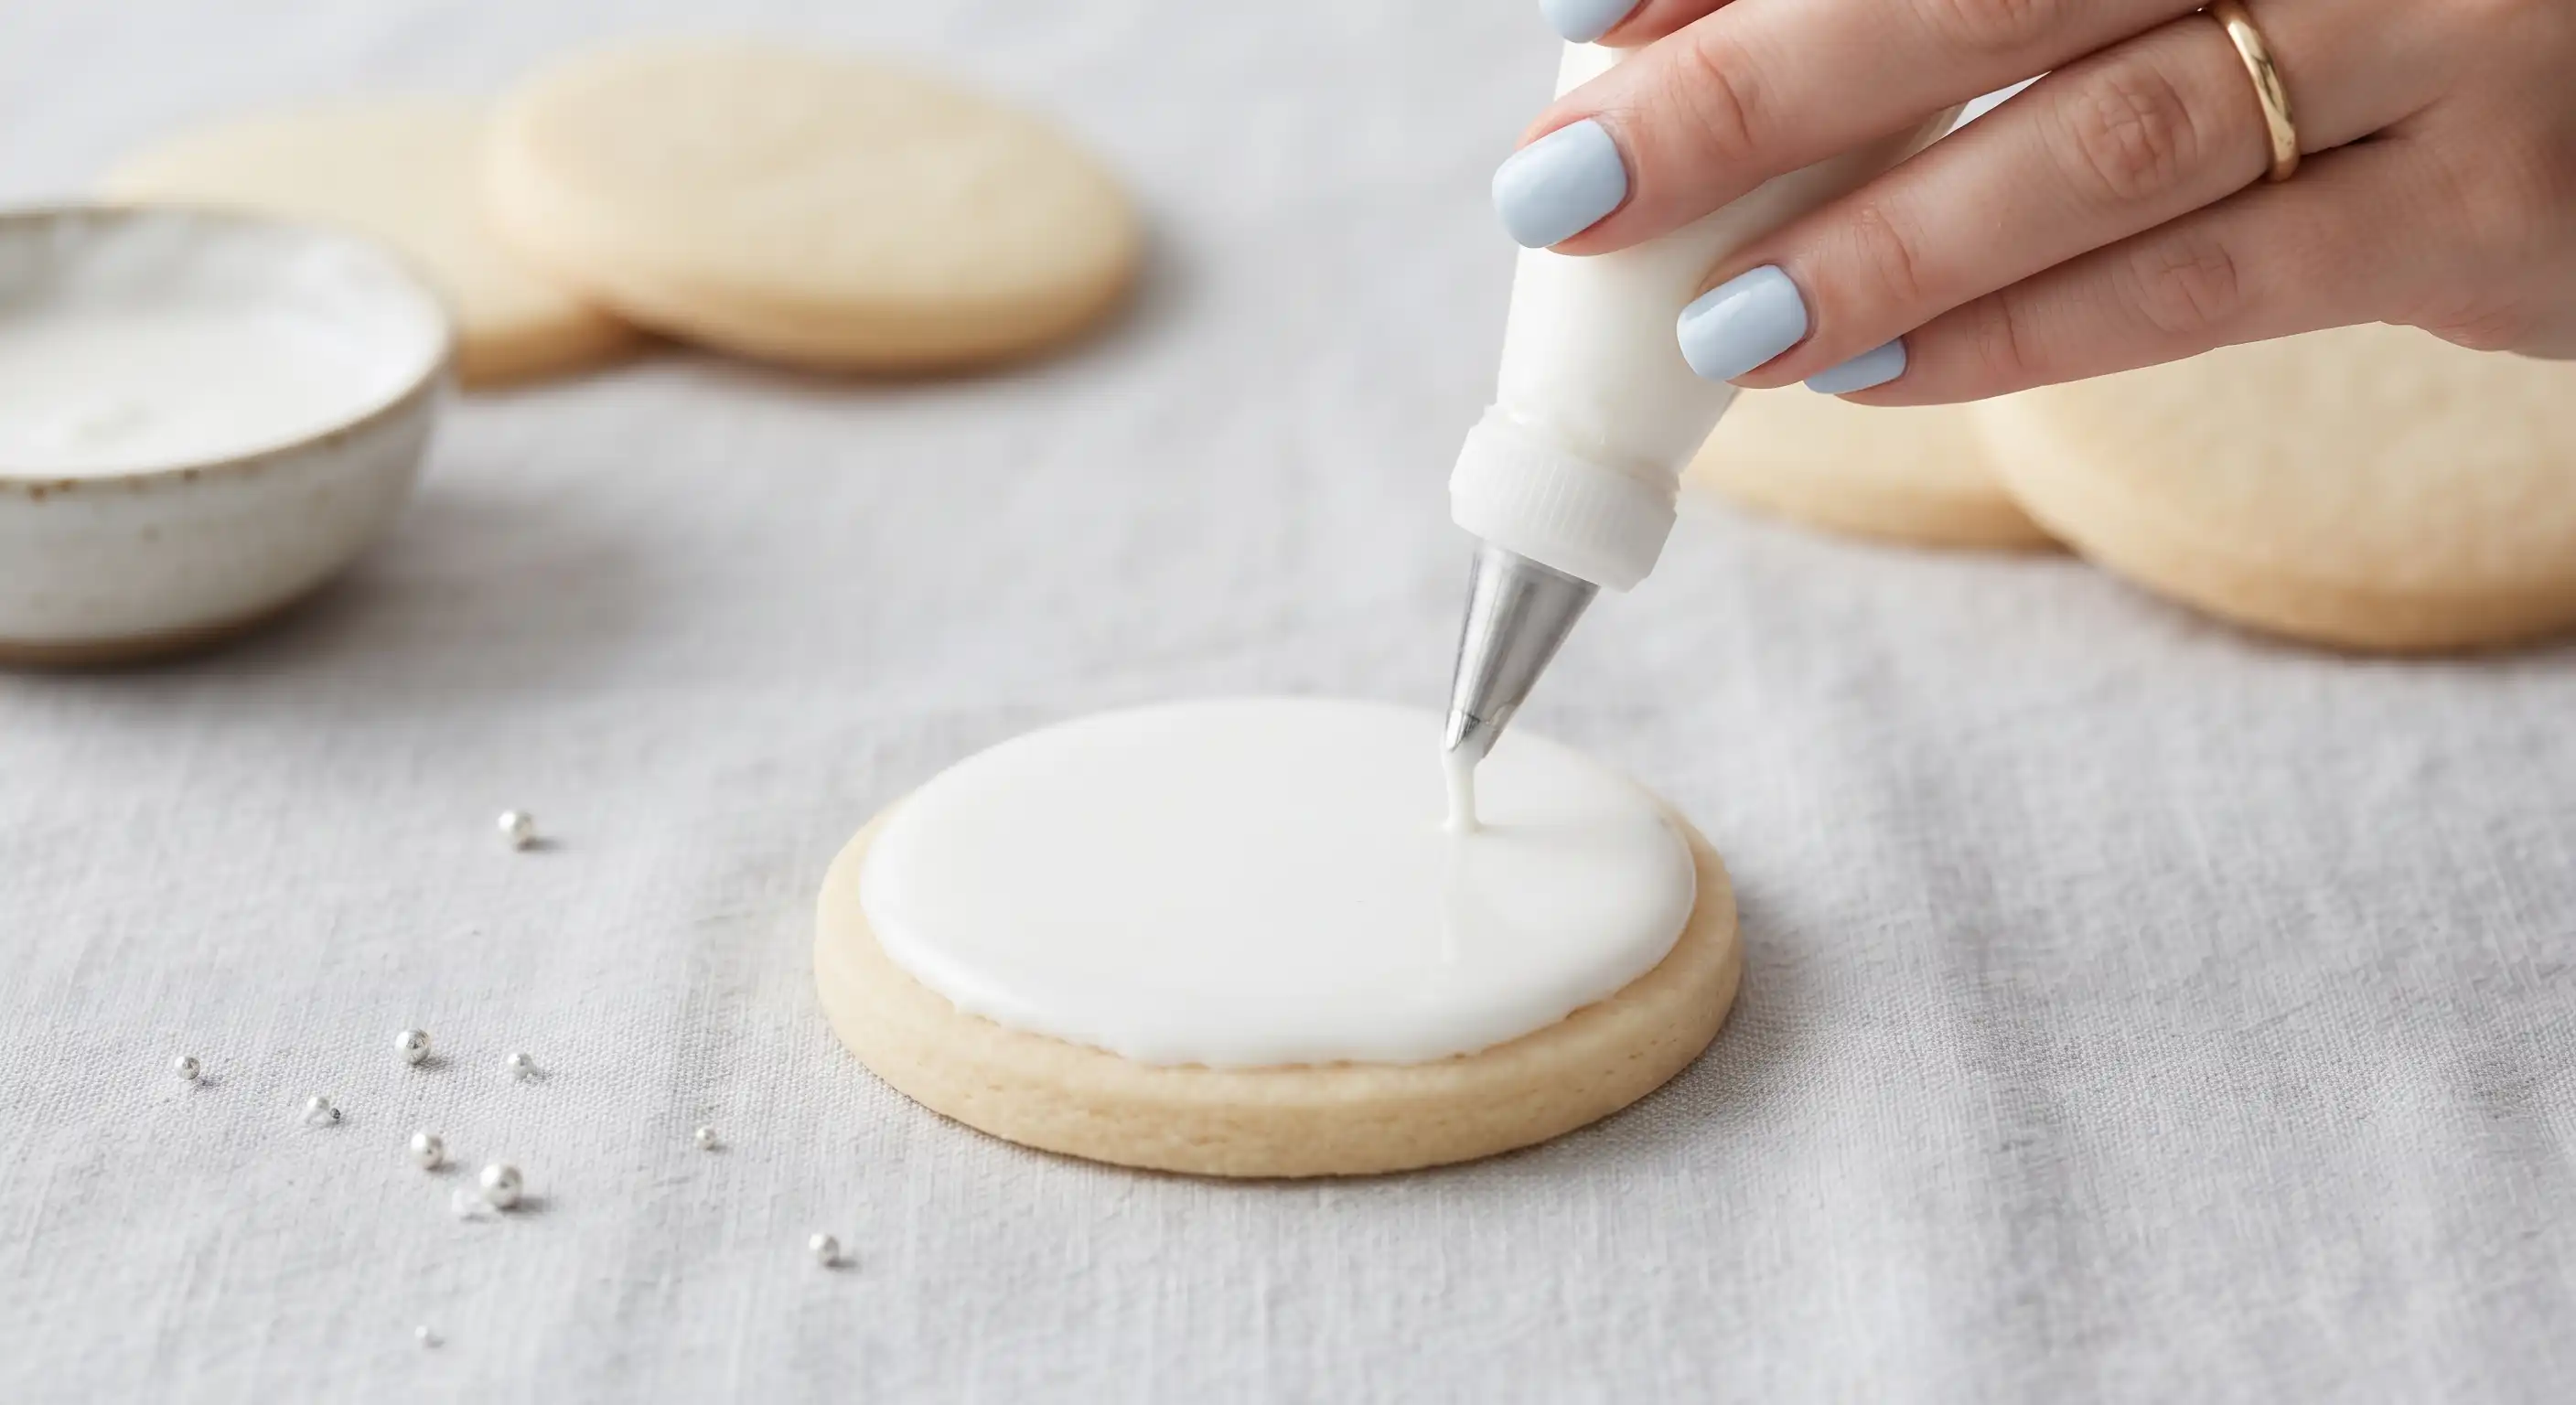
A common decorating method is to outline the cookie with medium icing, then fill the inside with flood icing. Use a scribe tool, toothpick, or fine decorating needle to guide the icing into corners and pop air bubbles.
Let the base layer dry before adding details on top. If you pipe too soon, colors can sink, bleed, or lose definition. For layered designs, drying time is part of the process, not an interruption.
Mastering these foundational steps is essential when applying professional Techniques for Decorating Cookies to ensure clean results.
Try the Wet-on-Wet Technique
Wet-on-wet decorating is a beginner-friendly technique that can look impressively sophisticated. It involves adding one wet icing color into another before the surface dries. Because both icings are wet, they settle into a smooth, flat finish.
Use wet-on-wet designs for:
- Hearts
- Dots
- Stripes
- Marbling
- Florals
- Animal prints
- Abstract patterns
To create simple hearts, flood a cookie with a base color, then pipe small dots in a second color while the base is still wet. Drag a scribe tool through each dot from top to bottom to form hearts. This works especially well for Valentine’s Day cookies, baby shower treats, and romantic decorative wedding cookies.
For a marbled effect, add thin lines or dots of color into wet flood icing, then gently swirl with a scribe. Avoid overmixing, or the colors may become muddy. A few graceful movements are usually enough.
Use Texture for More Visual Interest
Not every cookie needs a perfectly smooth finish. Texture can make decorative cookies feel more artistic, handmade, and dimensional.
You can create texture with:
- Stiff royal icing
- Buttercream
- Fondant impressions
- Edible lace molds
- Sanding sugar
- Crushed nuts
- Coconut flakes
- Embossing tools
- Stencils
For a cozy winter cookie, pipe thick sweater-like lines across the surface. For a garden-inspired cookie, add textured leaves and petals. For wedding designs, use an embossing mat to create a lace effect, then highlight raised areas with edible shimmer or soft pearl dust.
Texture is especially effective when the color palette is simple. White-on-white cookies with piped lace, pearl sprinkles, and subtle shimmer can look refined without needing bright colors.
Decorate With Buttercream for a Softer Look
Royal icing is excellent for crisp, detailed designs, but buttercream offers a softer, more decadent finish. It is ideal for cookies meant to be eaten soon after decorating, rather than shipped or stacked tightly.
Buttercream works well for:
- Rosettes
- Ruffles
- Shell borders
- Swirls
- Mini floral arrangements
- Cupcake-inspired cookie designs
Use a small star tip for rosettes, a petal tip for ruffles, and a round tip for dots or writing. Chilled cookies can make buttercream easier to control, especially in a warm kitchen.
The tradeoff is that buttercream does not dry as hard as royal icing. If you need to package cookies individually, choose shallow packaging that protects the surface, or chill the decorated cookies before handling.
Add Dimension With Fondant and Modeling Chocolate
Fondant can be rolled thin and cut into shapes that fit on top of cookies. It creates a smooth, clean finish and is useful for decorative elements like bows, plaques, flowers, and monograms.
To attach fondant to a cookie, brush the cookie lightly with edible glue, corn syrup, or a thin layer of icing. Then place the fondant piece on top and smooth gently.
Modeling chocolate is another option for dimensional decorations. It has a richer flavor than fondant and can be shaped into flowers, ribbons, or small sculptural accents. It softens with warmth, so handle it gently and avoid overworking it.
For decorative wedding cookies, fondant plaques with piped initials or delicate sugar flowers can create a personalized look that feels formal and giftable.
Use Stencils for Clean, Repeatable Designs
Stencils are a smart choice when you want a consistent pattern across multiple cookies. They are especially helpful for large batches because they save time while still looking detailed.
You can stencil cookies with:
- Royal icing
- Airbrushed color
- Edible dust
- Cocoa powder
- Powdered sugar
- Food-safe metallic paint
To stencil with royal icing, place the stencil flat against a fully dried cookie surface. Spread a thin layer of stiff icing over the stencil using an offset spatula or scraper, then lift the stencil straight up. The result is a raised pattern that looks crisp and elegant.
For softer effects, use edible dust or airbrushing. A pale floral stencil over ivory icing creates a subtle vintage feel, while metallic stenciling can add a glamorous touch to party favors and wedding dessert displays.
Paint Cookies Like Mini Canvases
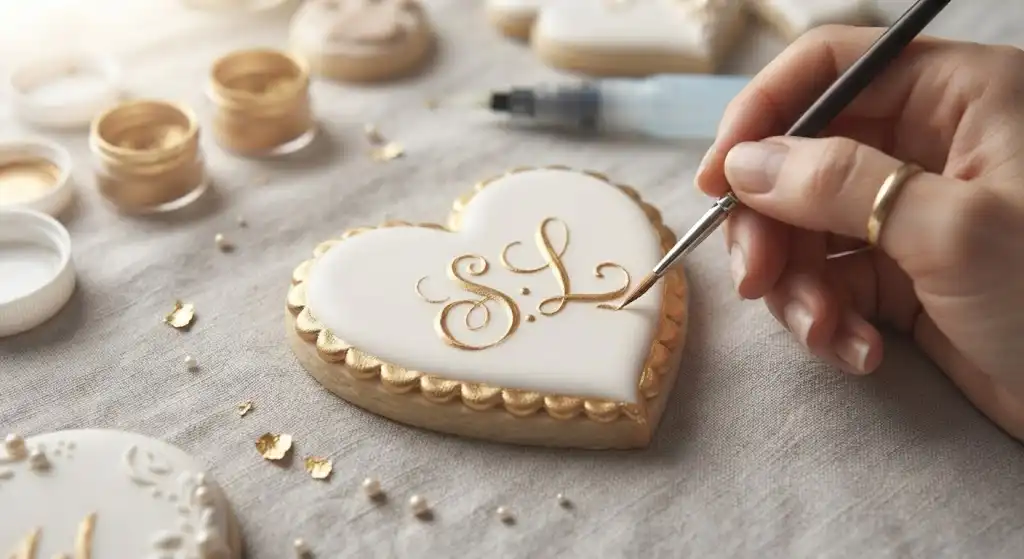
Hand-painted cookies are a beautiful option when you want an artistic look. Start with a dry royal icing or fondant base, then use food coloring mixed with a small amount of clear extract or food-safe alcohol to create edible paint.
Try painting:
- Watercolor florals
- Greenery and vines
- Abstract brushstrokes
- Simple landscapes
- Plaid patterns
- Gold accents
- Name cards or initials
You do not need complex painting skills. Loose brushstrokes can be more charming than perfect realism. For a soft watercolor effect, dilute the color and build it in light layers. Let each layer dry briefly before adding more detail.
Hand painting is especially useful when you want each cookie to feel one-of-a-kind. It is also a practical solution for small batches where you can spend more time on individual pieces.
Combine Edible Decorations Thoughtfully
Sprinkles, pearls, edible glitter, sanding sugar, and metallic accents can instantly elevate cookies. The trick is using them with intention.
Instead of covering the entire cookie, try placing decorations in specific areas:
- A sprinkle border around the edge
- Pearl accents at flower centers
- Gold flecks on marbled icing
- Sanding sugar over snowflake cookies
- Confetti sprinkles on birthday numbers
- Tiny stars on celestial-themed cookies
Apply sprinkles while icing is still wet so they adhere securely. For decorations added after drying, use a small dot of royal icing as glue.
When designing a set, repeat one or two decorative elements across all cookies. This makes the collection feel cohesive, even if each cookie shape is different.
Play With Color Palettes
Color is one of the fastest ways to change the mood of a cookie design. A bright palette feels playful, while muted tones feel refined. Monochromatic designs look modern, and high-contrast palettes create visual drama.
Popular color ideas include:
- Soft blush, ivory, and gold for weddings
- Sage, cream, and terracotta for botanical themes
- Navy, white, and silver for winter celebrations
- Pastel rainbow for birthdays
- Black, copper, and burgundy for dramatic events
- Red, green, and white for classic holiday cookies
If you are making decorative wedding cookies, borrow inspiration from the invitation suite, floral arrangements, linens, or bridesmaid dresses. Matching the exact shade is not always necessary. A complementary palette often looks more natural and sophisticated.
For best results, mix icing colors in advance. Many food colors deepen as they sit, especially reds, blacks, blues, and deep greens.
Create Cookie Sets With Mixed Techniques
A cookie set becomes more interesting when it includes variety. Instead of decorating every cookie exactly the same way, choose a shared theme and vary the details.
For example, a garden party set might include:
- Floral wreath cookies
- Simple leaf-pattern cookies
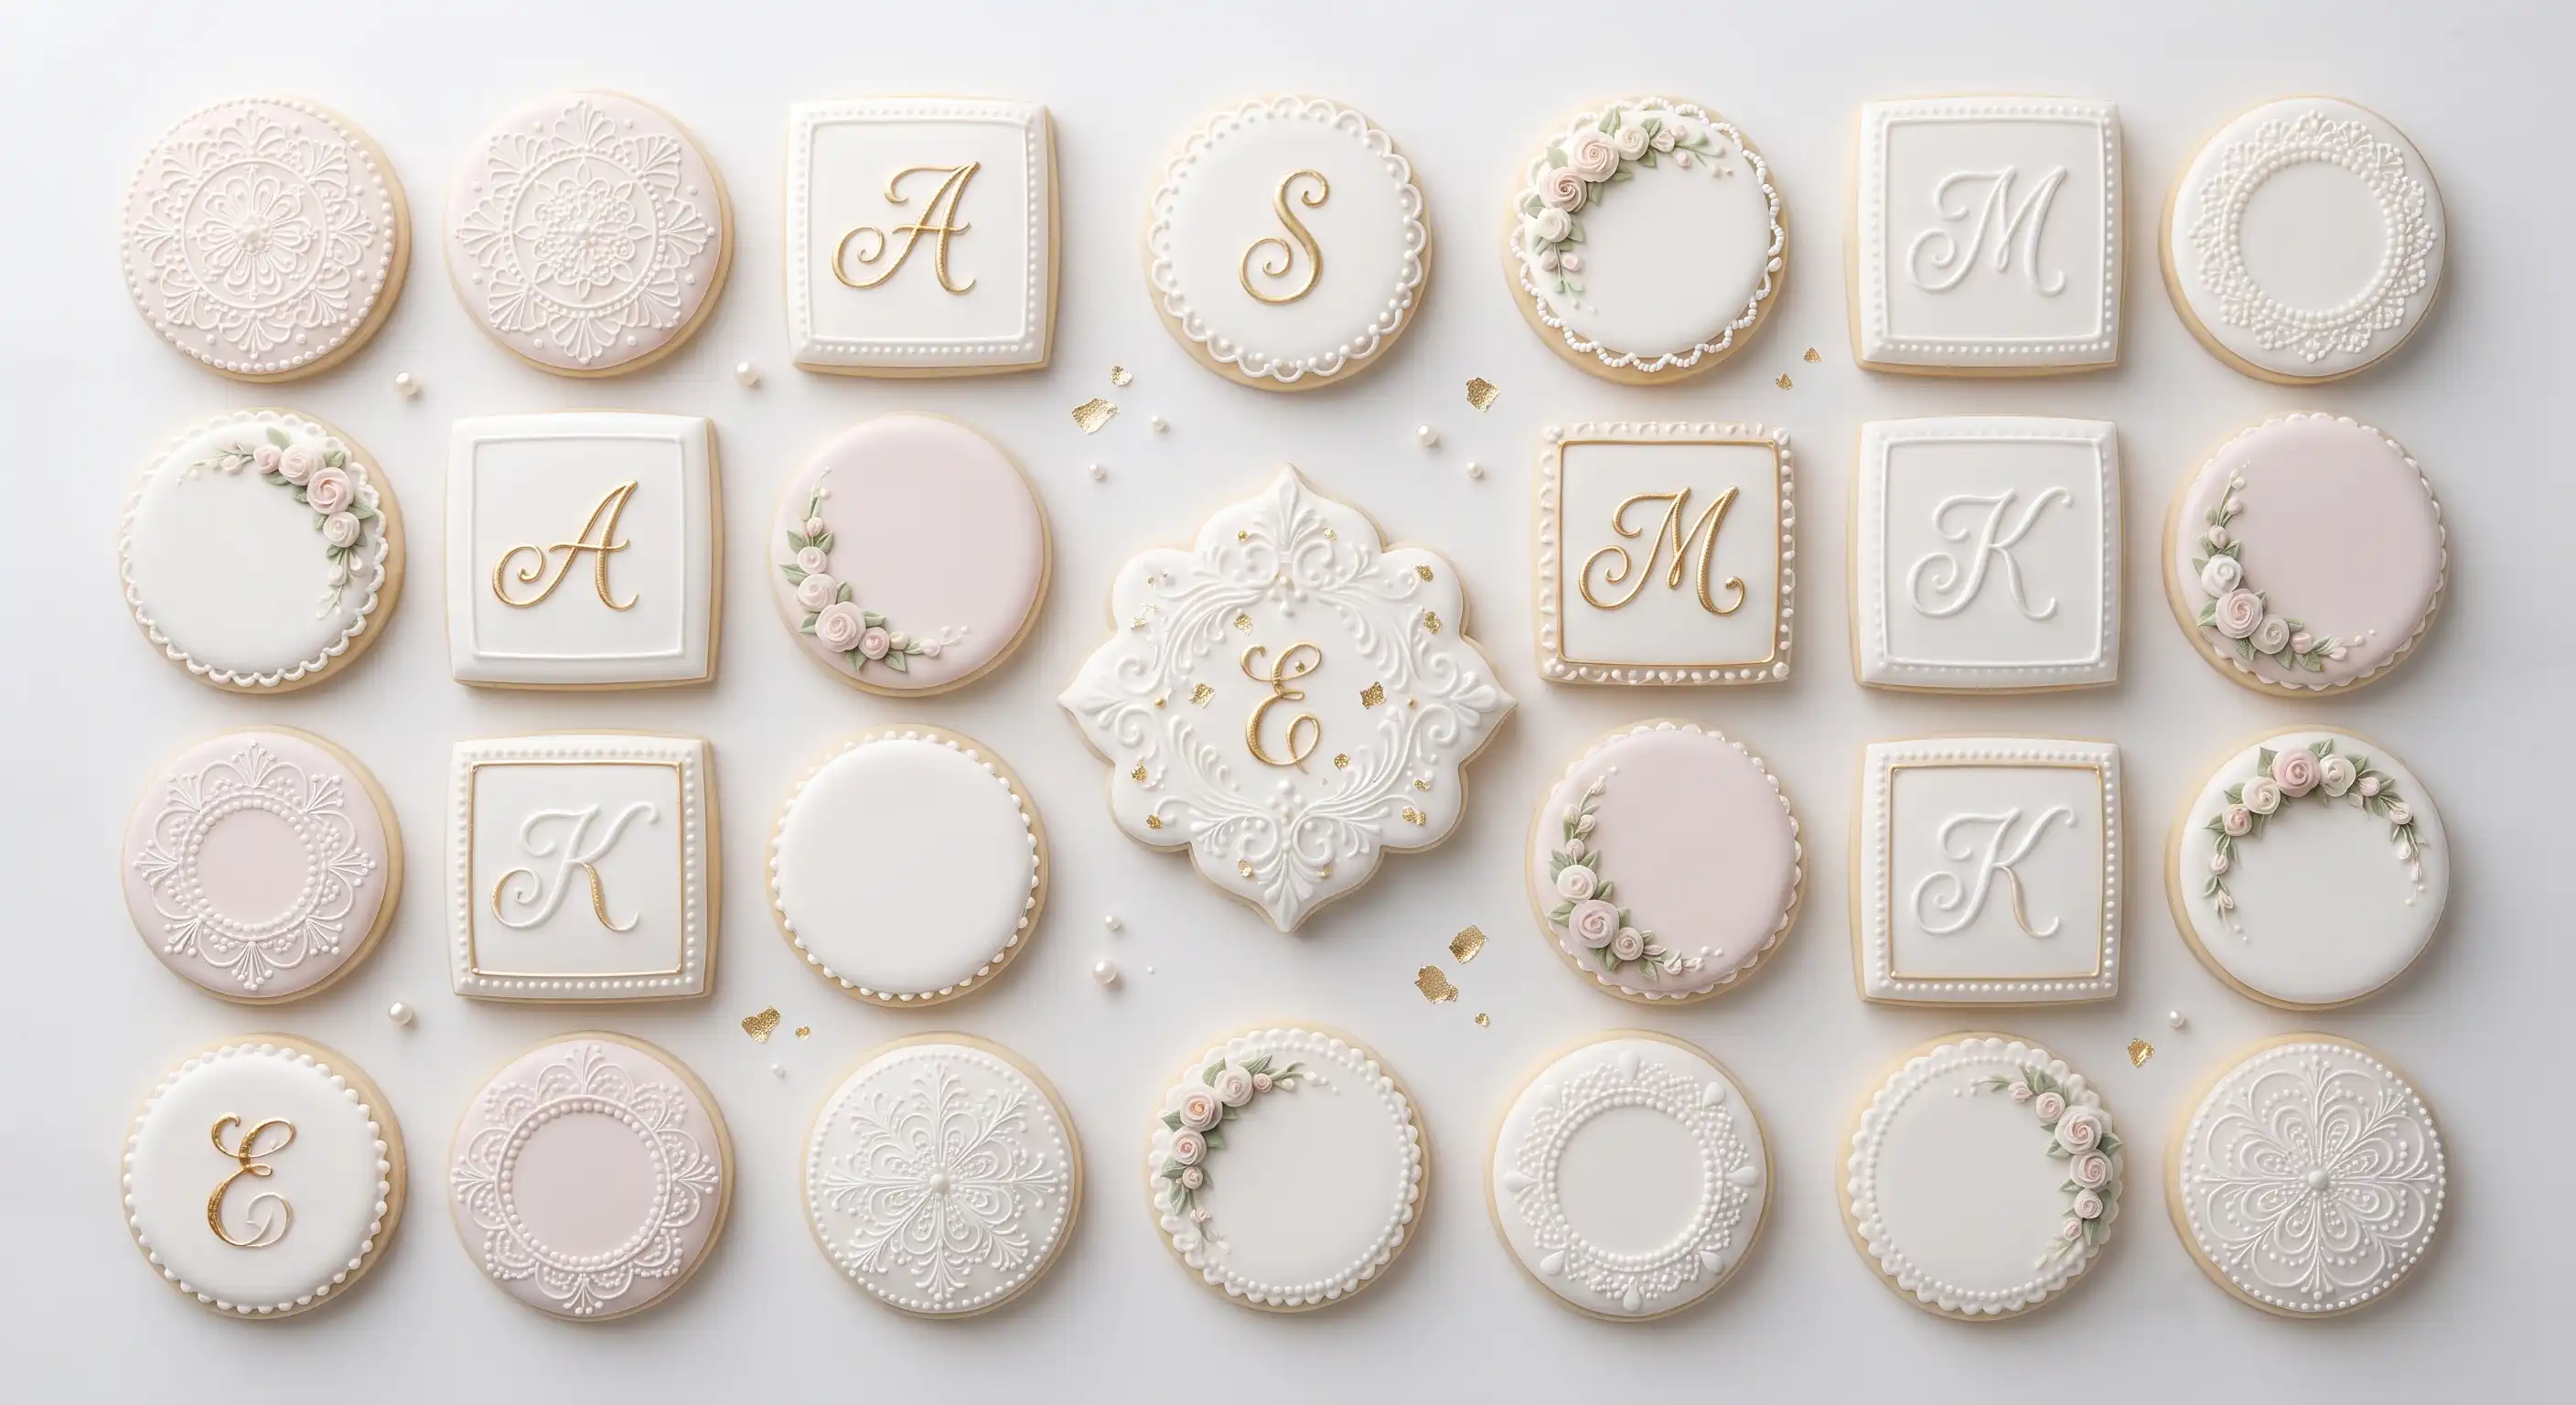
- Monogram cookies
- Solid color cookies with sprinkle borders
- Hand-painted flower cookies
A wedding set might include:
- Ring-shaped cookies
- Initial cookies
- Mini tiered cake cookies
- Heart cookies with lace stenciling
- Favor cookies with guests’ names
The goal is balance. Include a few detailed showpiece cookies, then add simpler supporting designs. This saves time and keeps the overall set from feeling too busy.
Package Beautiful Cookies with Advanced Techniques for Decorating Cookies
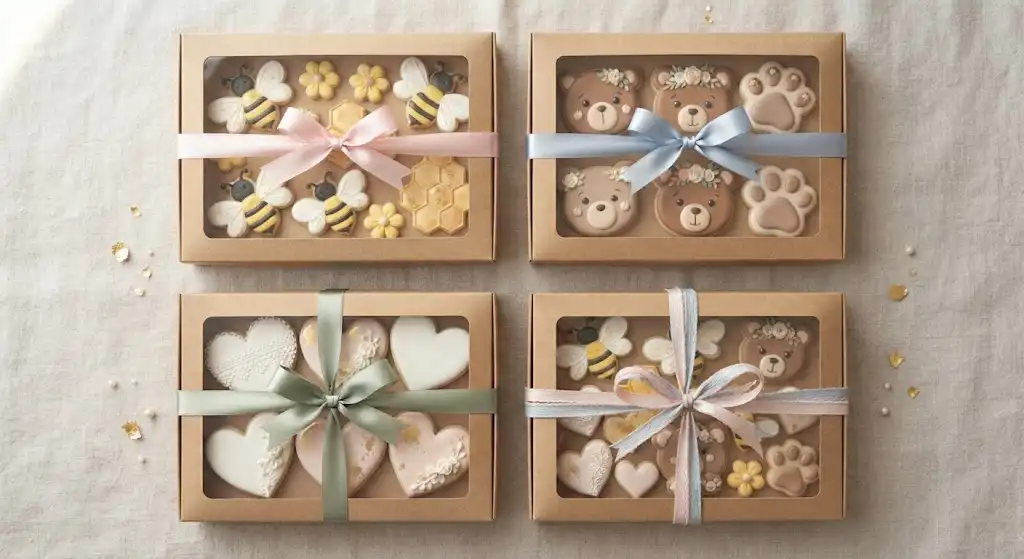
Presentation matters almost as much as decoration. The right packaging protects your work and makes the cookies feel special. Decorative boxes for cookies are especially useful for gifting, weddings, showers, holidays, and bakery-style presentation.
Choose packaging based on the cookie type and occasion. Individual clear bags are practical for favors and allow the design to show. Window boxes work well for small sets. Rigid gift boxes help protect delicate decorations. Inserts, tissue, or food-safe padding can prevent cookies from sliding around.
Creative packaging ideas include:
- Clear favor bags tied with ribbon
- Kraft boxes with custom labels
- Window boxes for decorated cookie sets
- Mini bakery boxes with tissue paper
- Decorative boxes for cookies that match the event colors
- Individual place-card cookies in clear sleeves
- Seasonal tins for holiday gifting
Make sure cookies are fully dry before packaging, especially if they are decorated with royal icing. Trapped moisture can soften details or cause colors to bleed.
Avoid Common Cookie Decorating Mistakes
Even experienced decorators run into issues. Most problems are preventable with a few careful habits.
Common mistakes include:
- Decorating cookies before they are completely cool
- Using icing that is too thin for outlines
- Flooding too close to the edge
- Overfilling piping bags
- Skipping drying time between layers
- Using too much food coloring
- Packaging cookies before icing is fully set
- Trying too many techniques on one small cookie
If icing runs over the edge, your flood icing may be too thin or your outline may not have sealed properly. If details sink into the base layer, wait longer before piping on top. If colors bleed, allow darker colors to dry before placing lighter colors next to them, and avoid overly wet icing.
Good decorating is often about control. Work slowly, keep your tools clean, and give each step enough time.
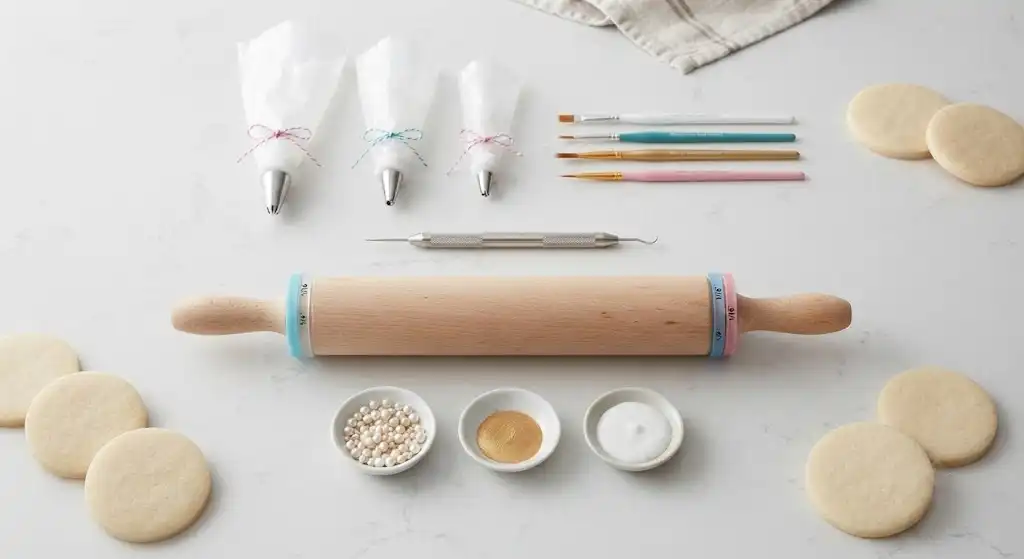
Essential Tools for Better Results
You do not need a professional kitchen to create beautiful cookies, but the right tools make decorating easier and more consistent.
Helpful tools include:
- Rolling pin with thickness guides
- Cookie cutters
- Piping bags
- Couplers and piping tips
- Scribe tool or toothpicks
- Gel food coloring
- Small offset spatula
- Fine paintbrushes for edible paint
- Stencils
- Cooling racks
- Airtight containers
- Food-safe bags or boxes
If you are just starting, focus on a few basics: piping bags, gel colors, a scribe tool, and reliable cookie cutters. As your skills grow, you can add specialty tools like airbrush systems, embossing mats, and advanced piping tips.
Practice With Simple Designs First
The best way to improve is to repeat simple techniques until they feel natural. Start with dots, lines, borders, and basic flooding. Once you are comfortable controlling icing flow, move on to lettering, florals, stencils, and layered details.
A simple practice plan might look like this:
- Bake a batch of basic round cookies.
- Flood each cookie with a smooth base color.
- Practice dots and lines on several cookies.
- Try wet-on-wet hearts or marbling.
- Let the cookies dry and add raised details.
- Finish with sprinkles, shimmer, or painted accents.
Round cookies are ideal for practice because they give you a predictable shape and plenty of space. Once you feel confident, move to more detailed cutters.
Make Every Cookie Feel Intentional
Decorating cookies is not just about making them pretty. It is about matching the design to the moment. A birthday cookie can feel joyful and bold. A bridal shower cookie can feel delicate and romantic. A holiday cookie can feel nostalgic, cozy, or whimsical.
Before decorating, ask yourself:
- Who are the cookies for?
- What mood should they create?
- Will they be served on a platter, boxed as gifts, or used as favors?
- Do they need to travel well?
- How much time do you realistically have?
These questions help you choose techniques that are both beautiful and practical.Taking your time with these Techniques for Decorating Cookies will make every batch look stunning.
Final Thoughts
Creative cookie decorating is a skill you can build one batch at a time. Start with a sturdy cookie, learn a few icing consistencies, and experiment with texture, color, stencils, painting, and thoughtful packaging. With practice, even simple designs can look polished and memorable.
Whether you are making decorative cookies for a holiday tray, preparing decorative wedding cookies for a special celebration, or choosing decorative boxes for cookies to give as gifts, the most successful designs combine good planning with a personal touch. The result is more than dessert: it is an edible detail people remember.